Sublimation Blanks Company
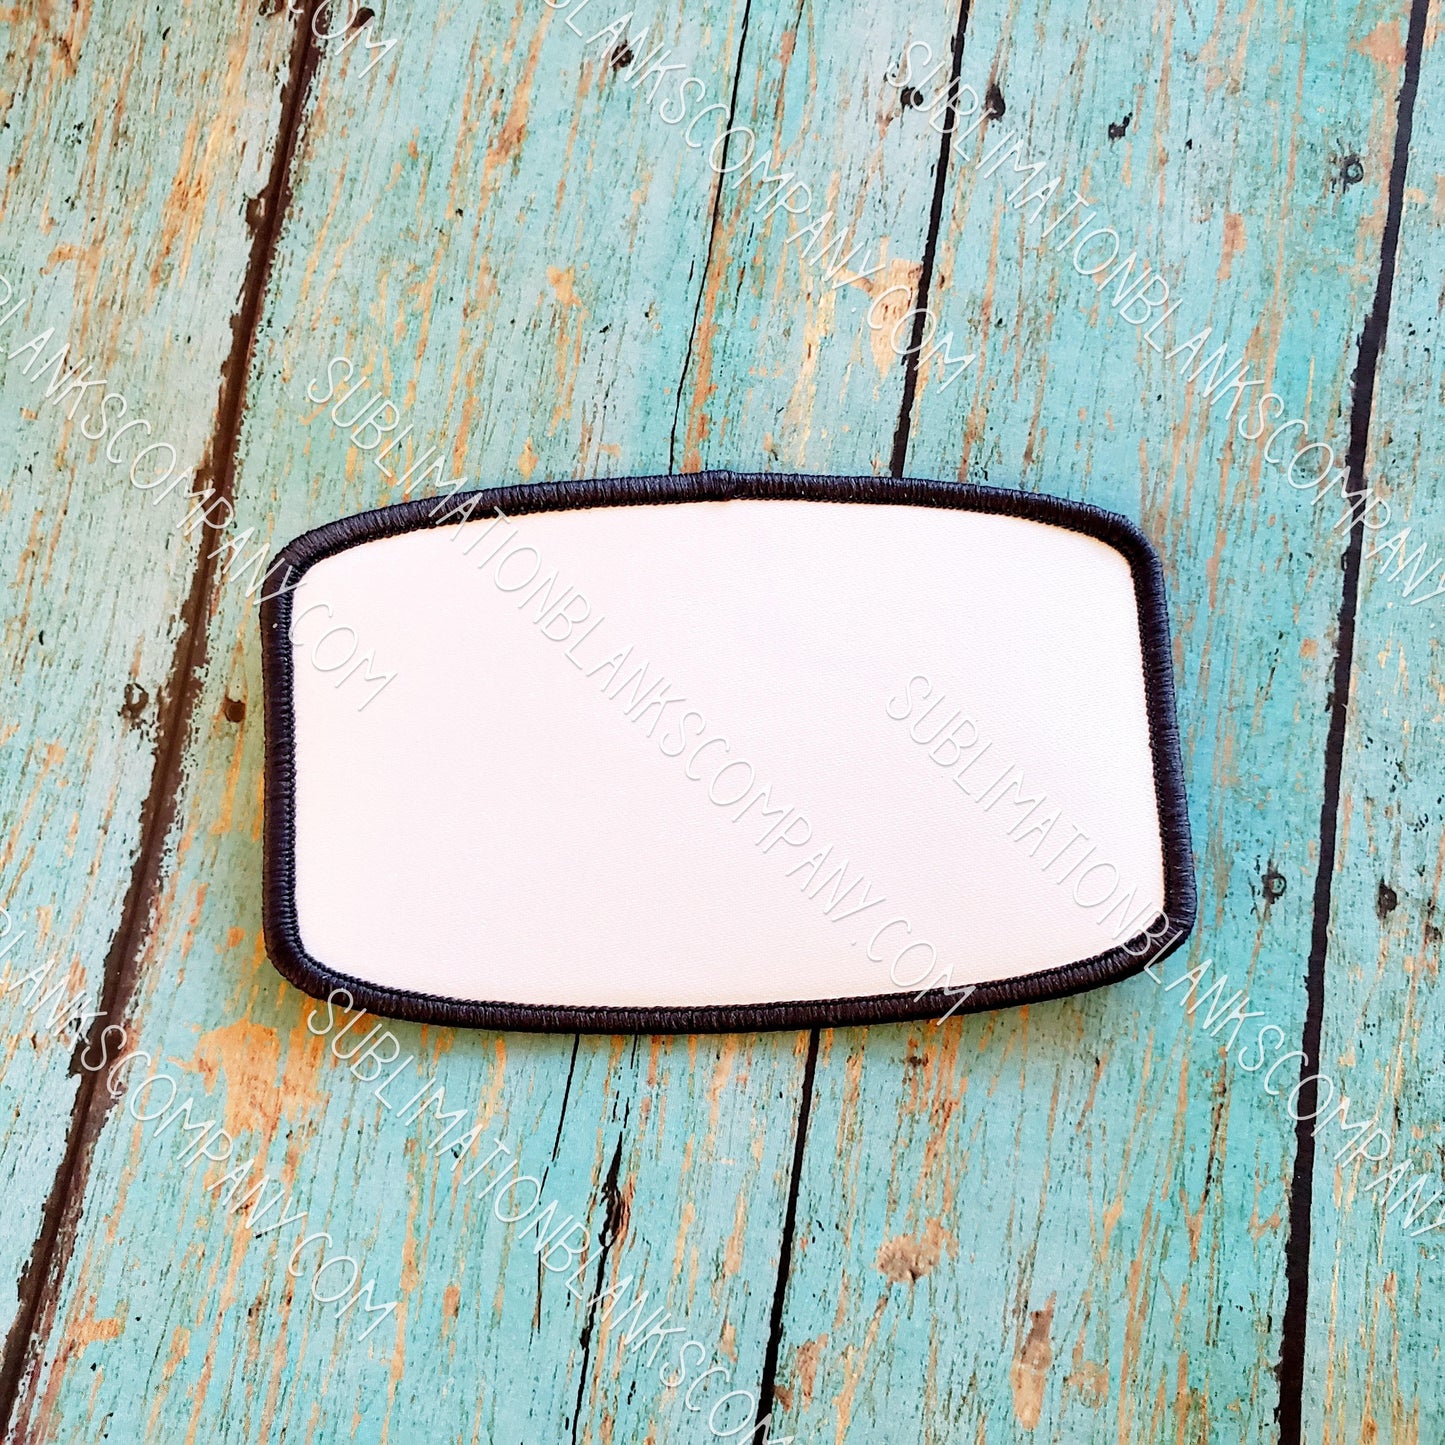
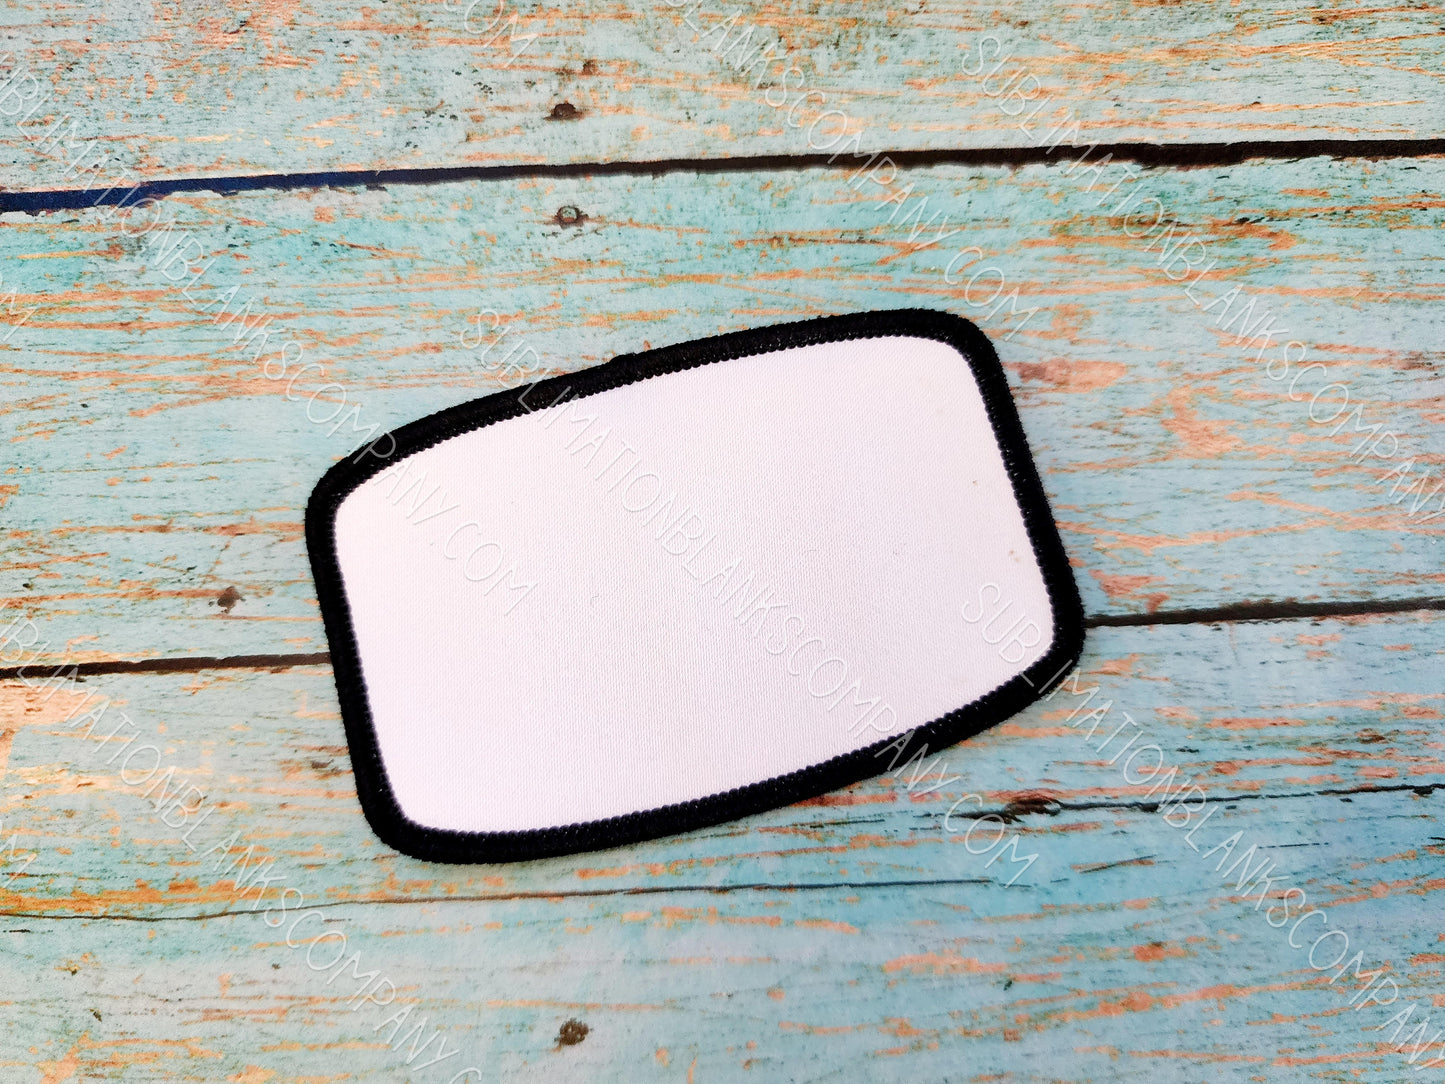
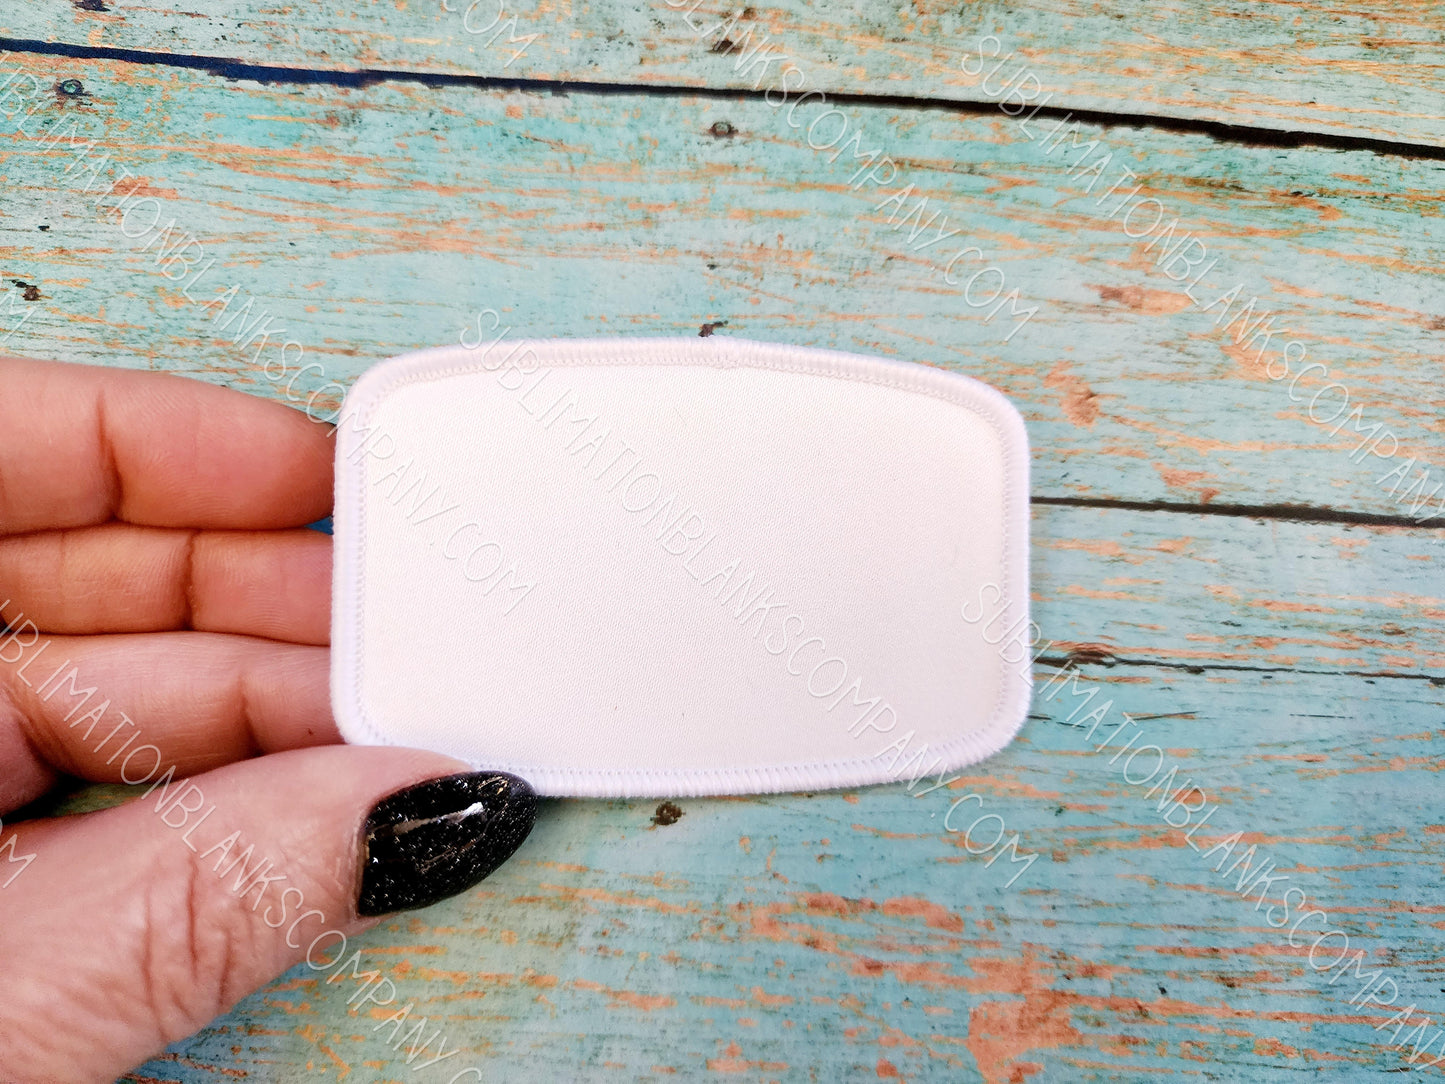
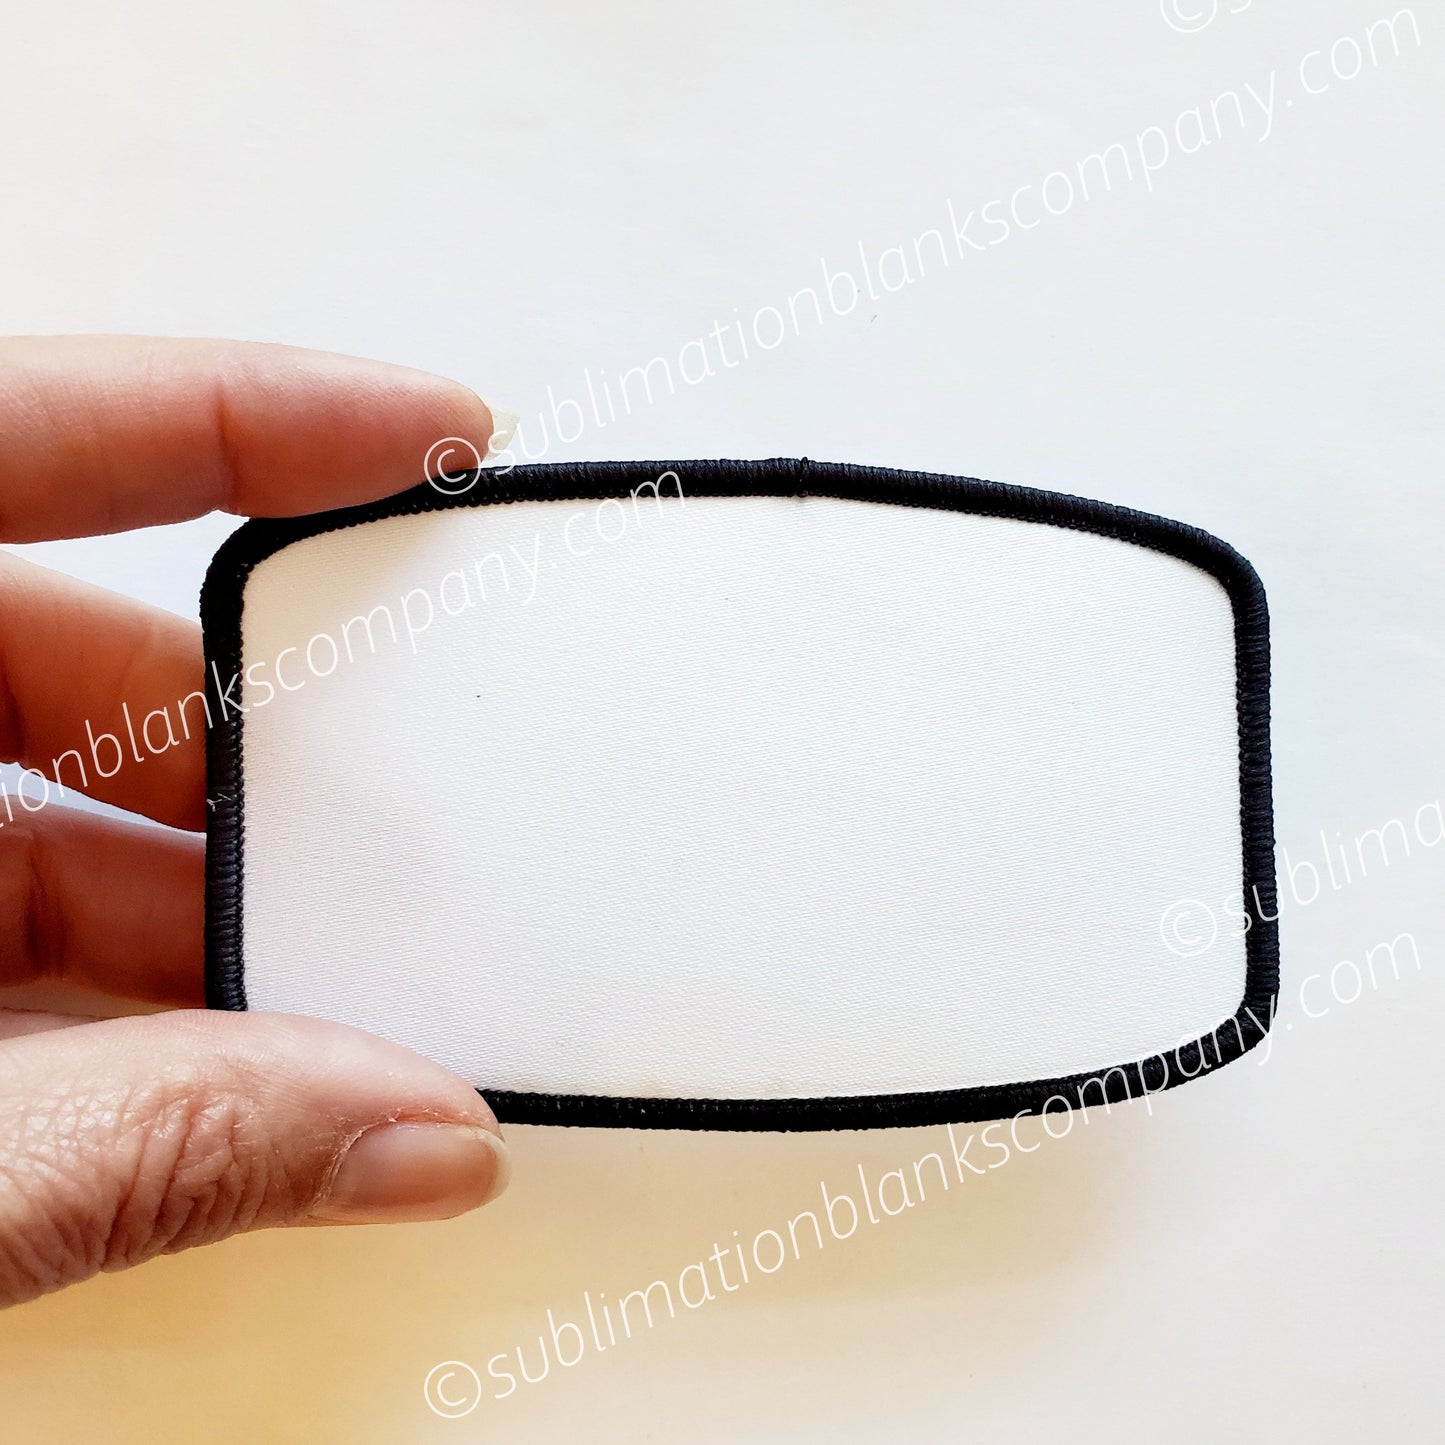
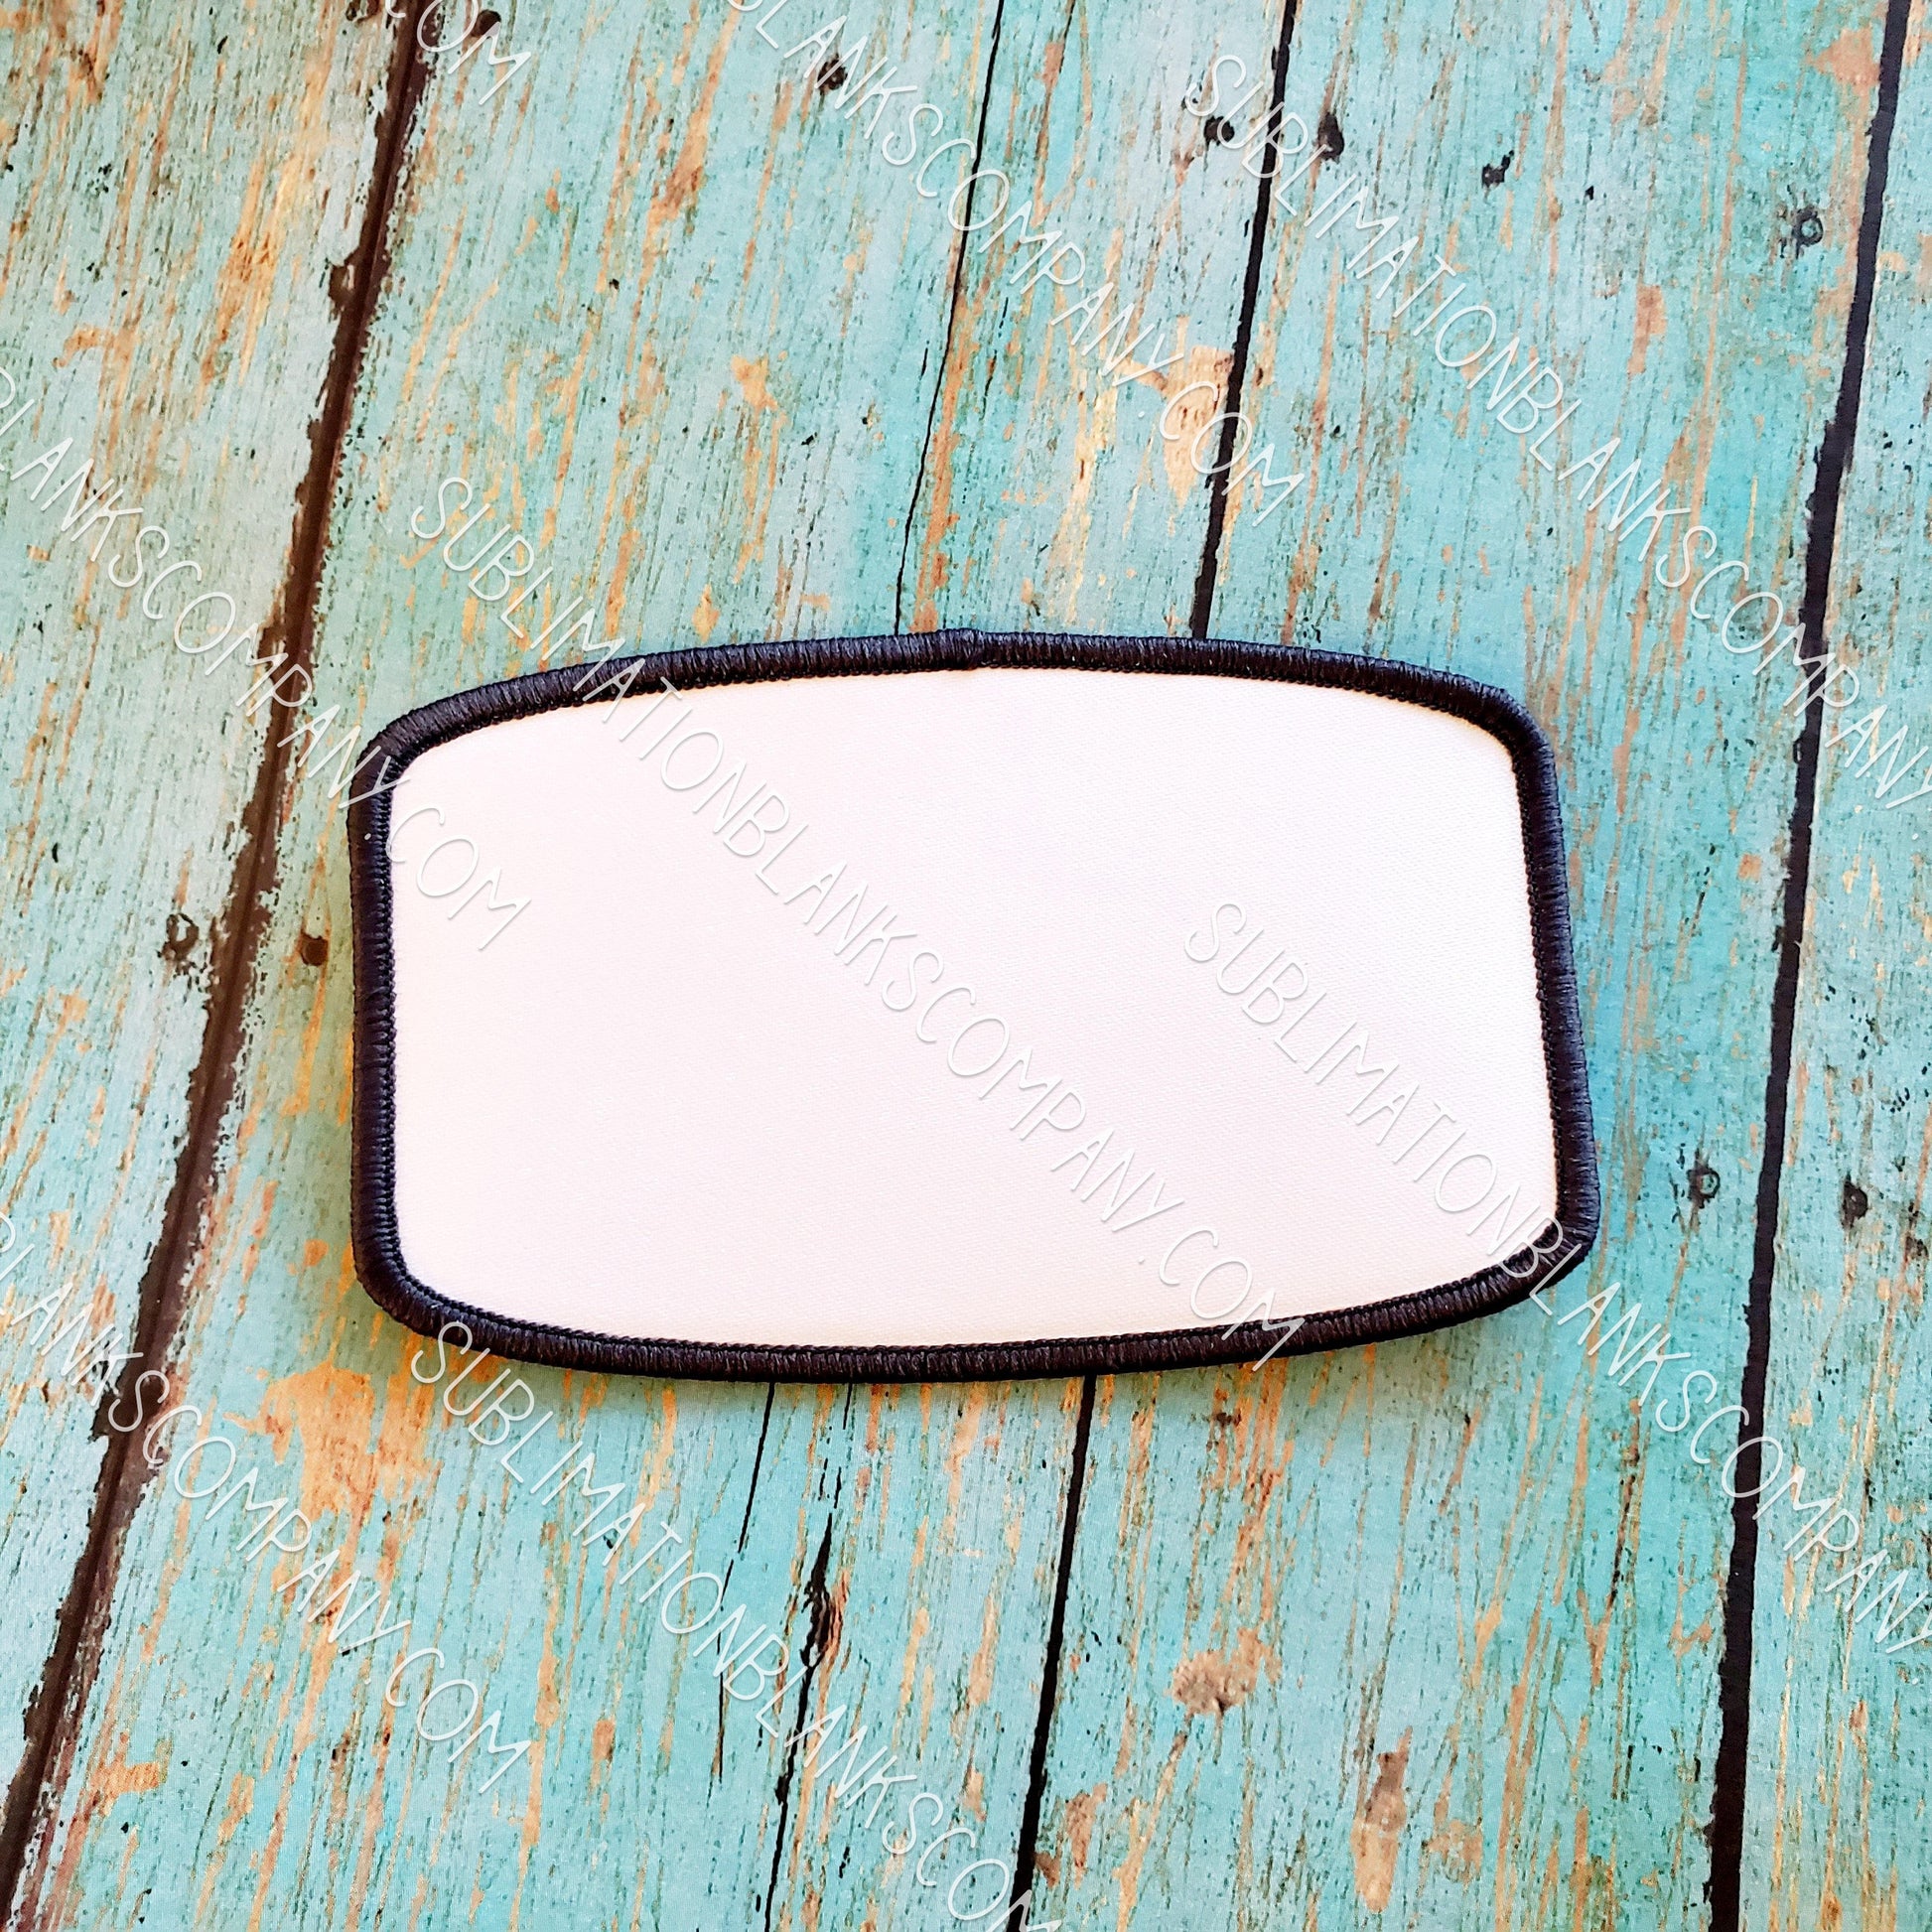
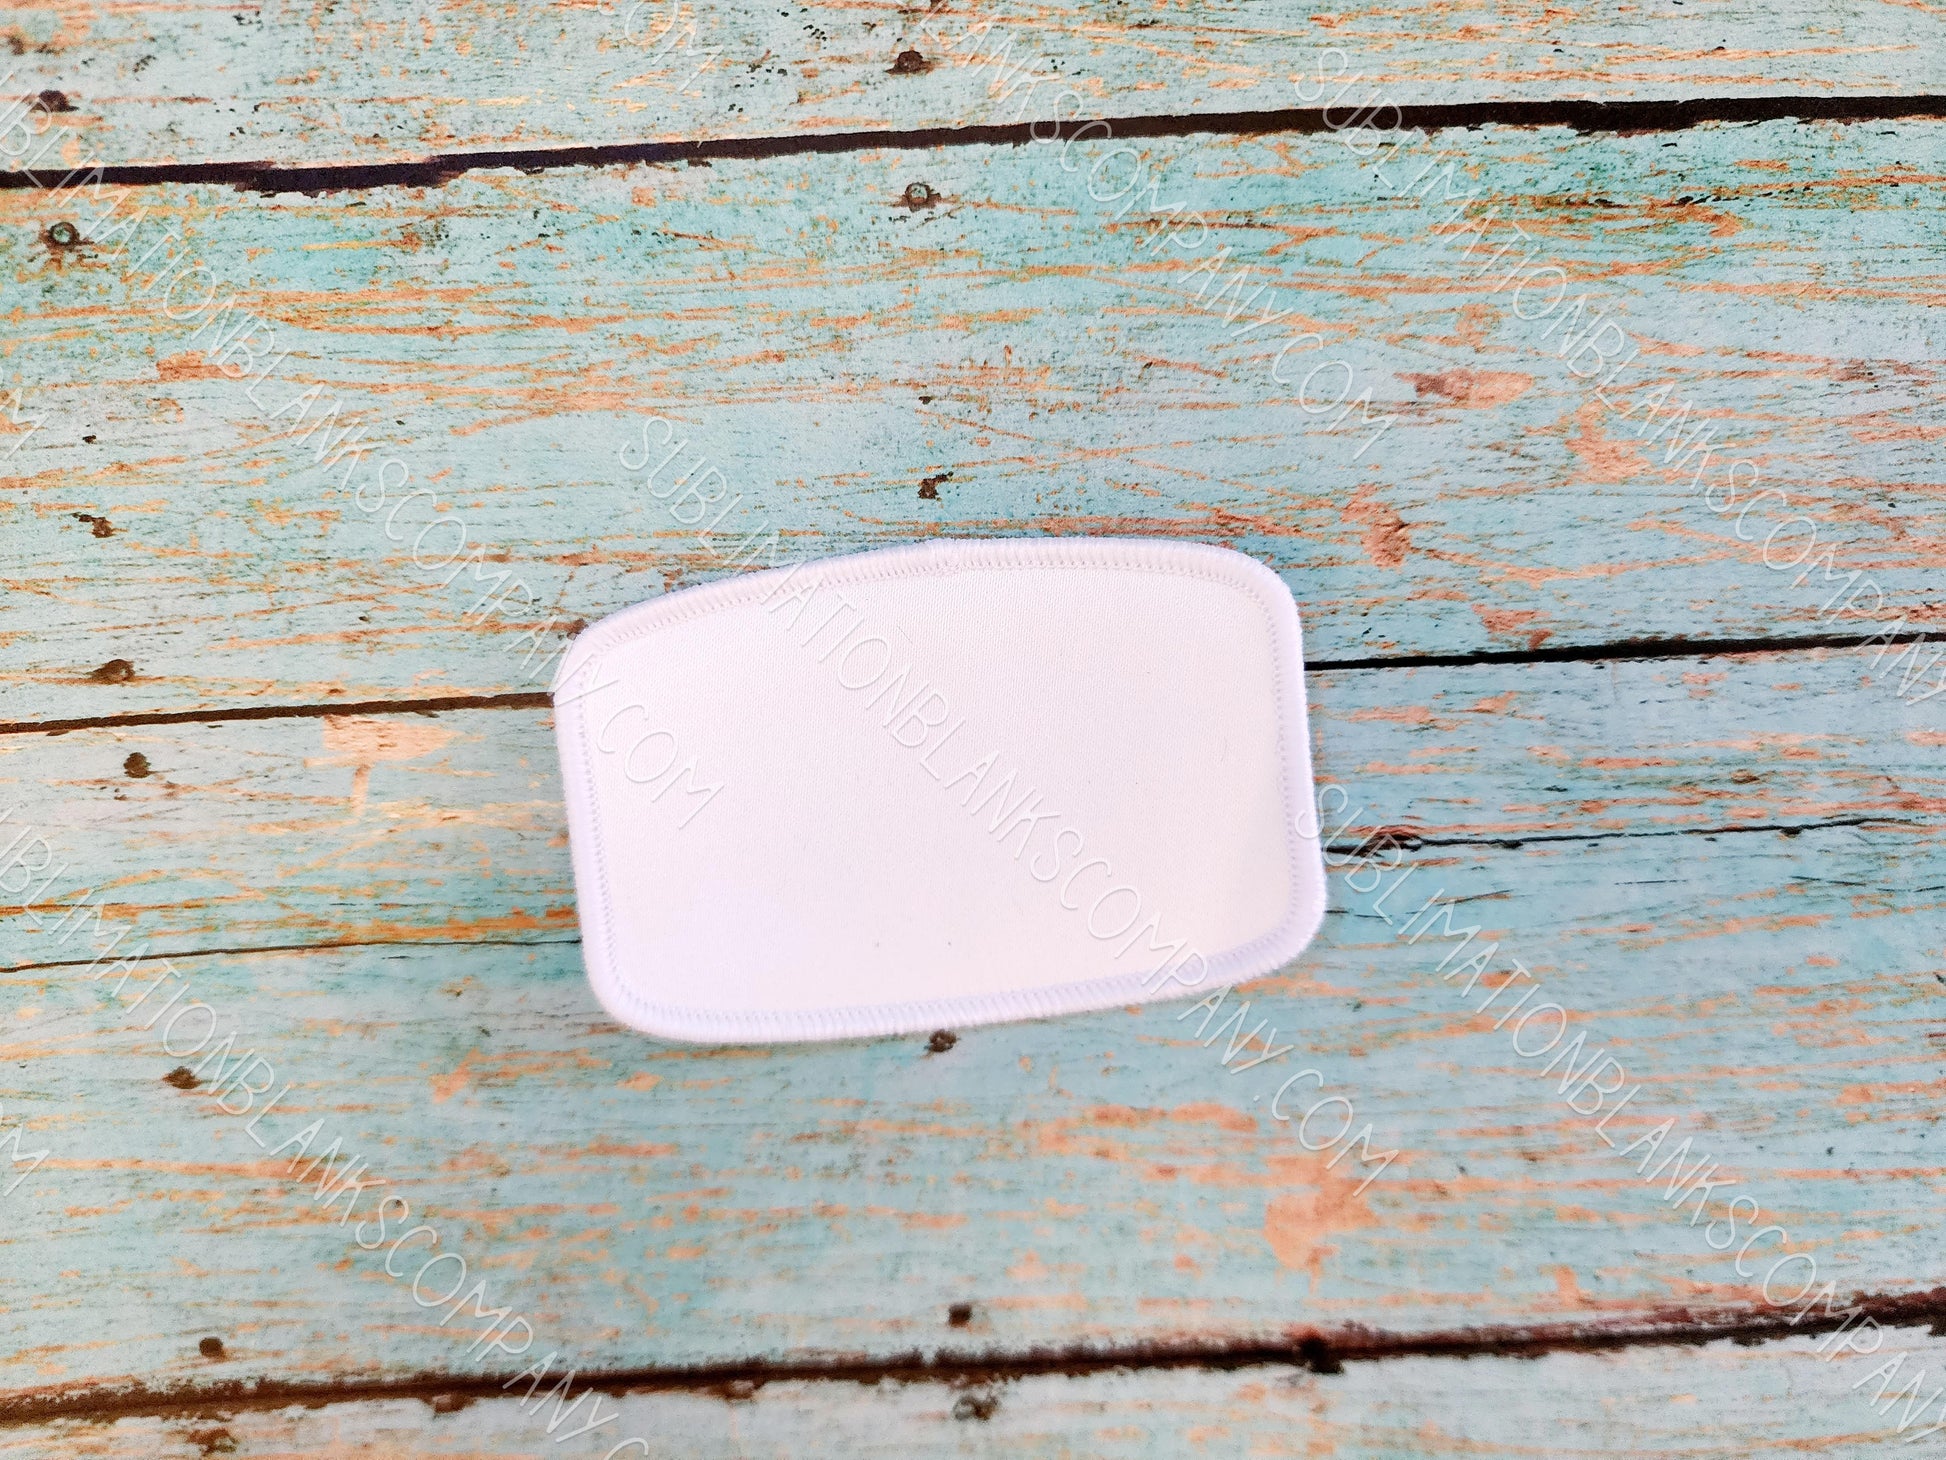
Rounded Rectangle Hat Patch Sublimation Blank with Black Trim
Rounded Rectangle Hat Patch Sublimation Blank with Black Trim
Couldn't load pickup availability
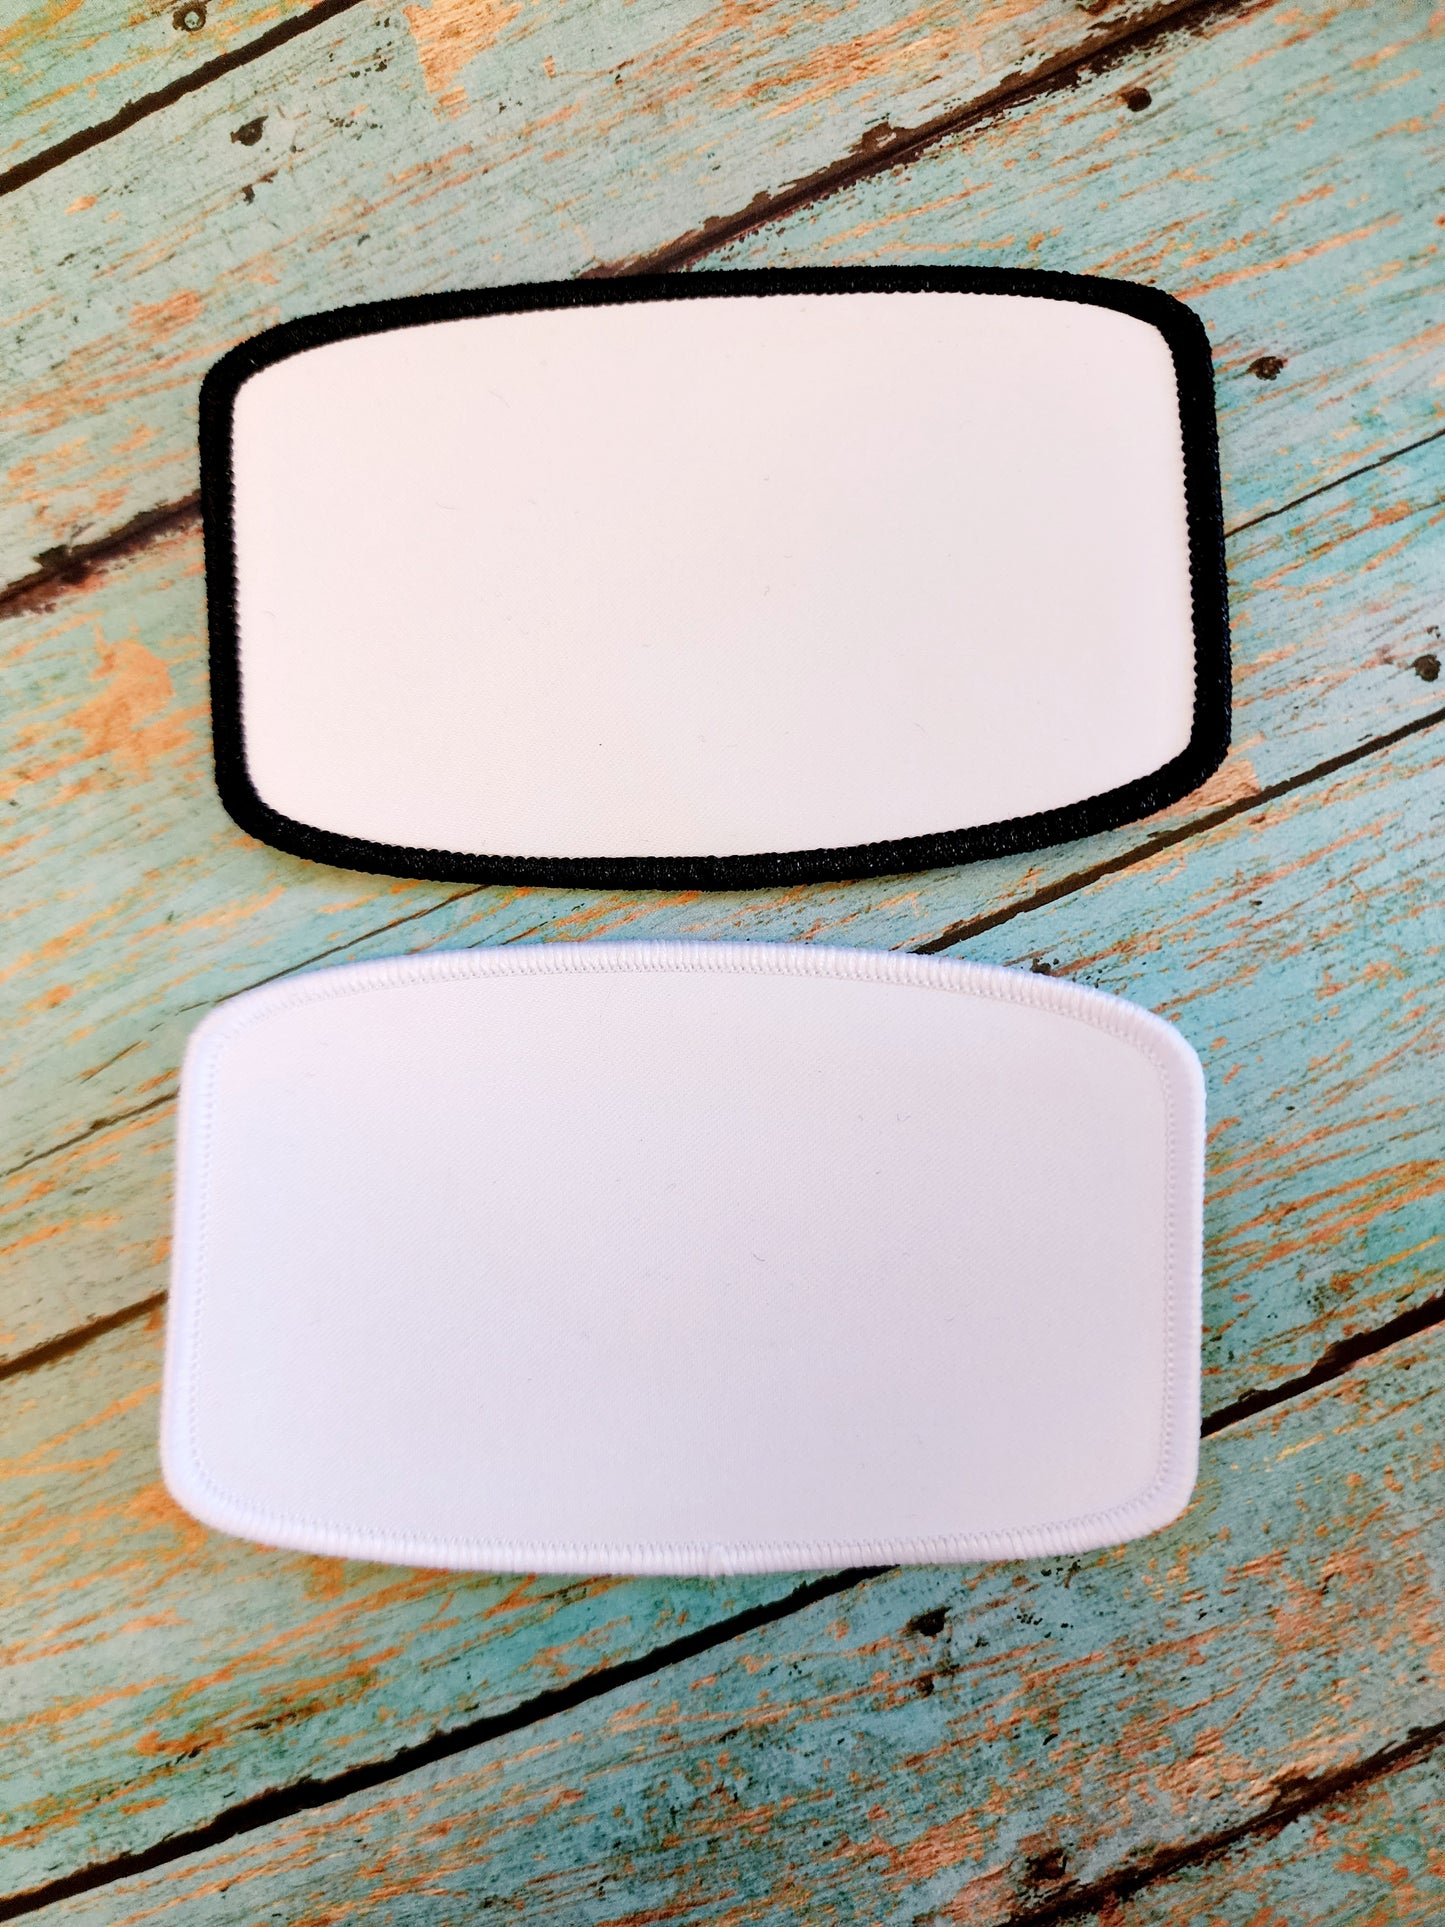
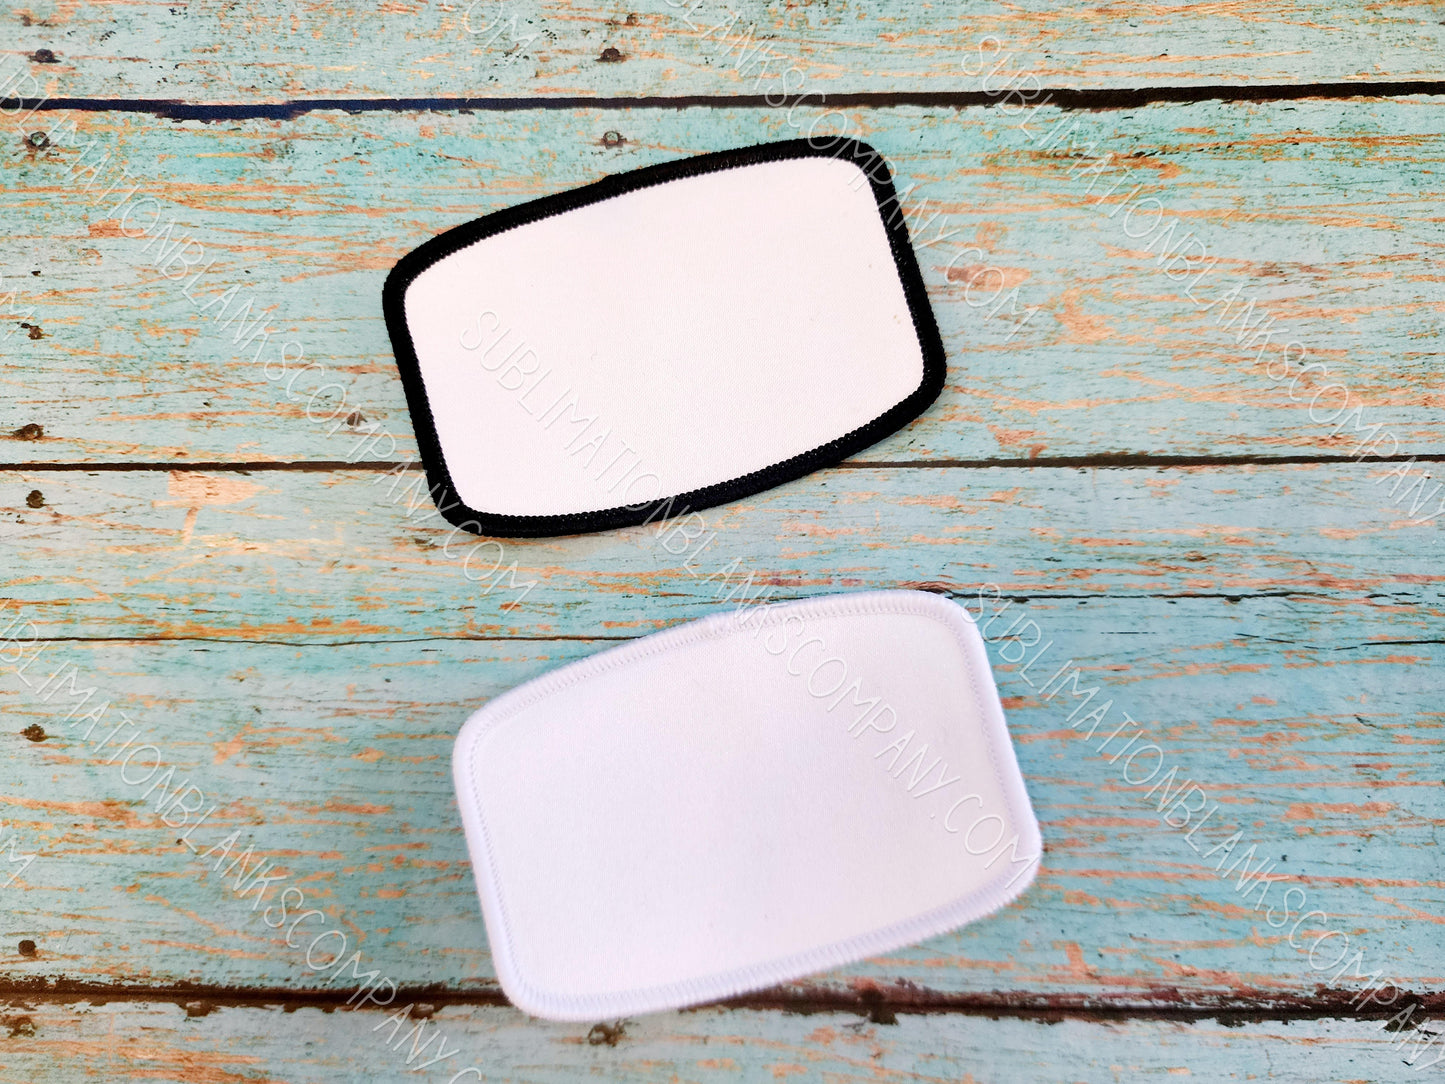
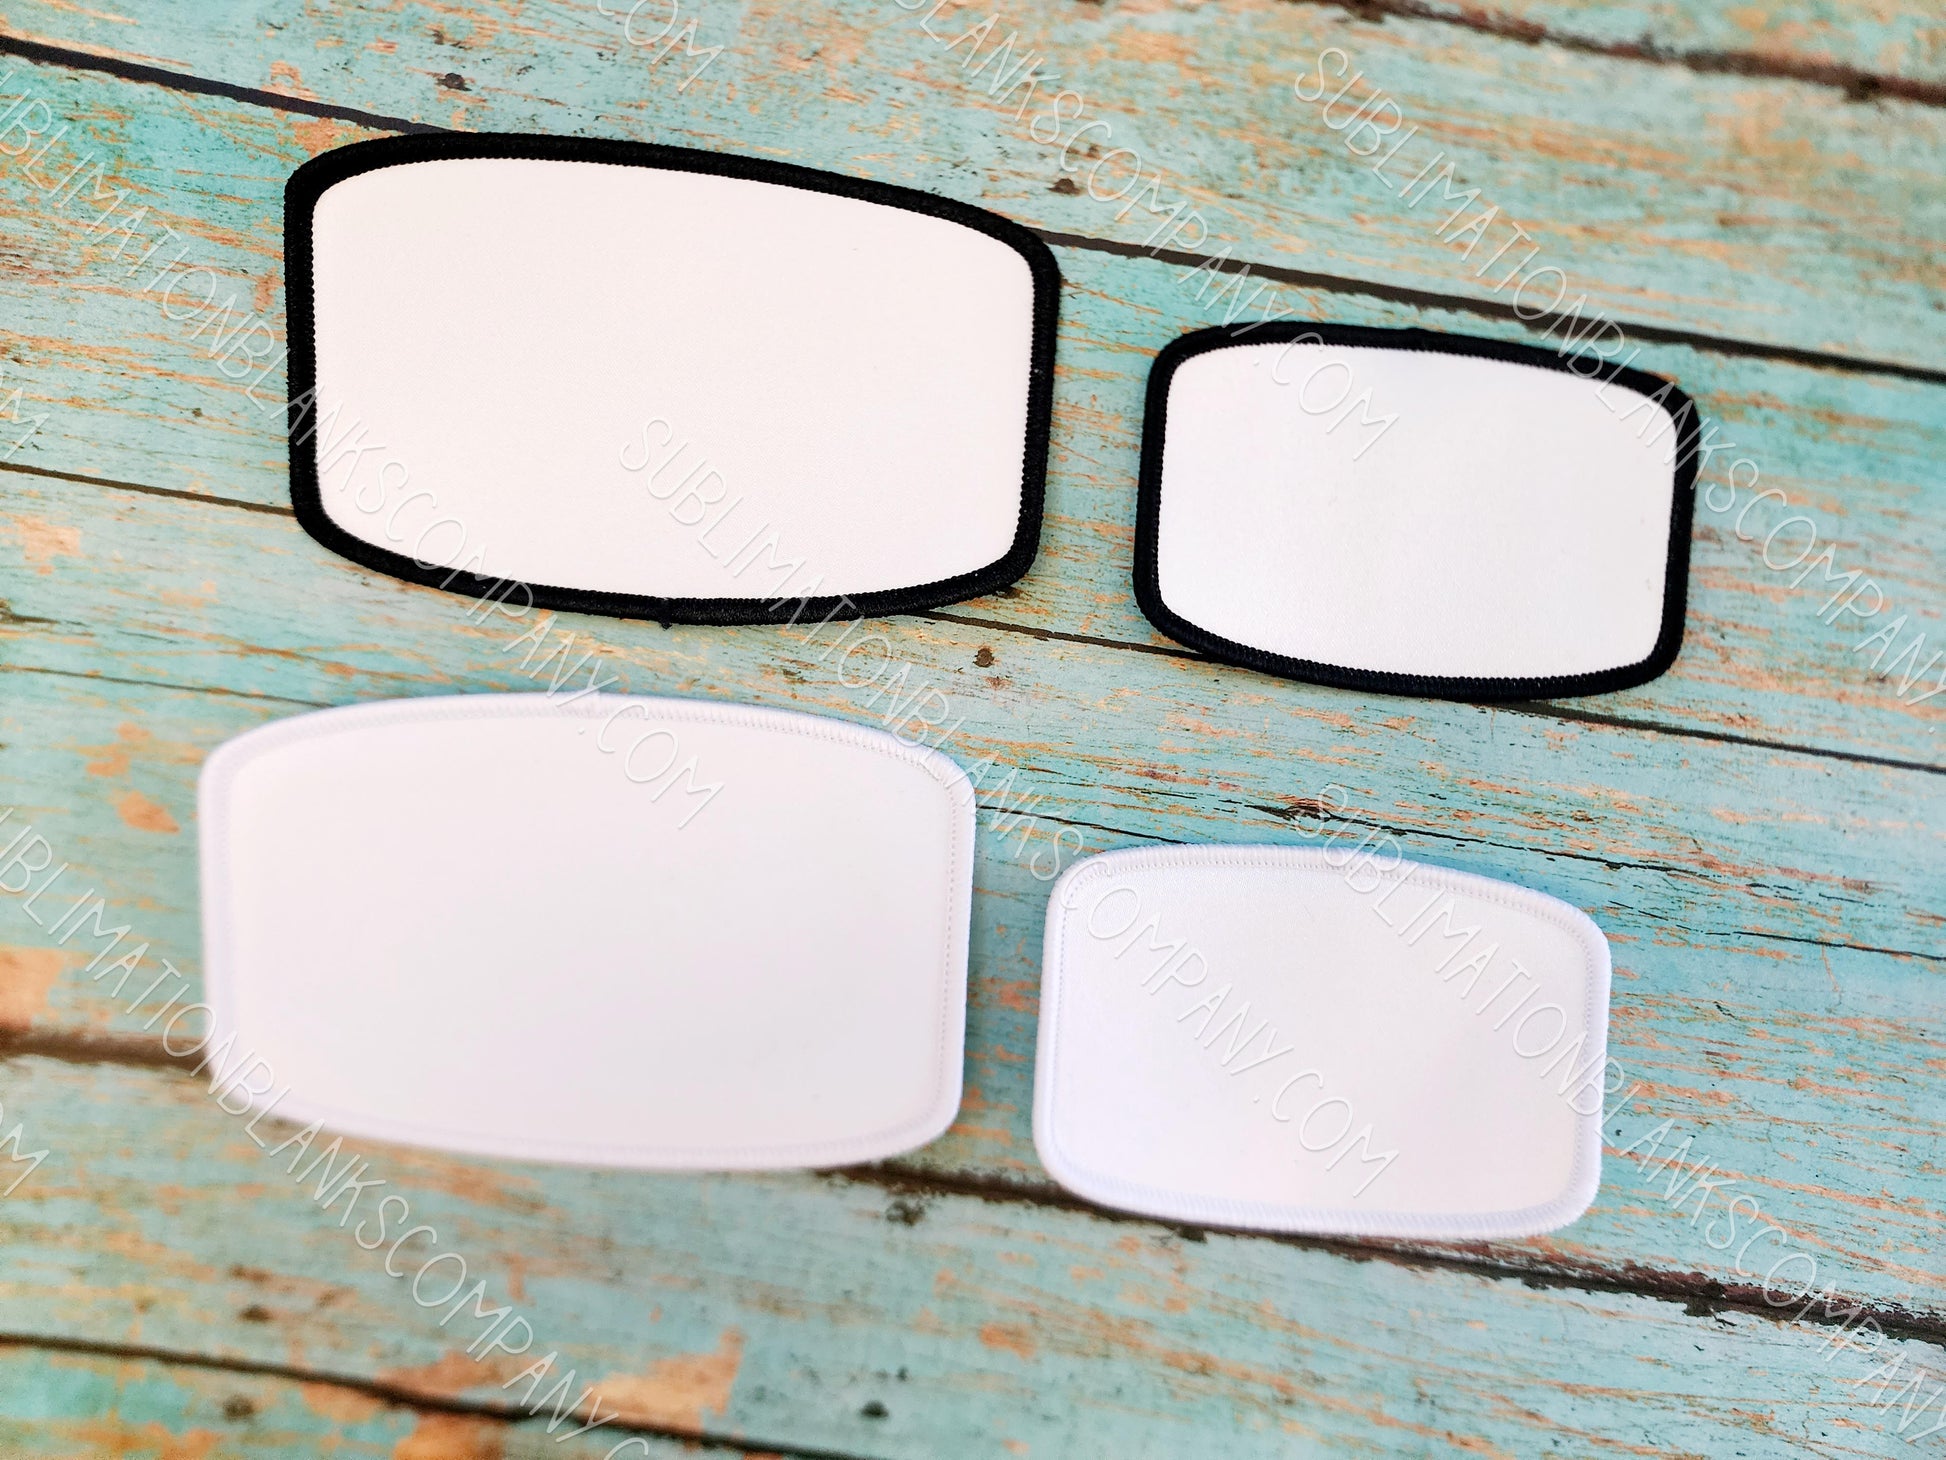
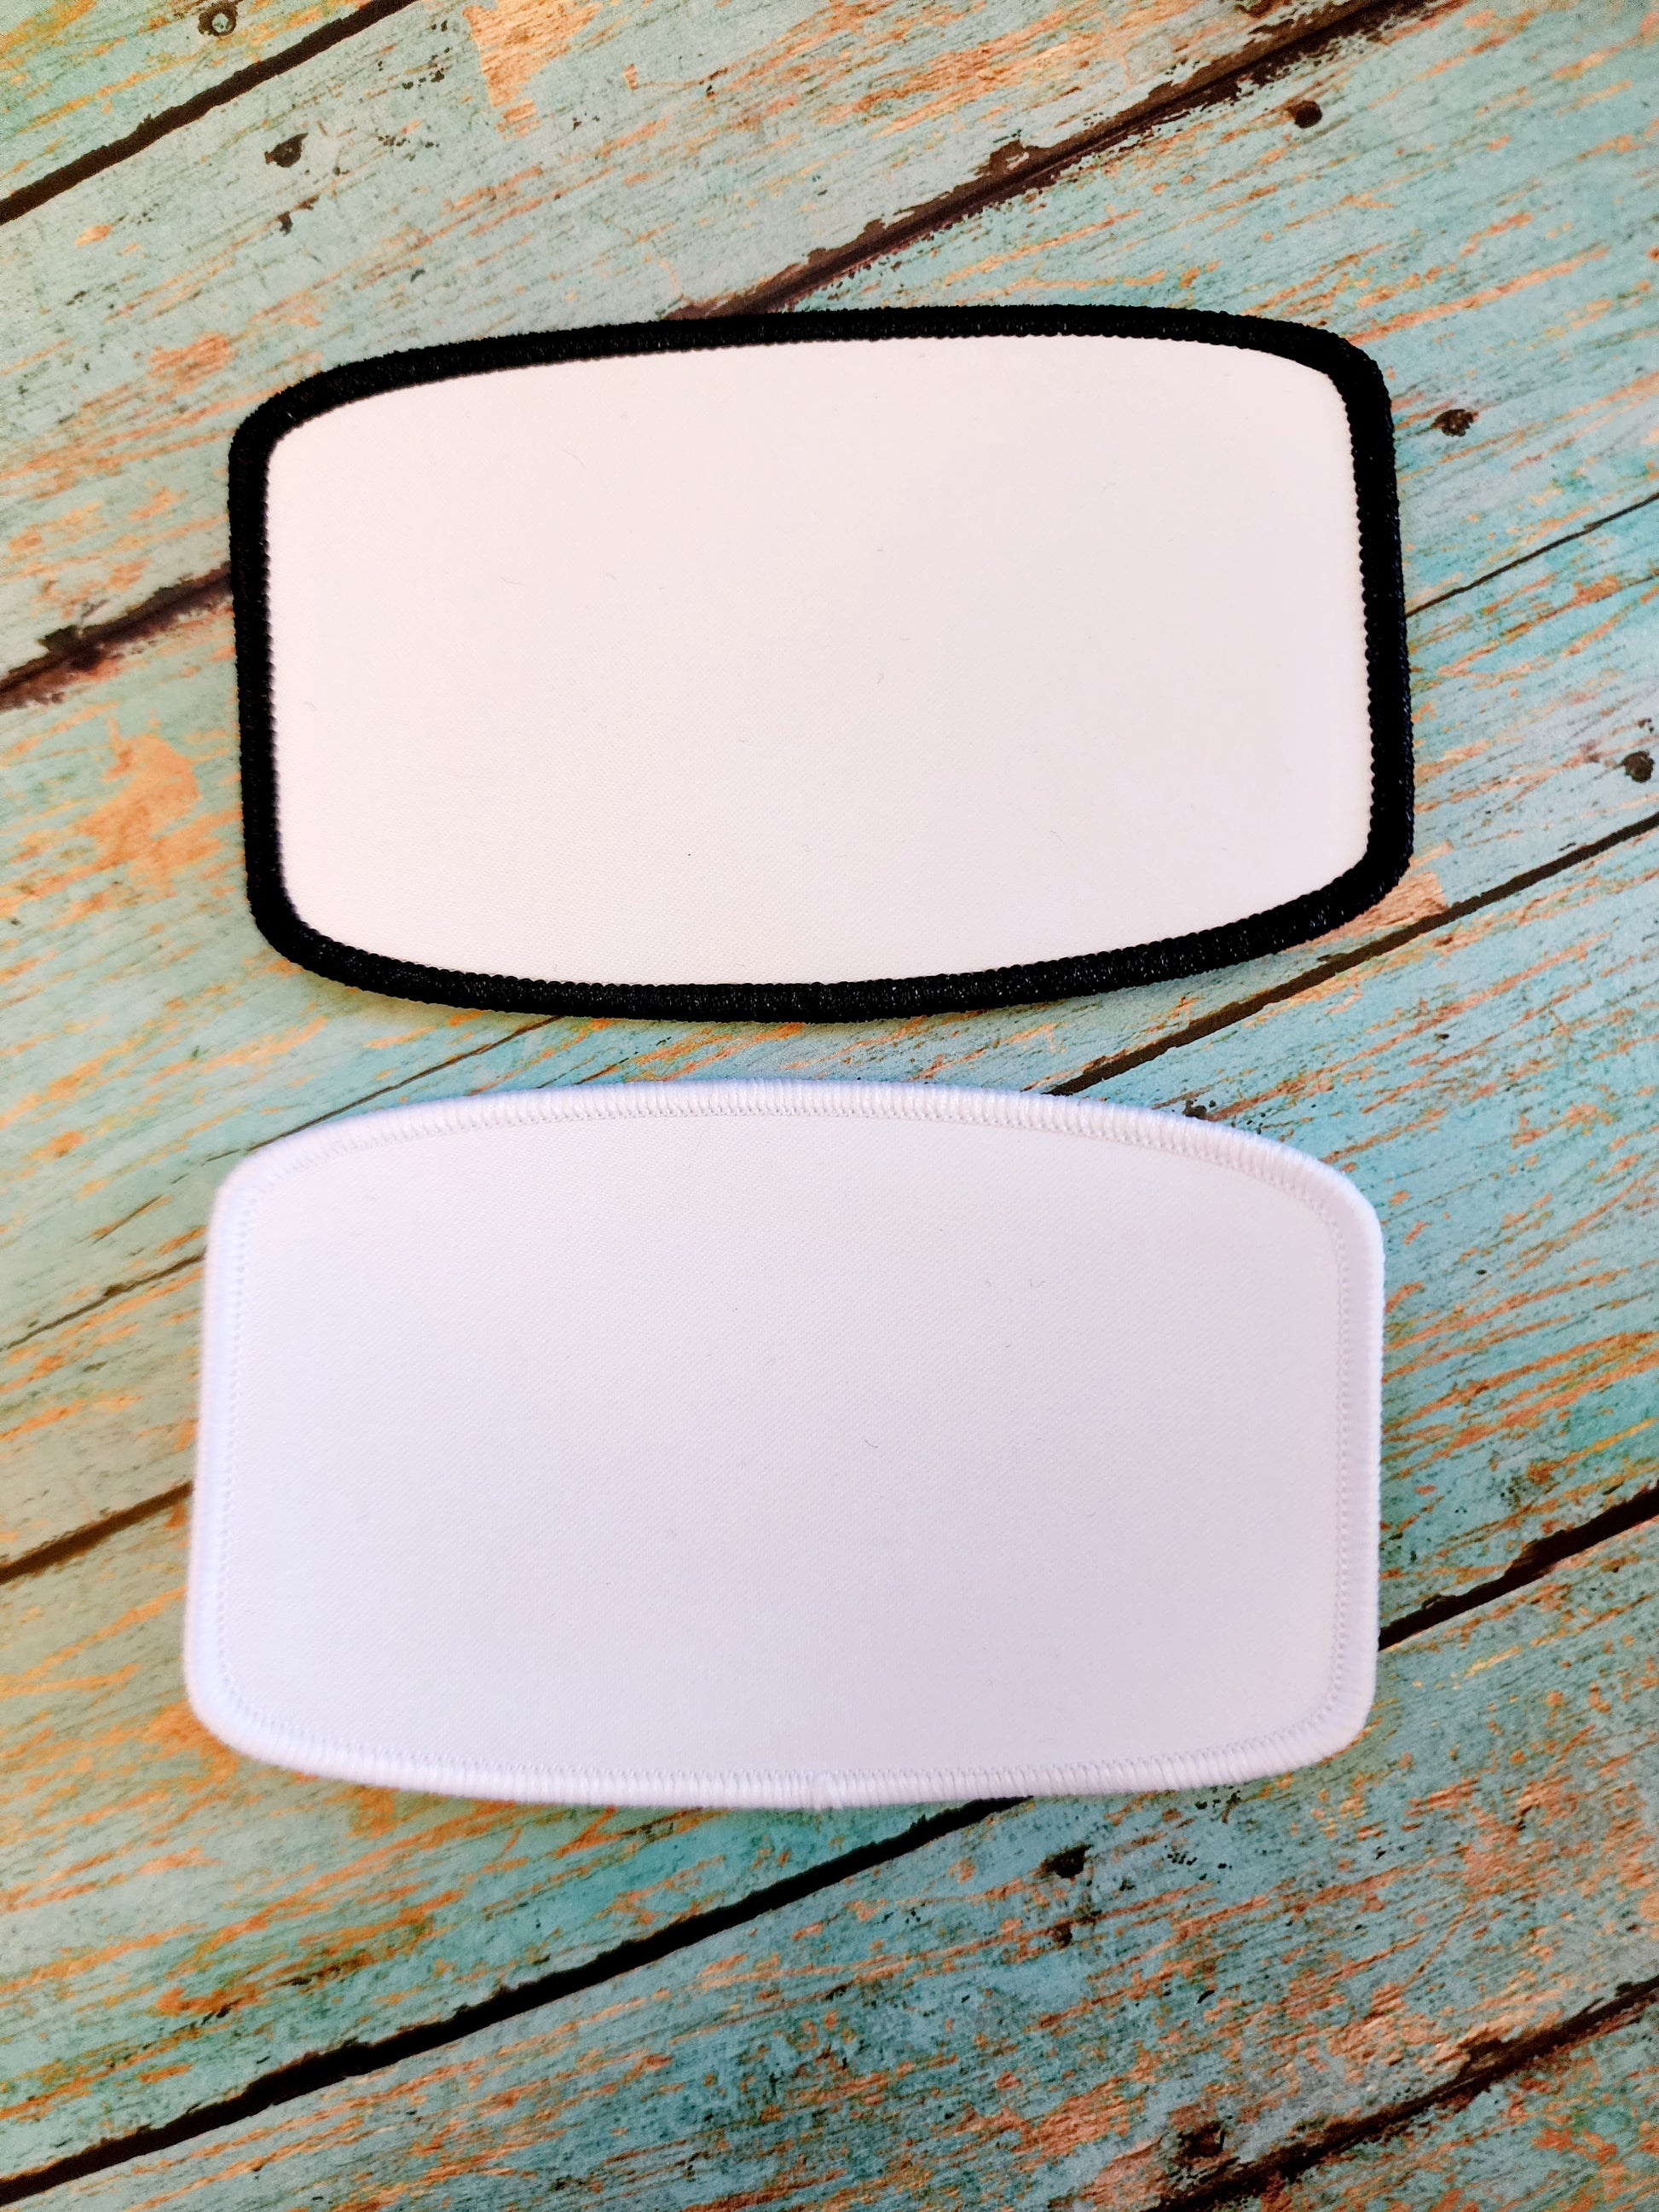
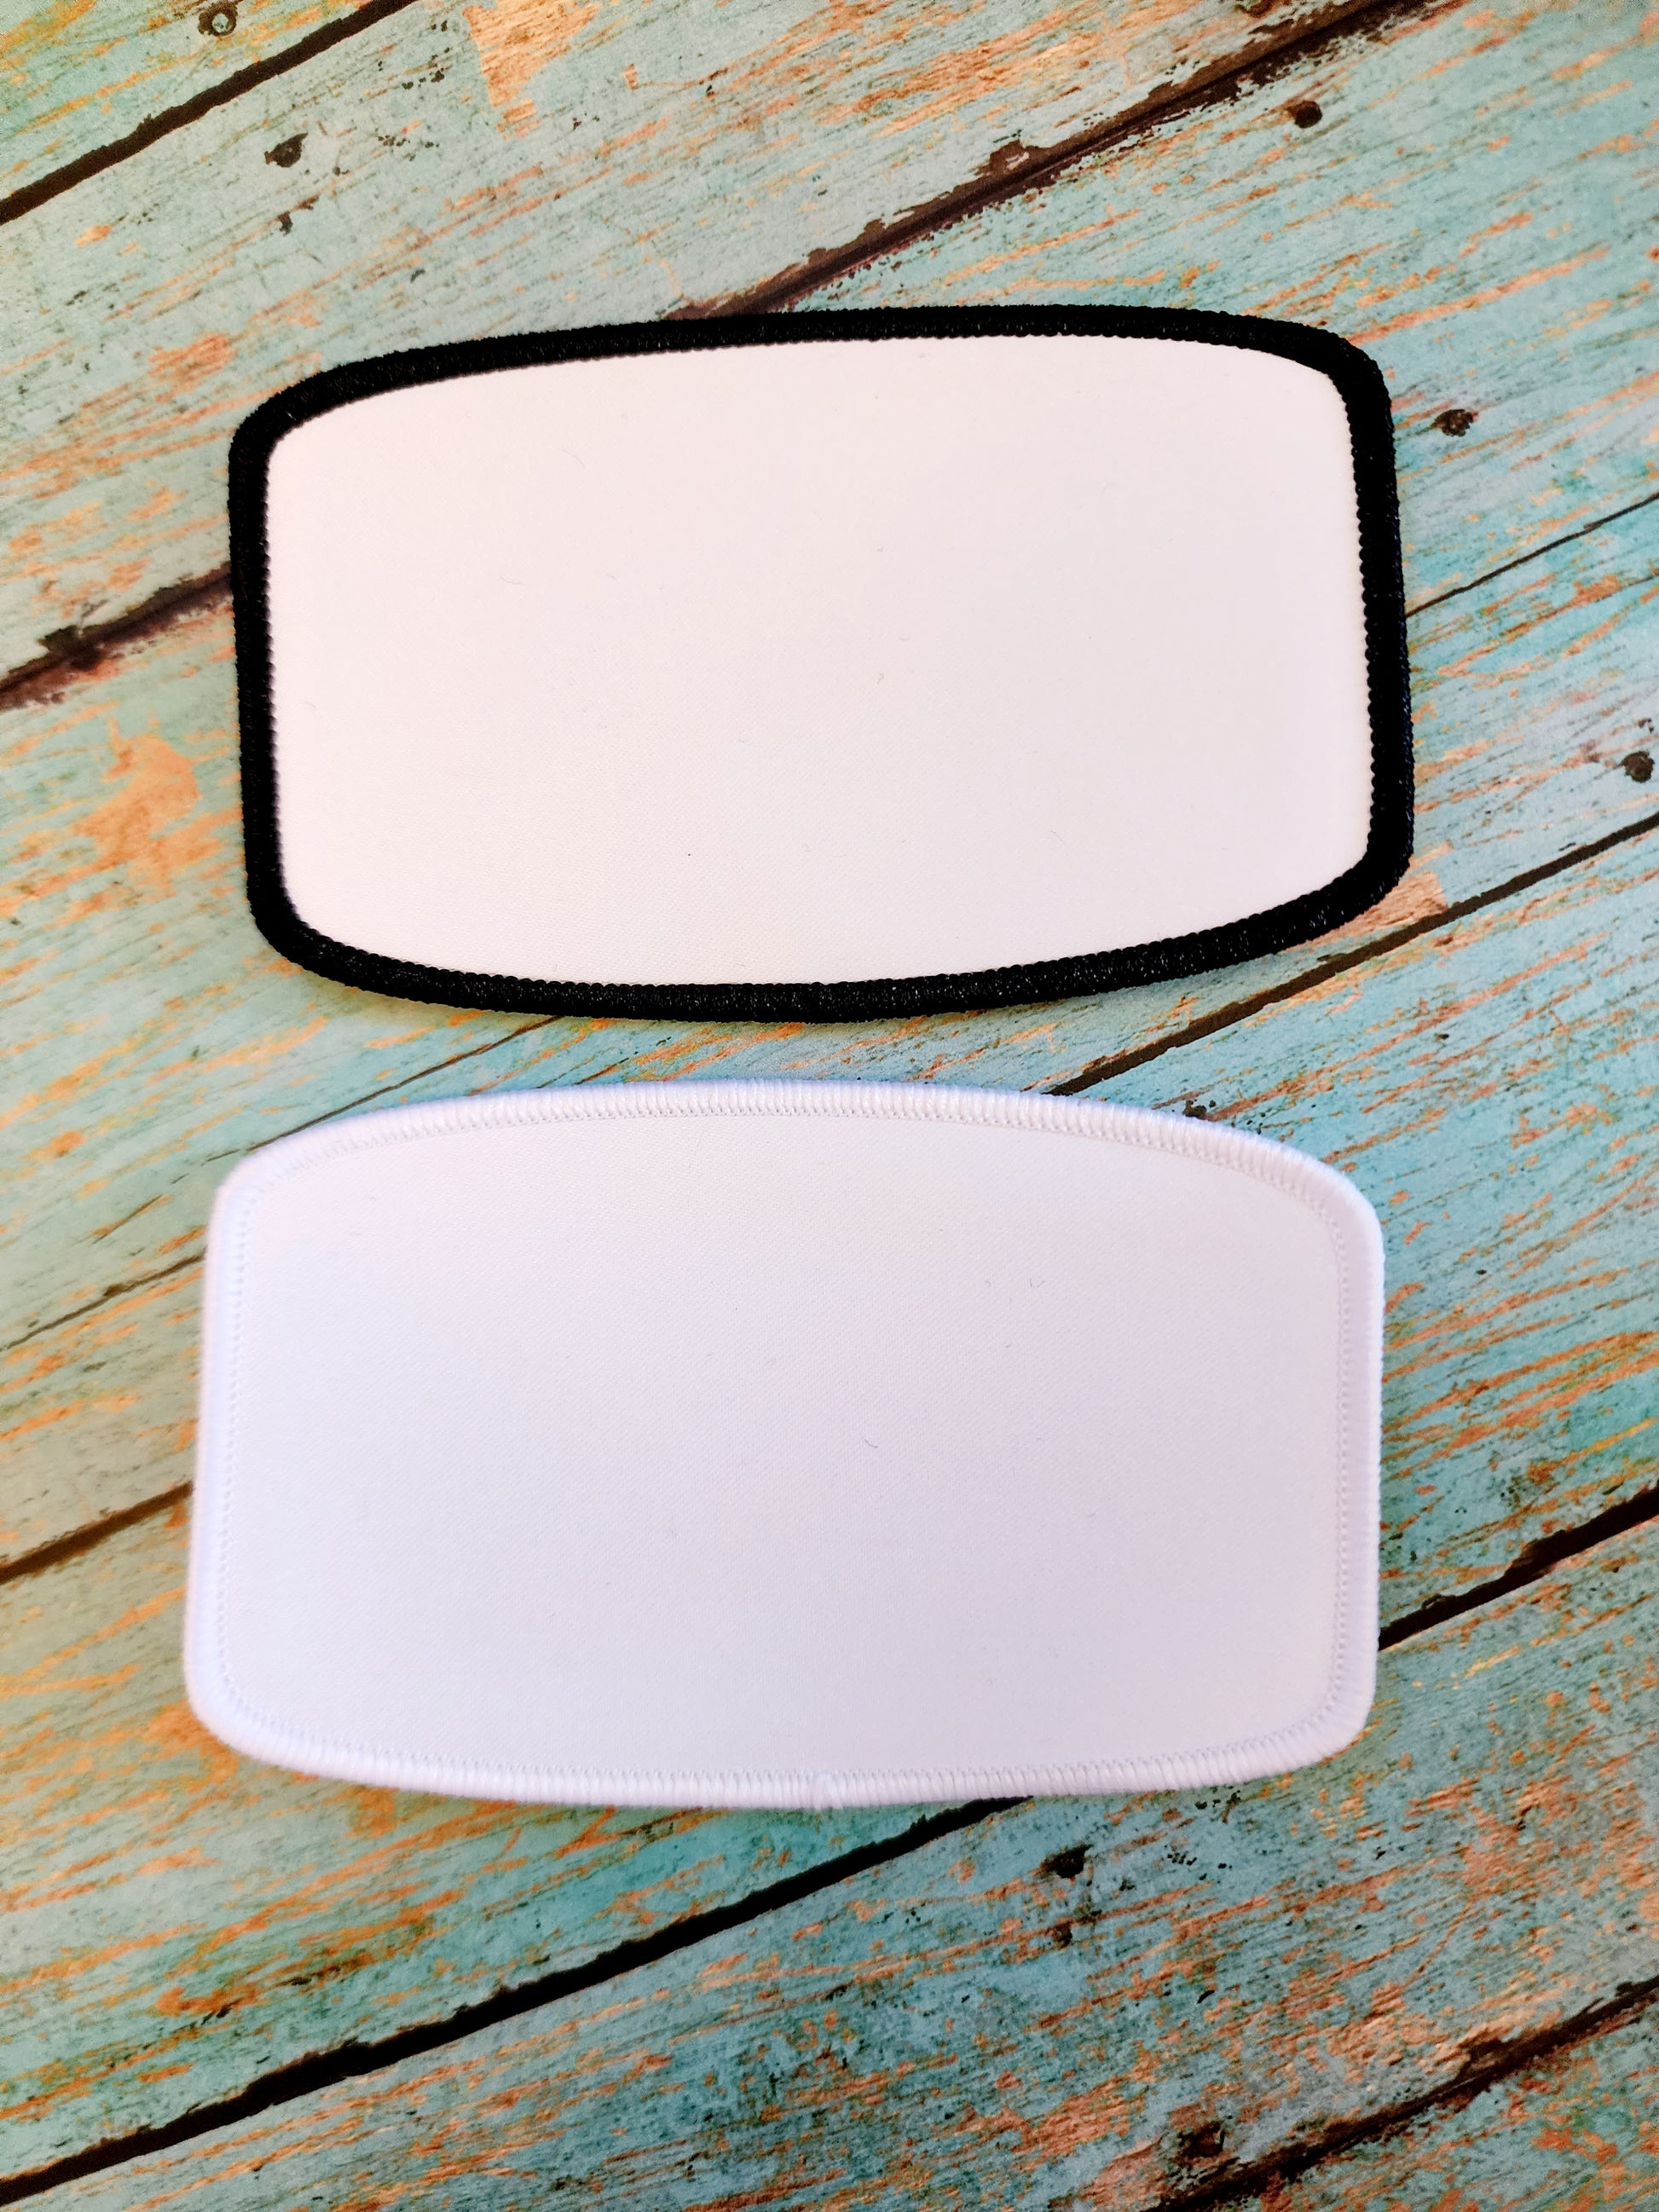
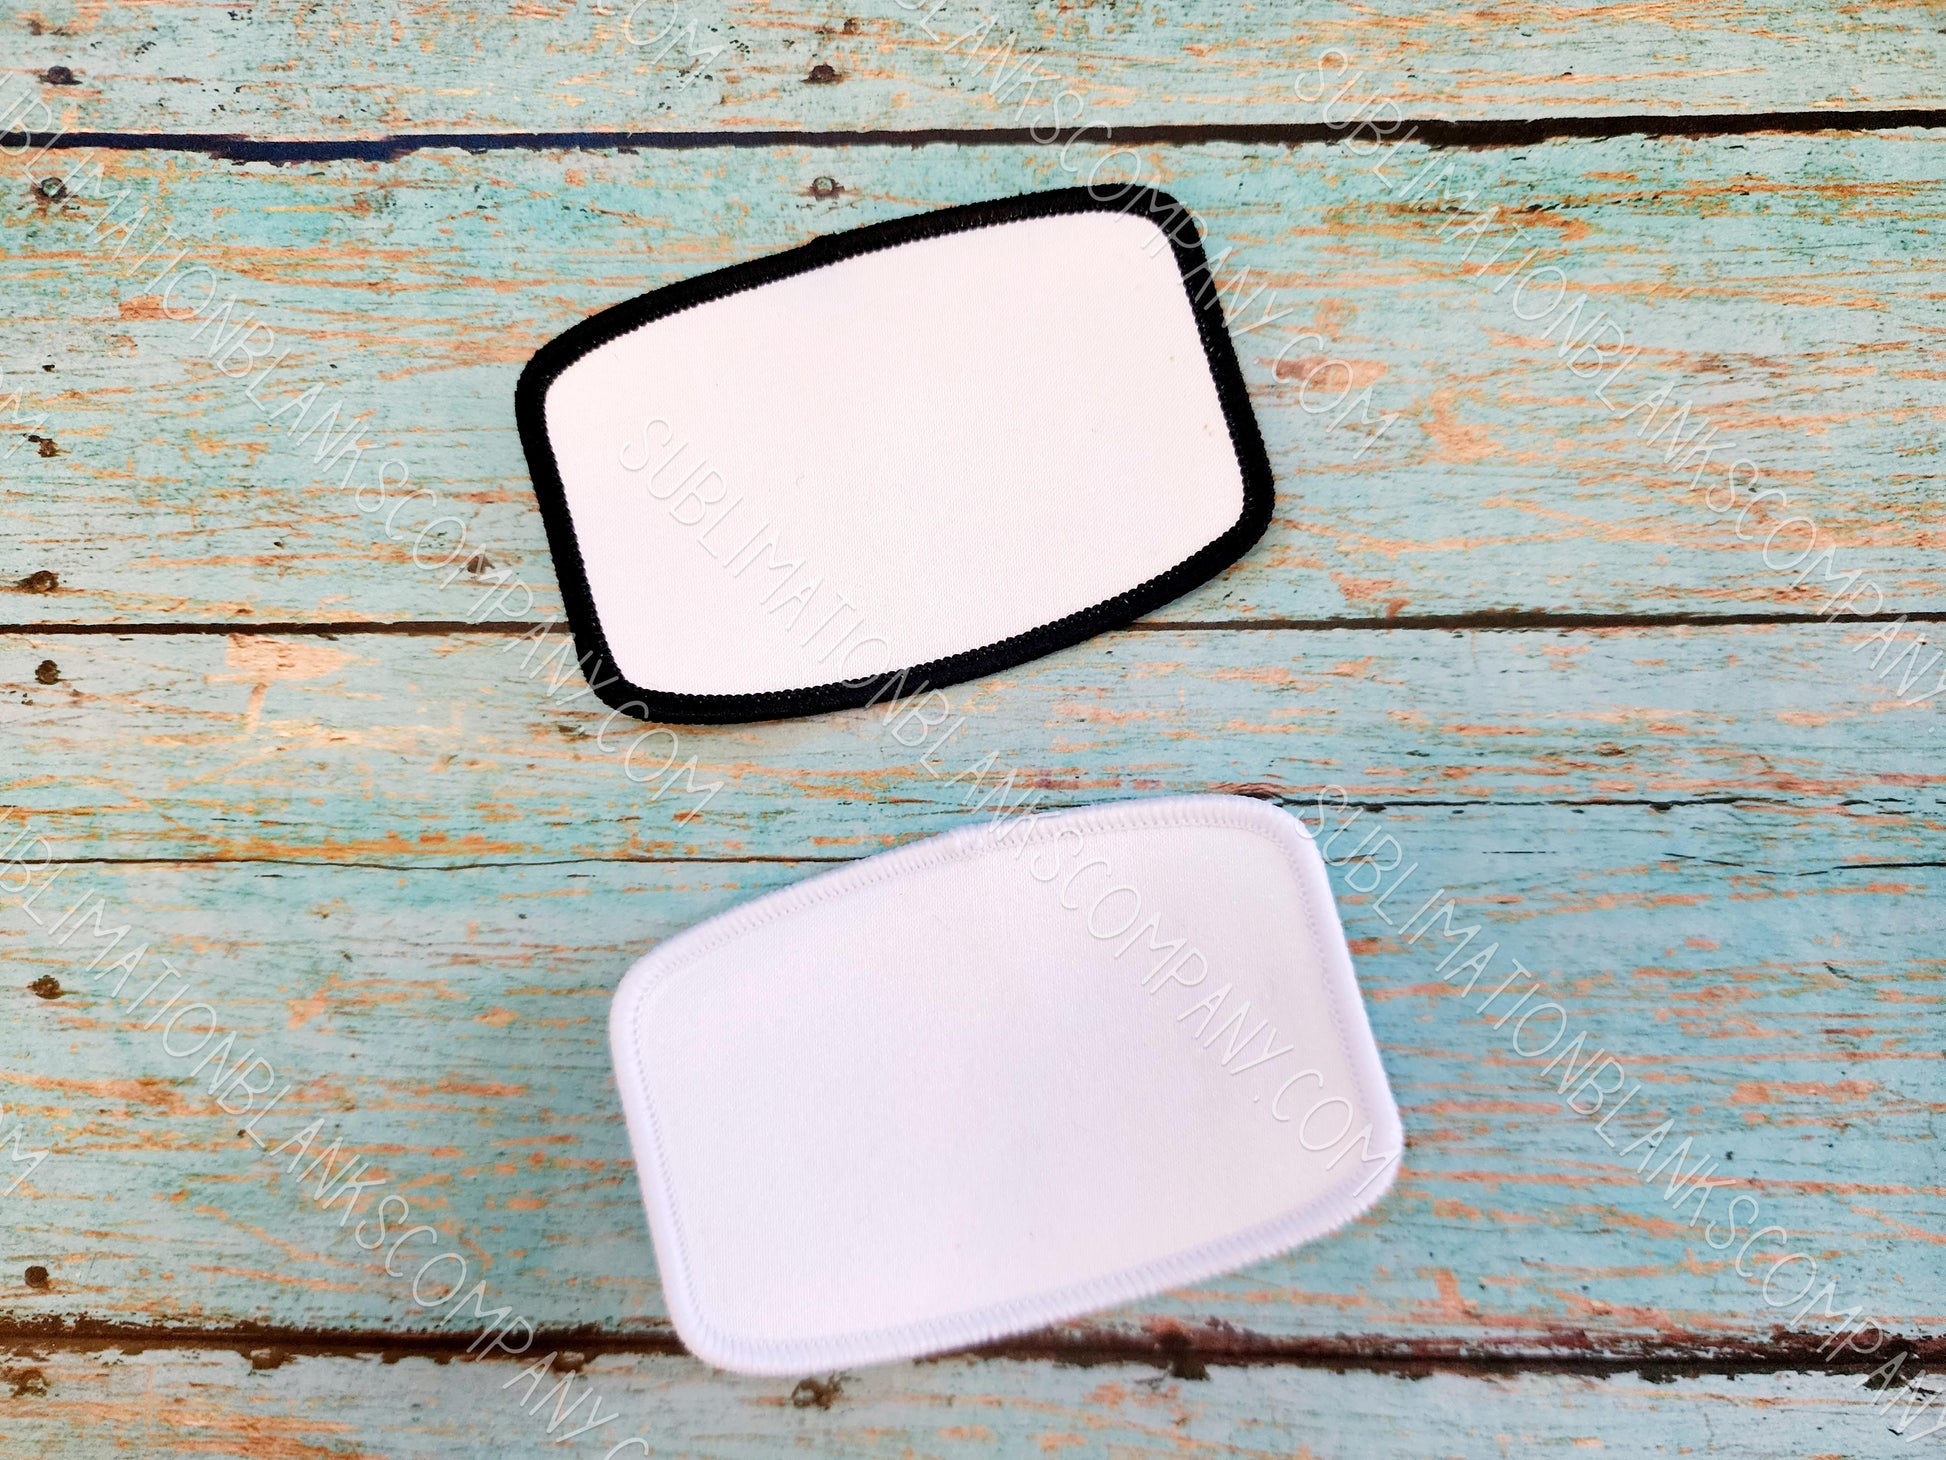
Choose black or white threaded trim! Small and Large size available!
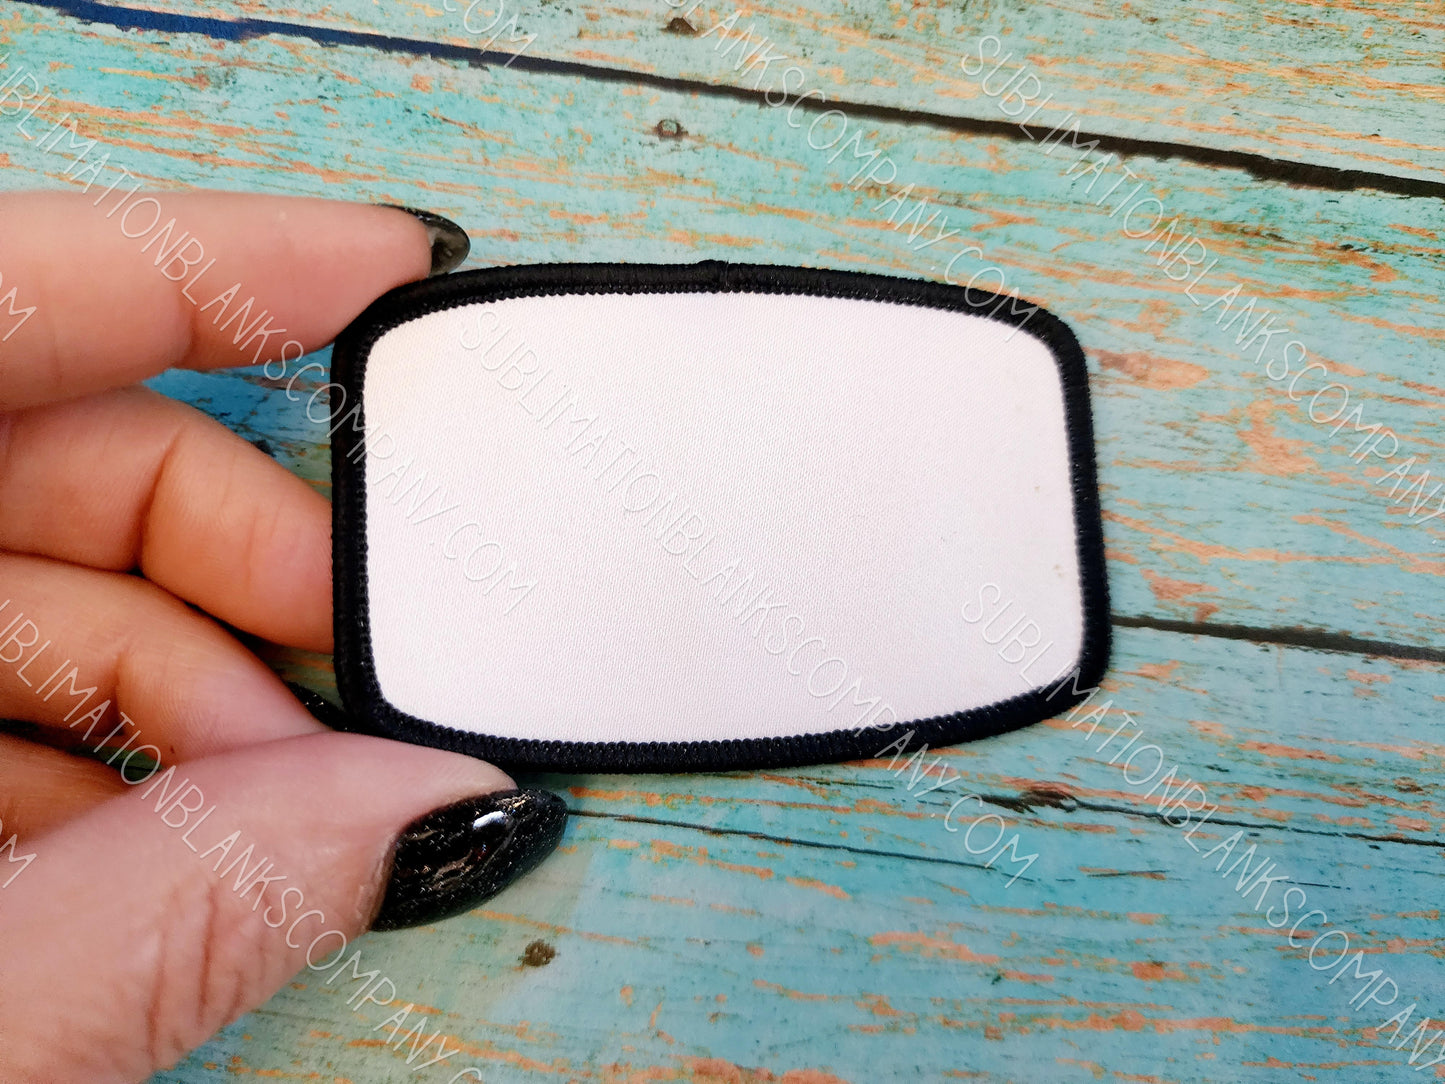
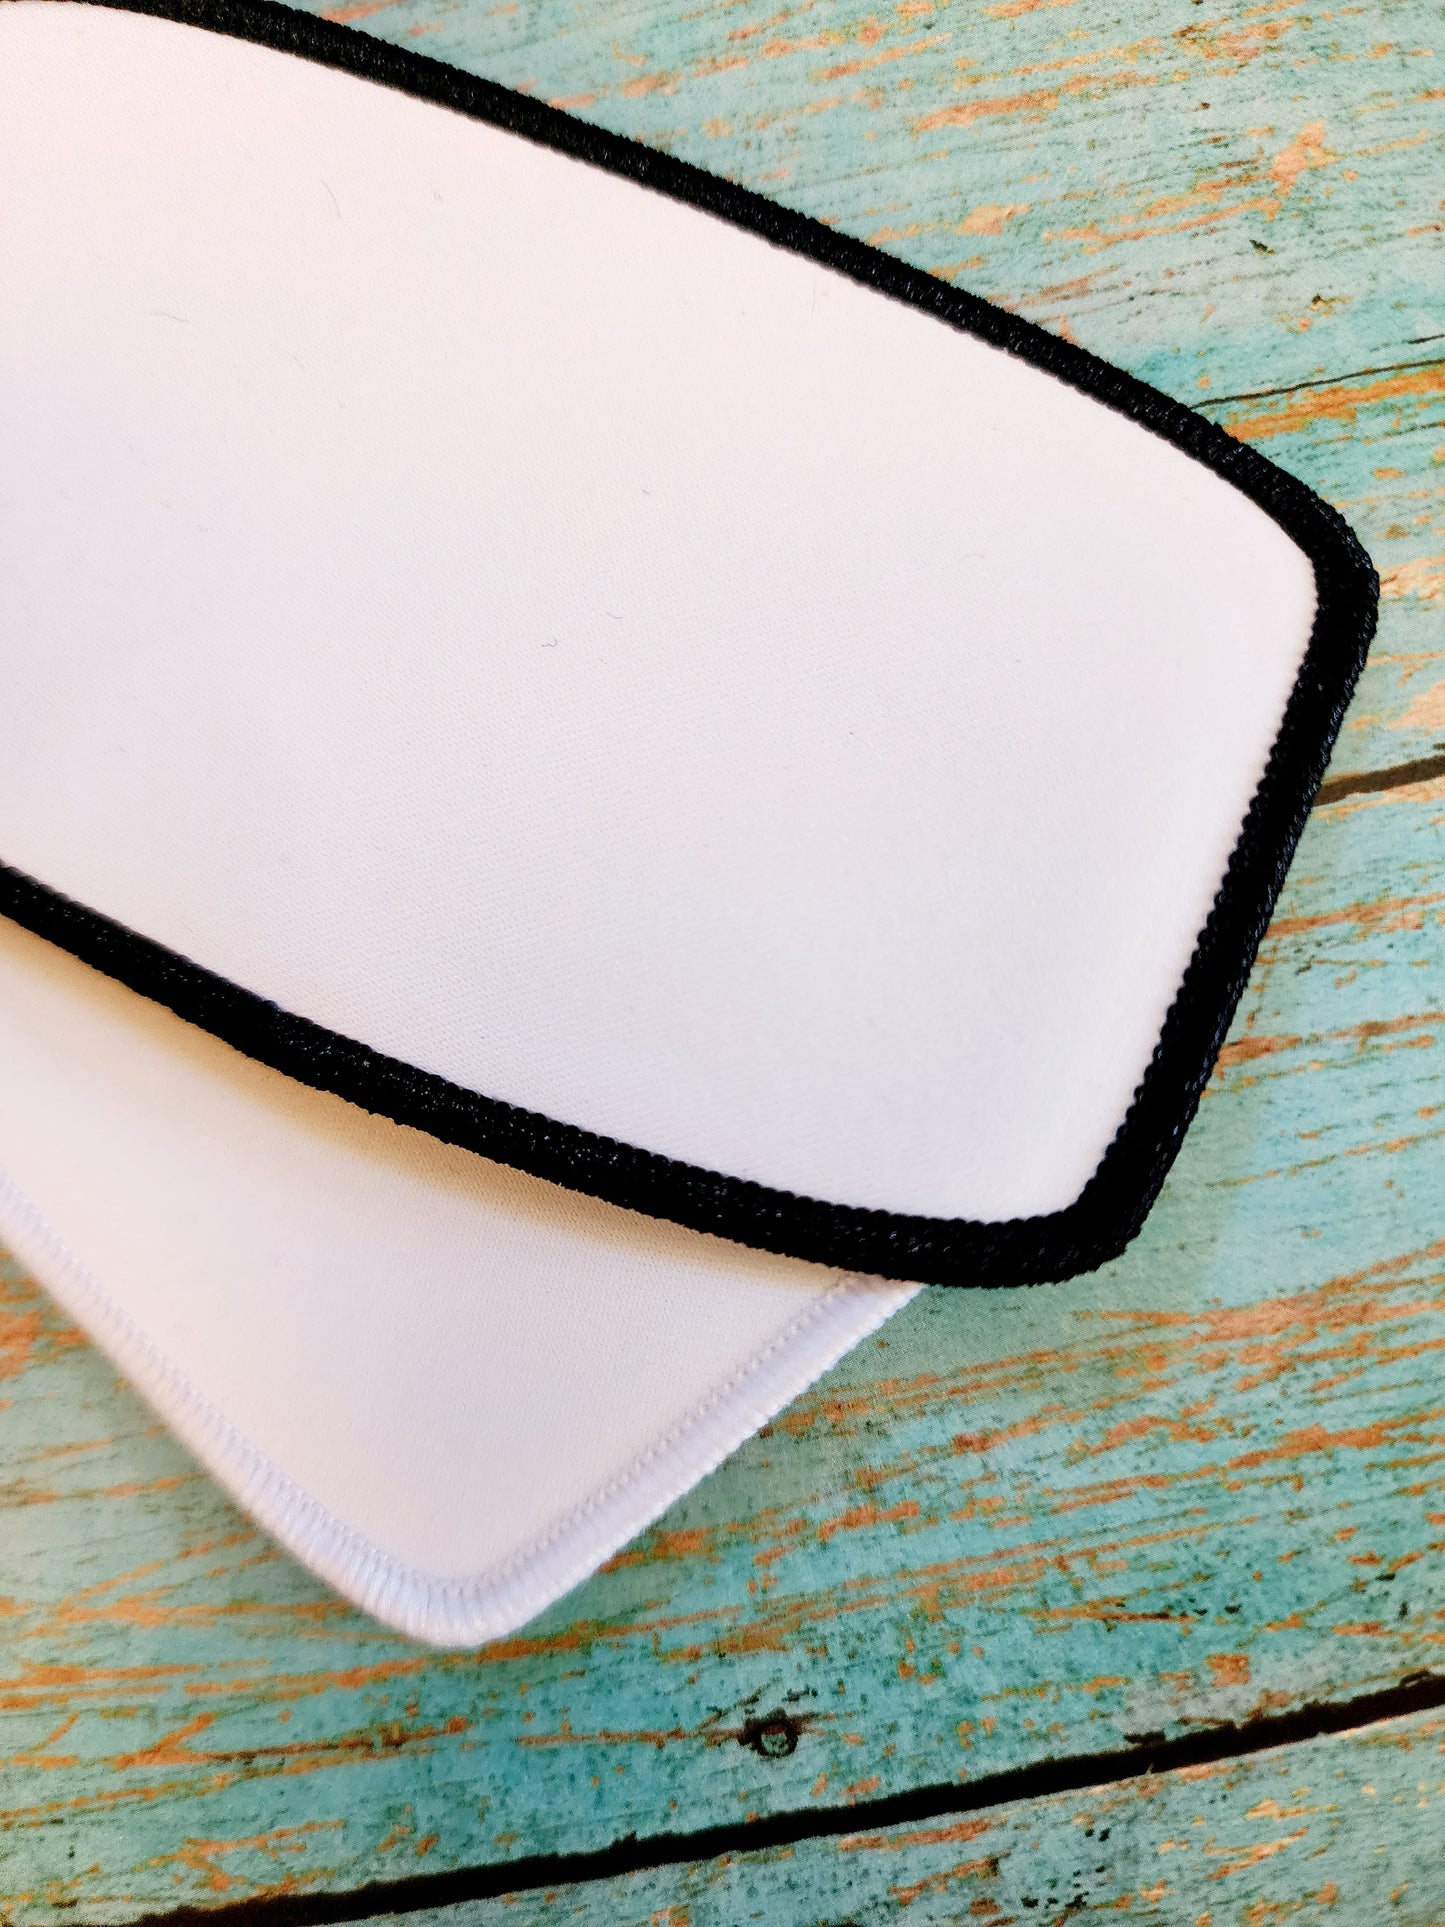
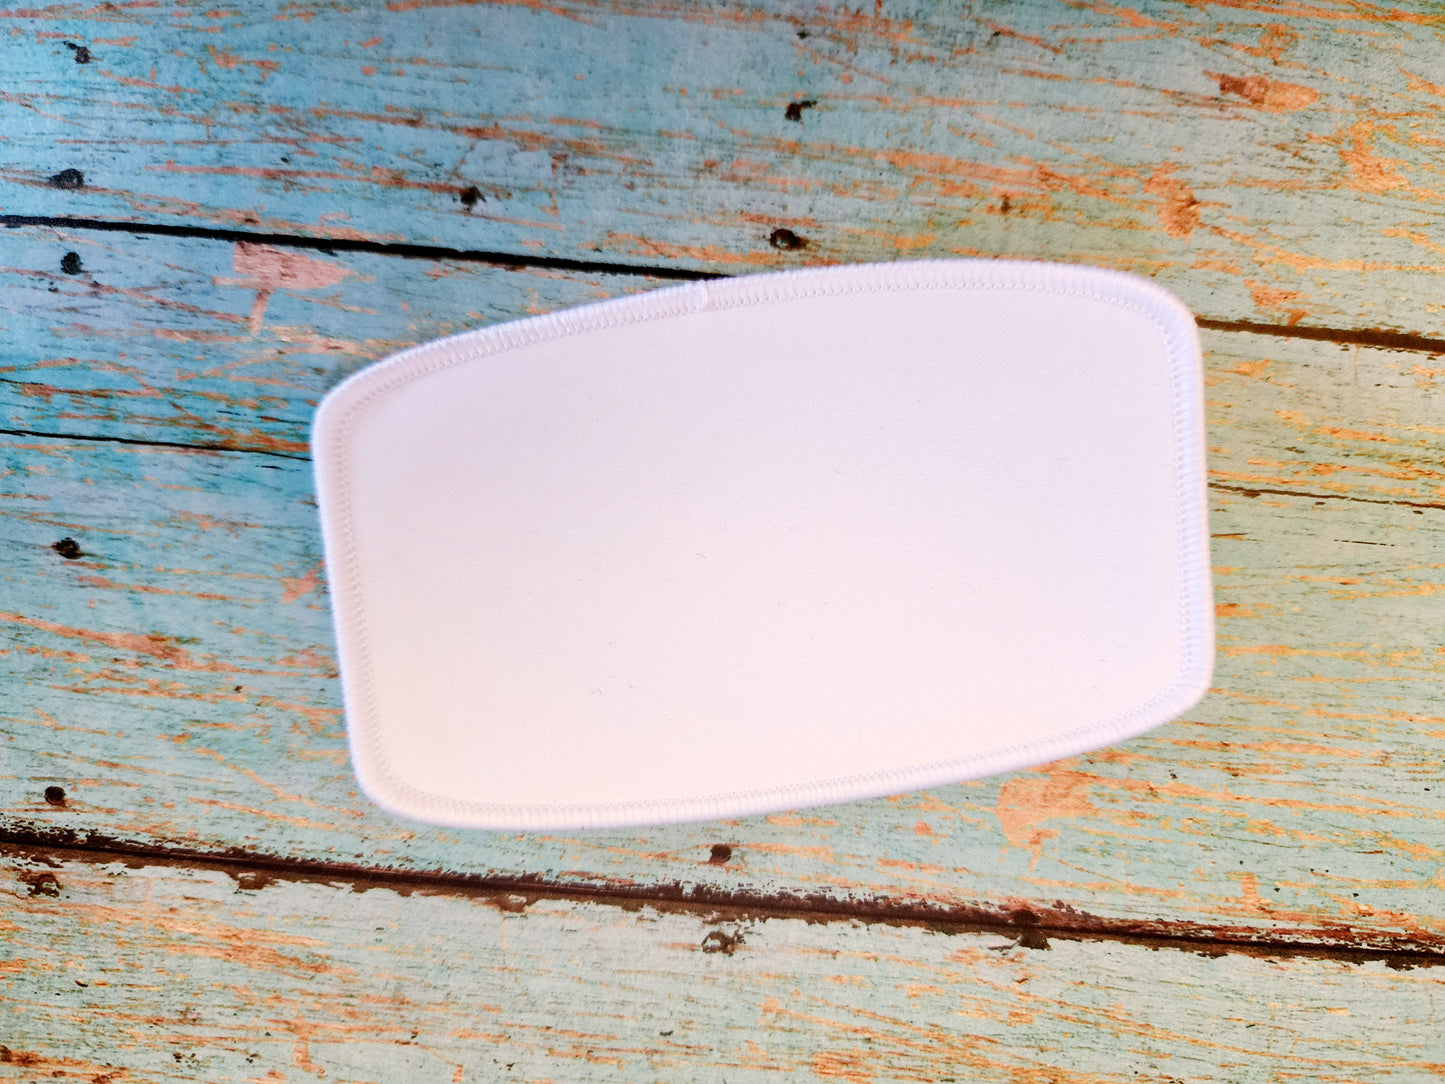
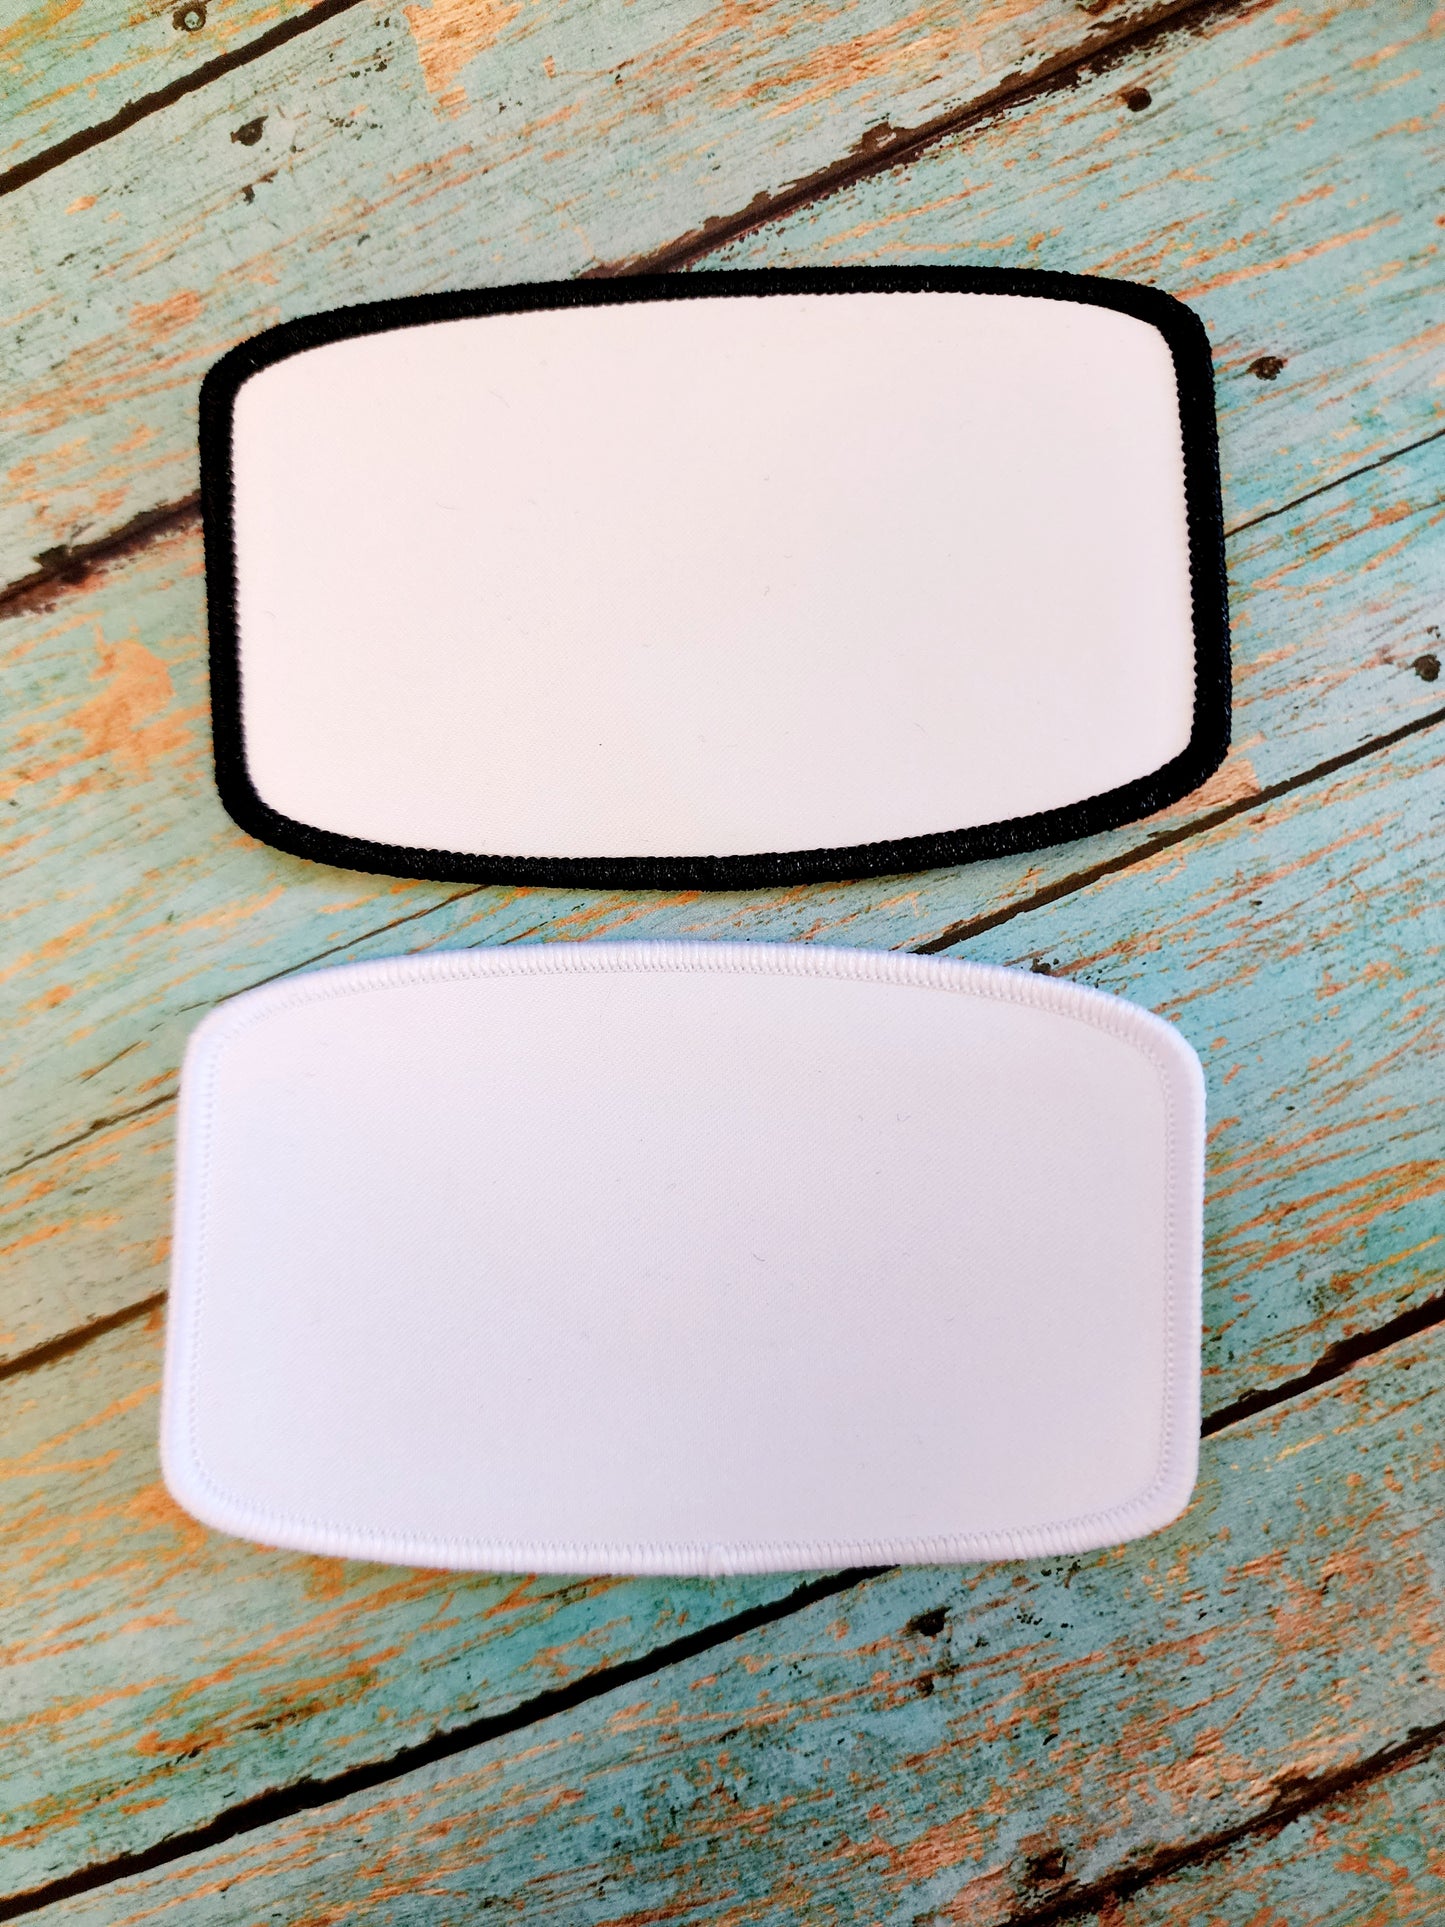
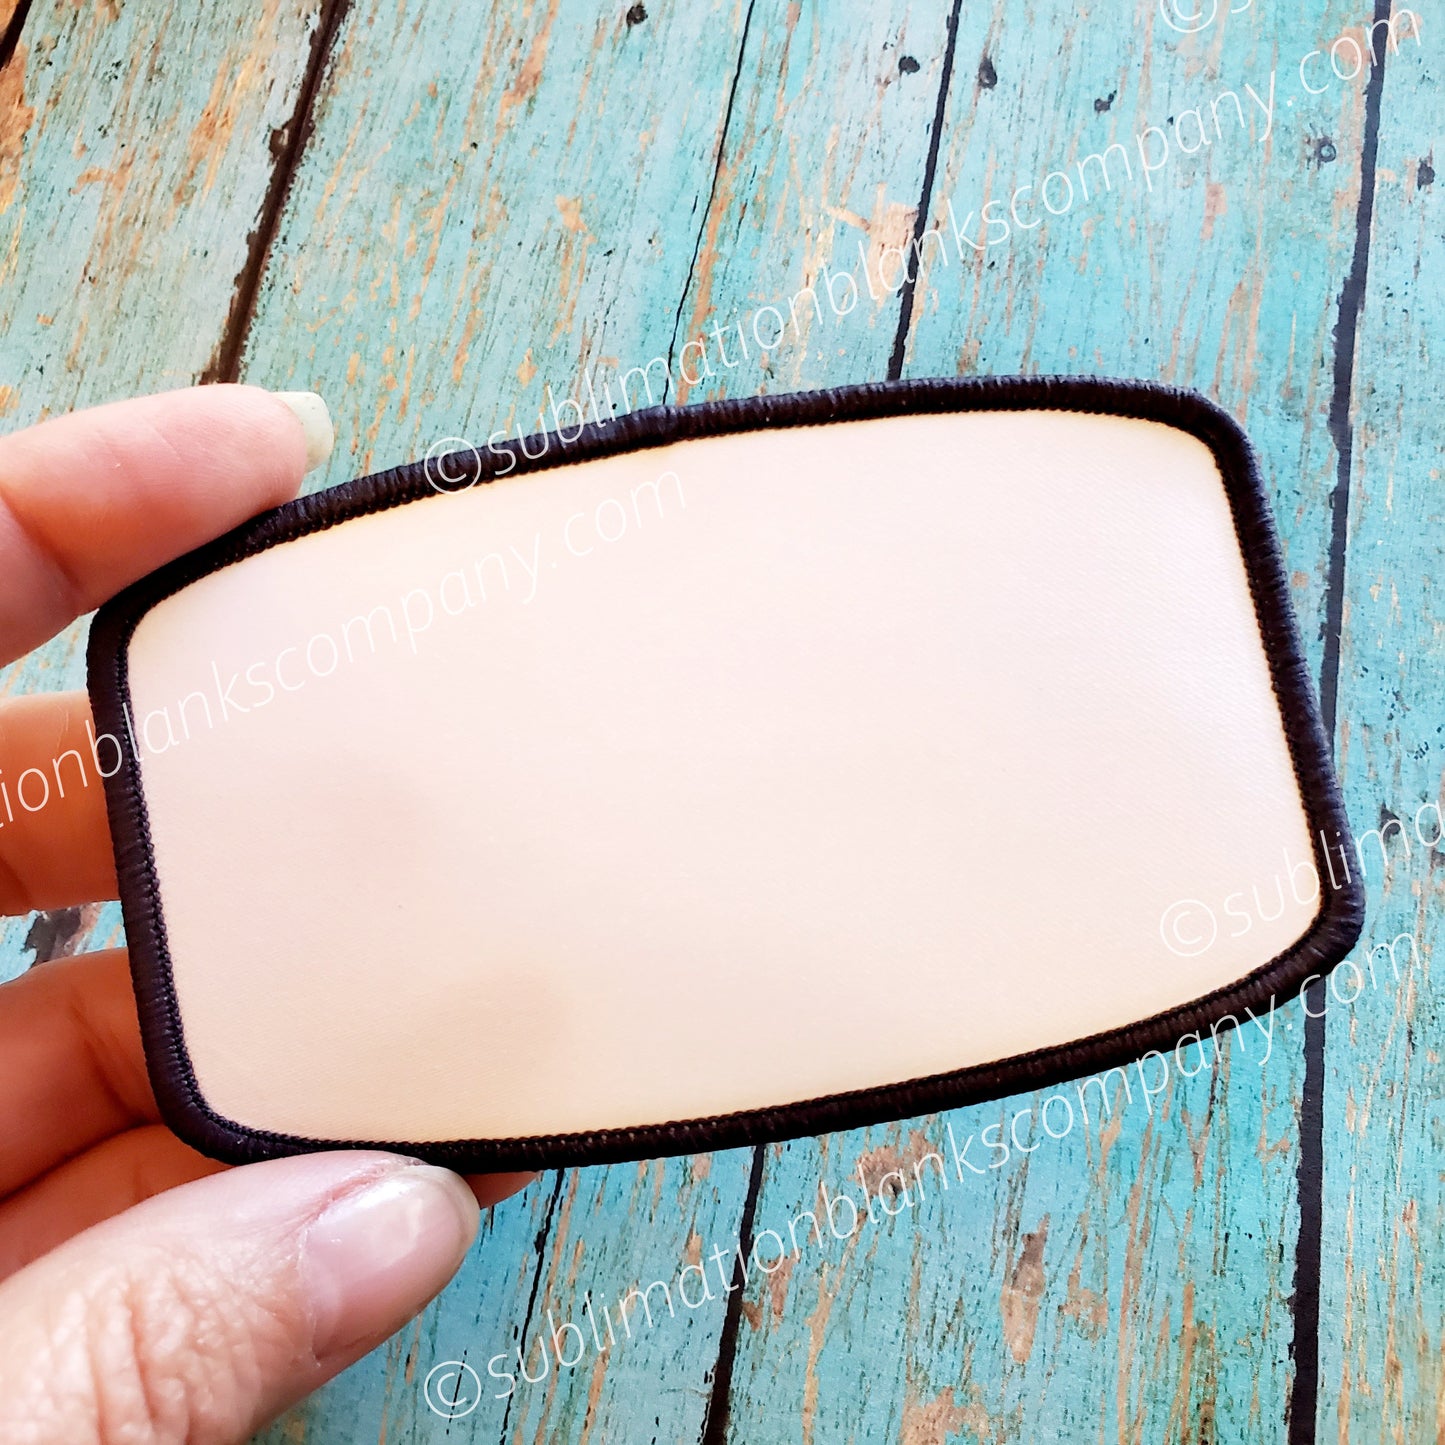
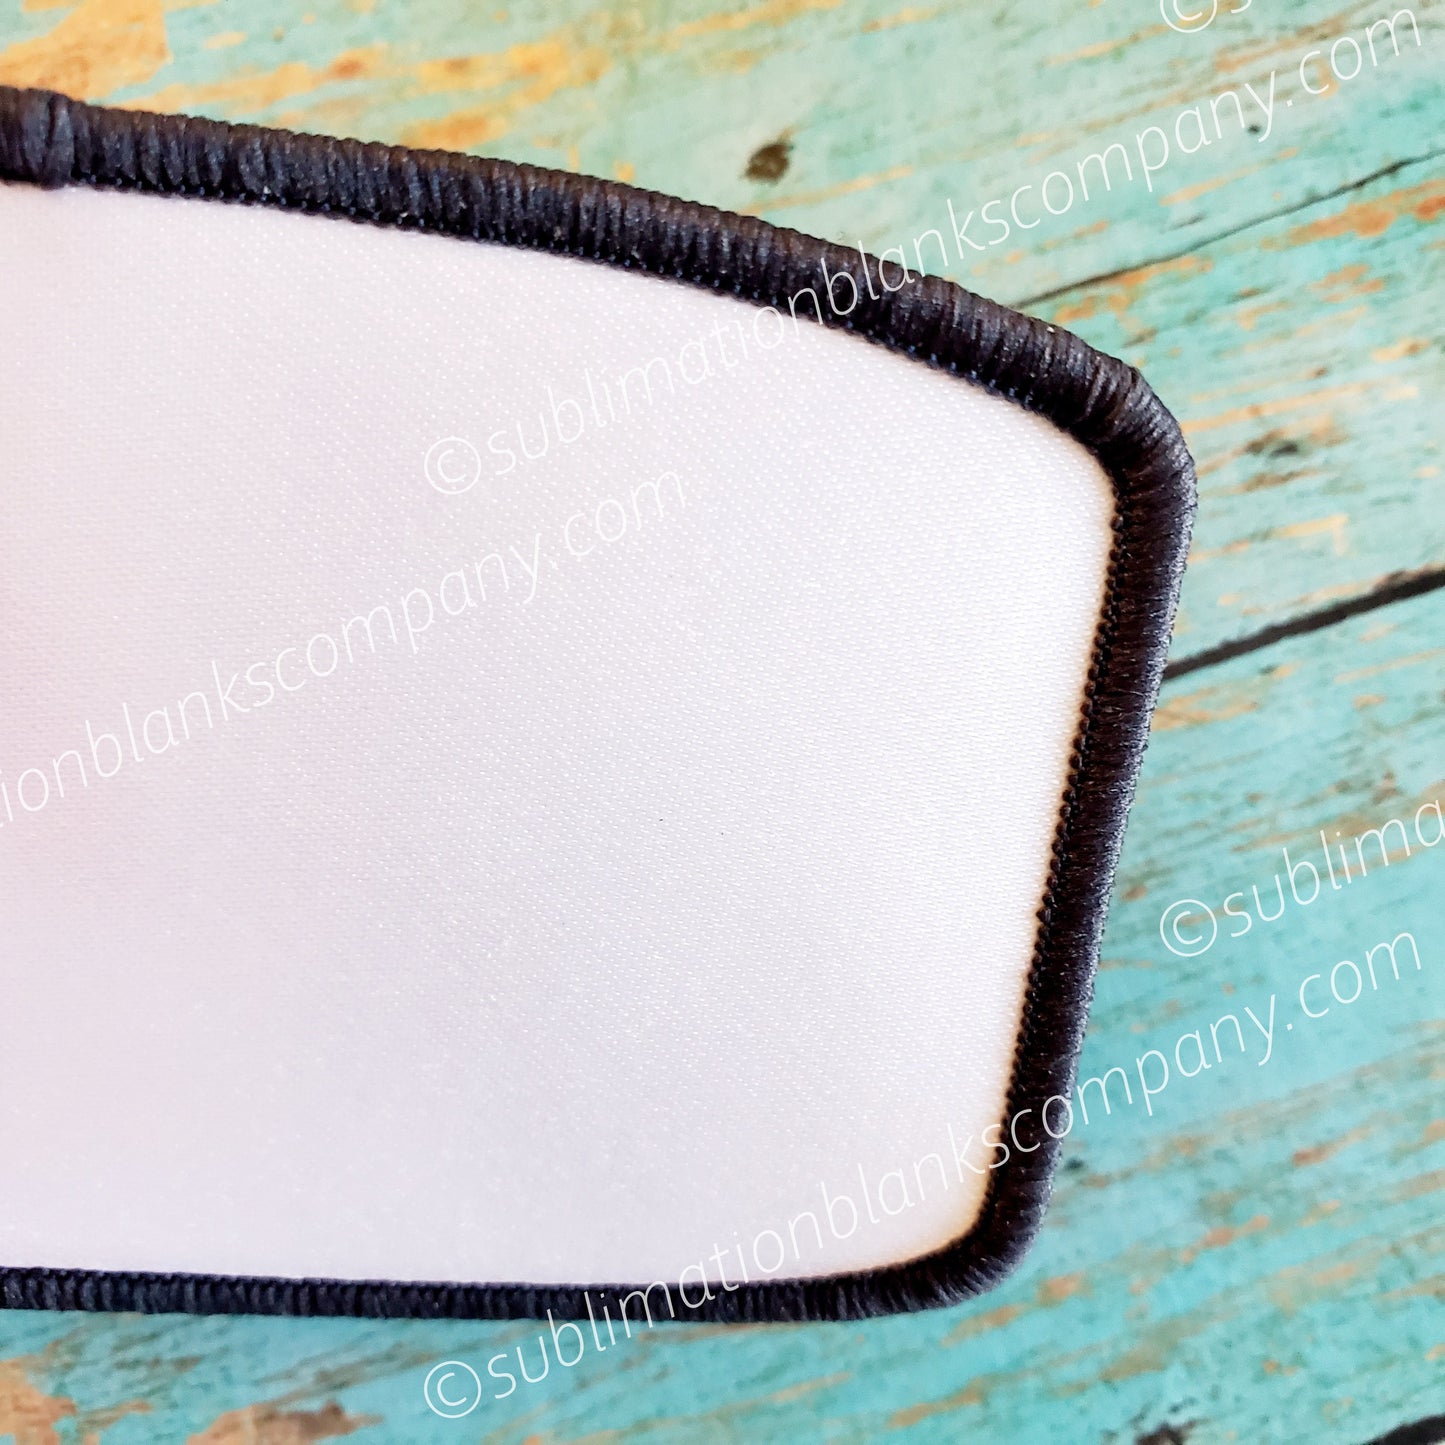
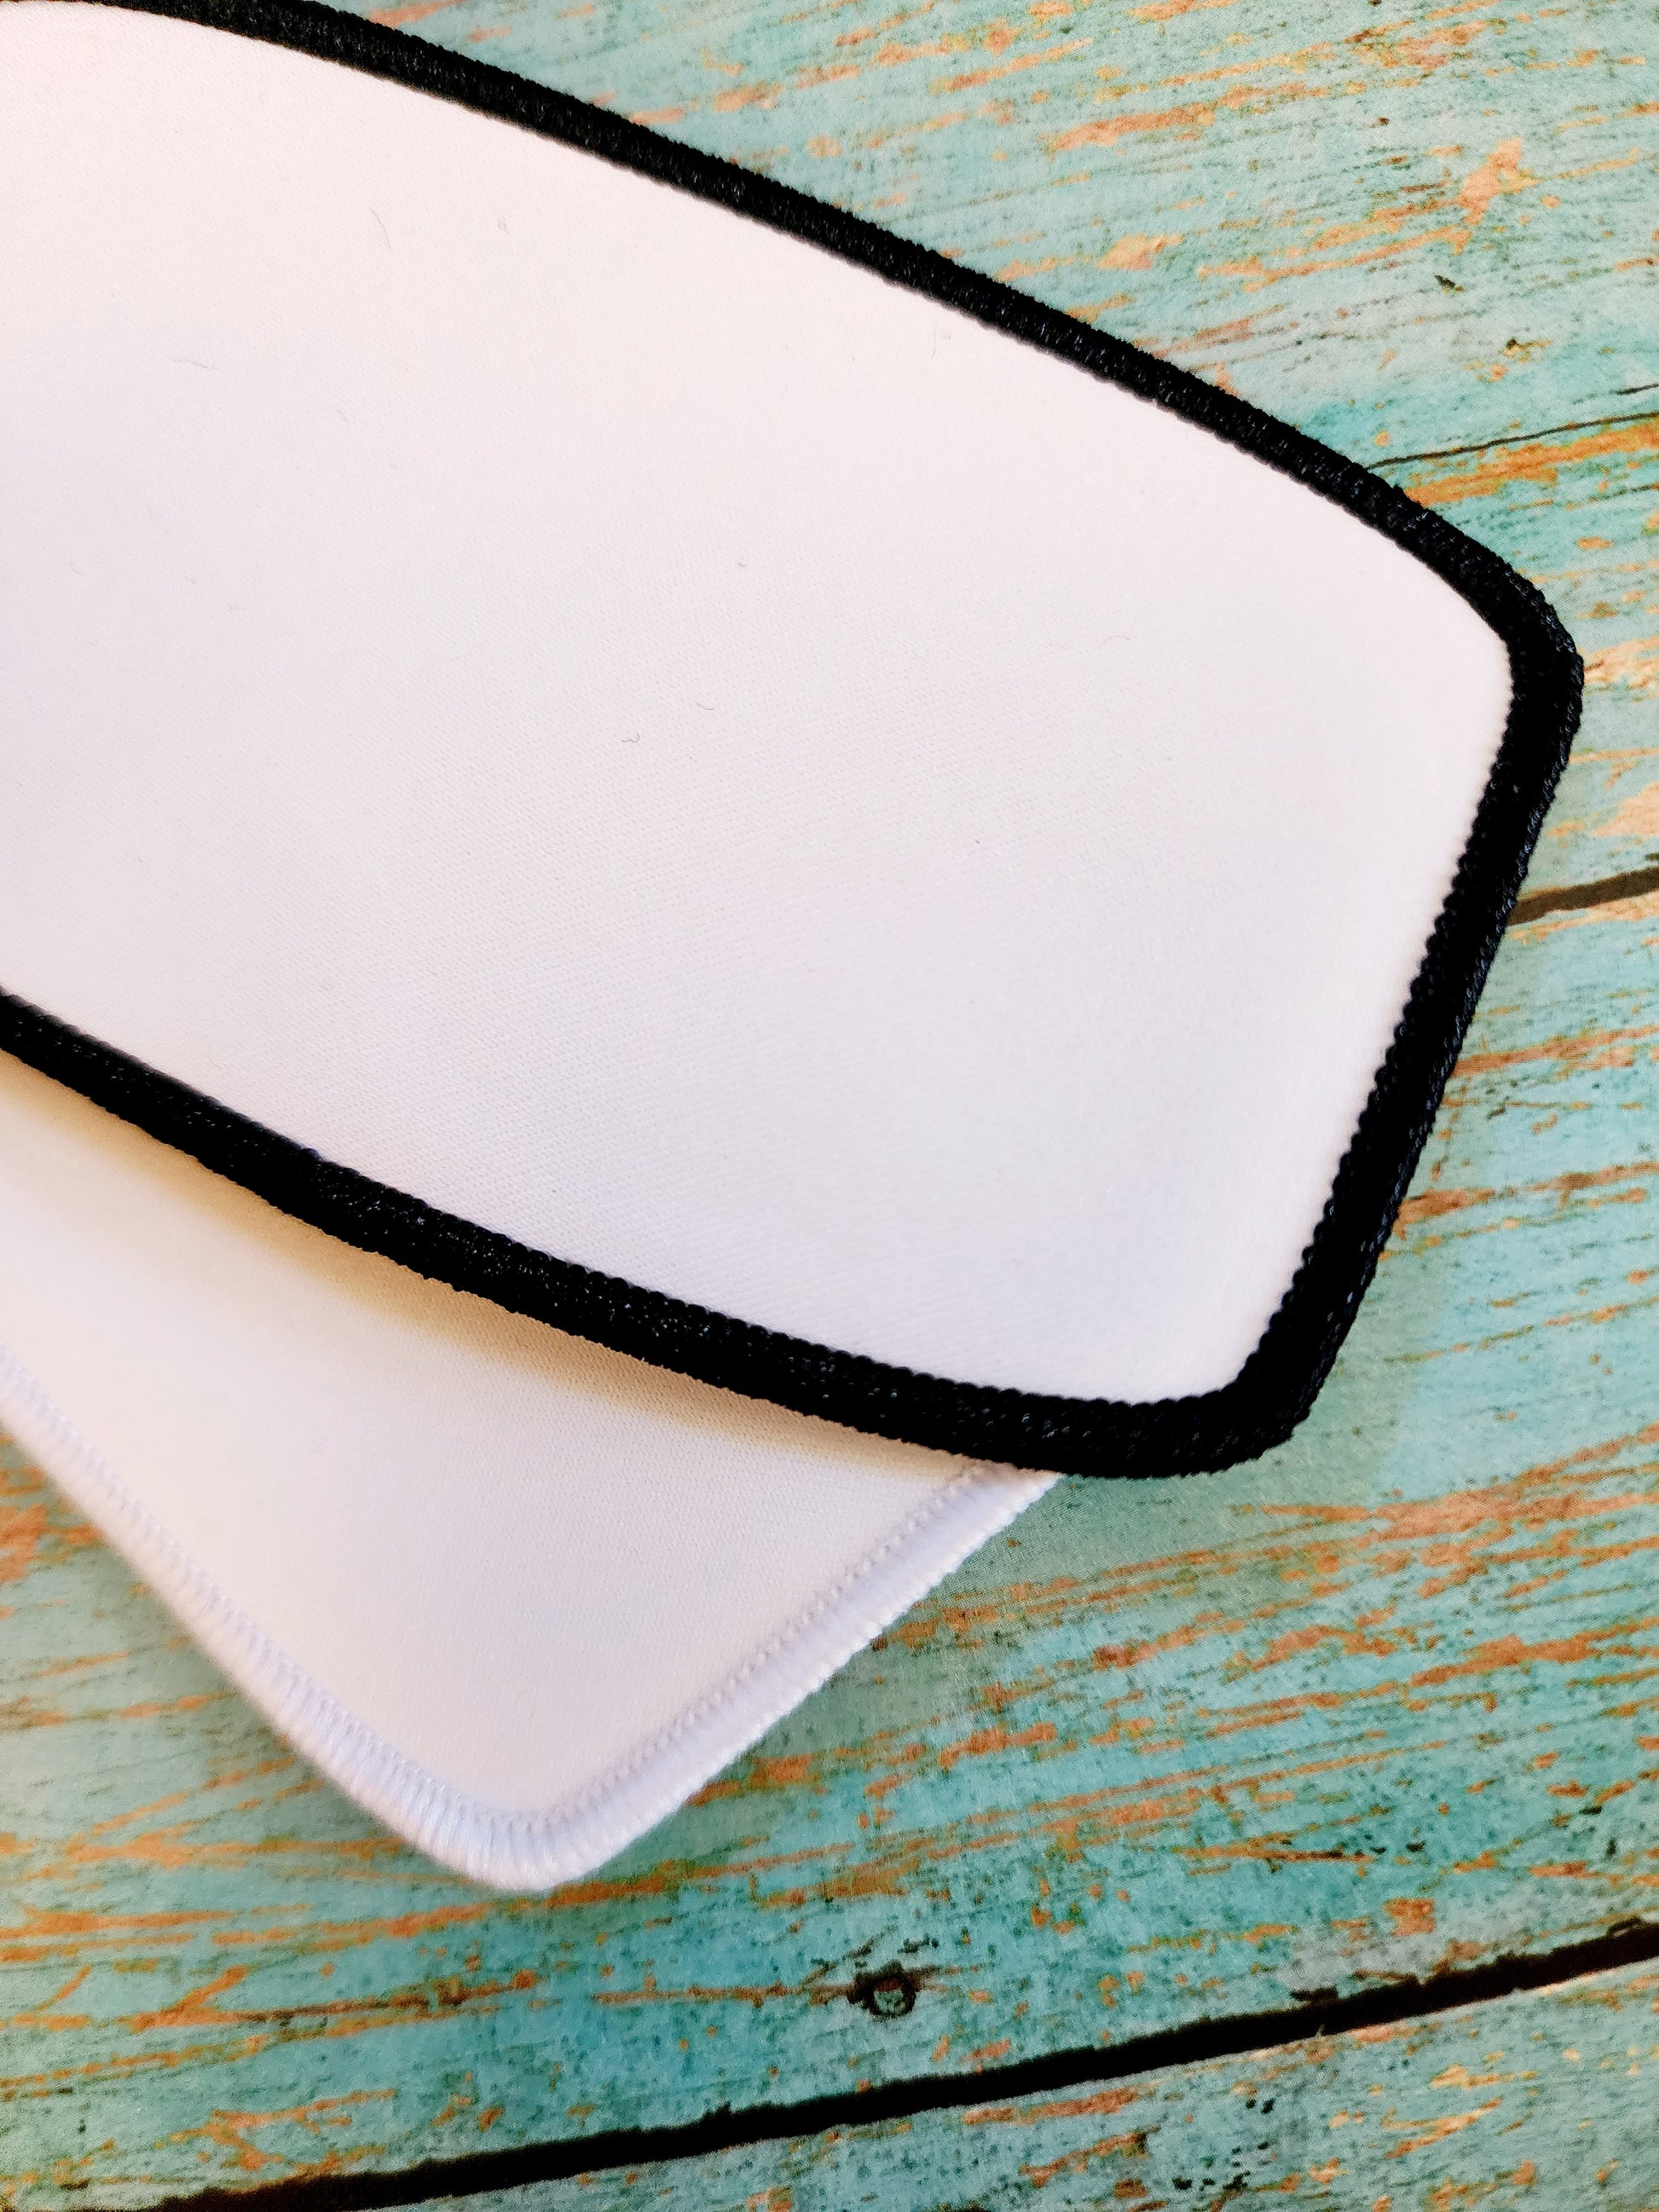
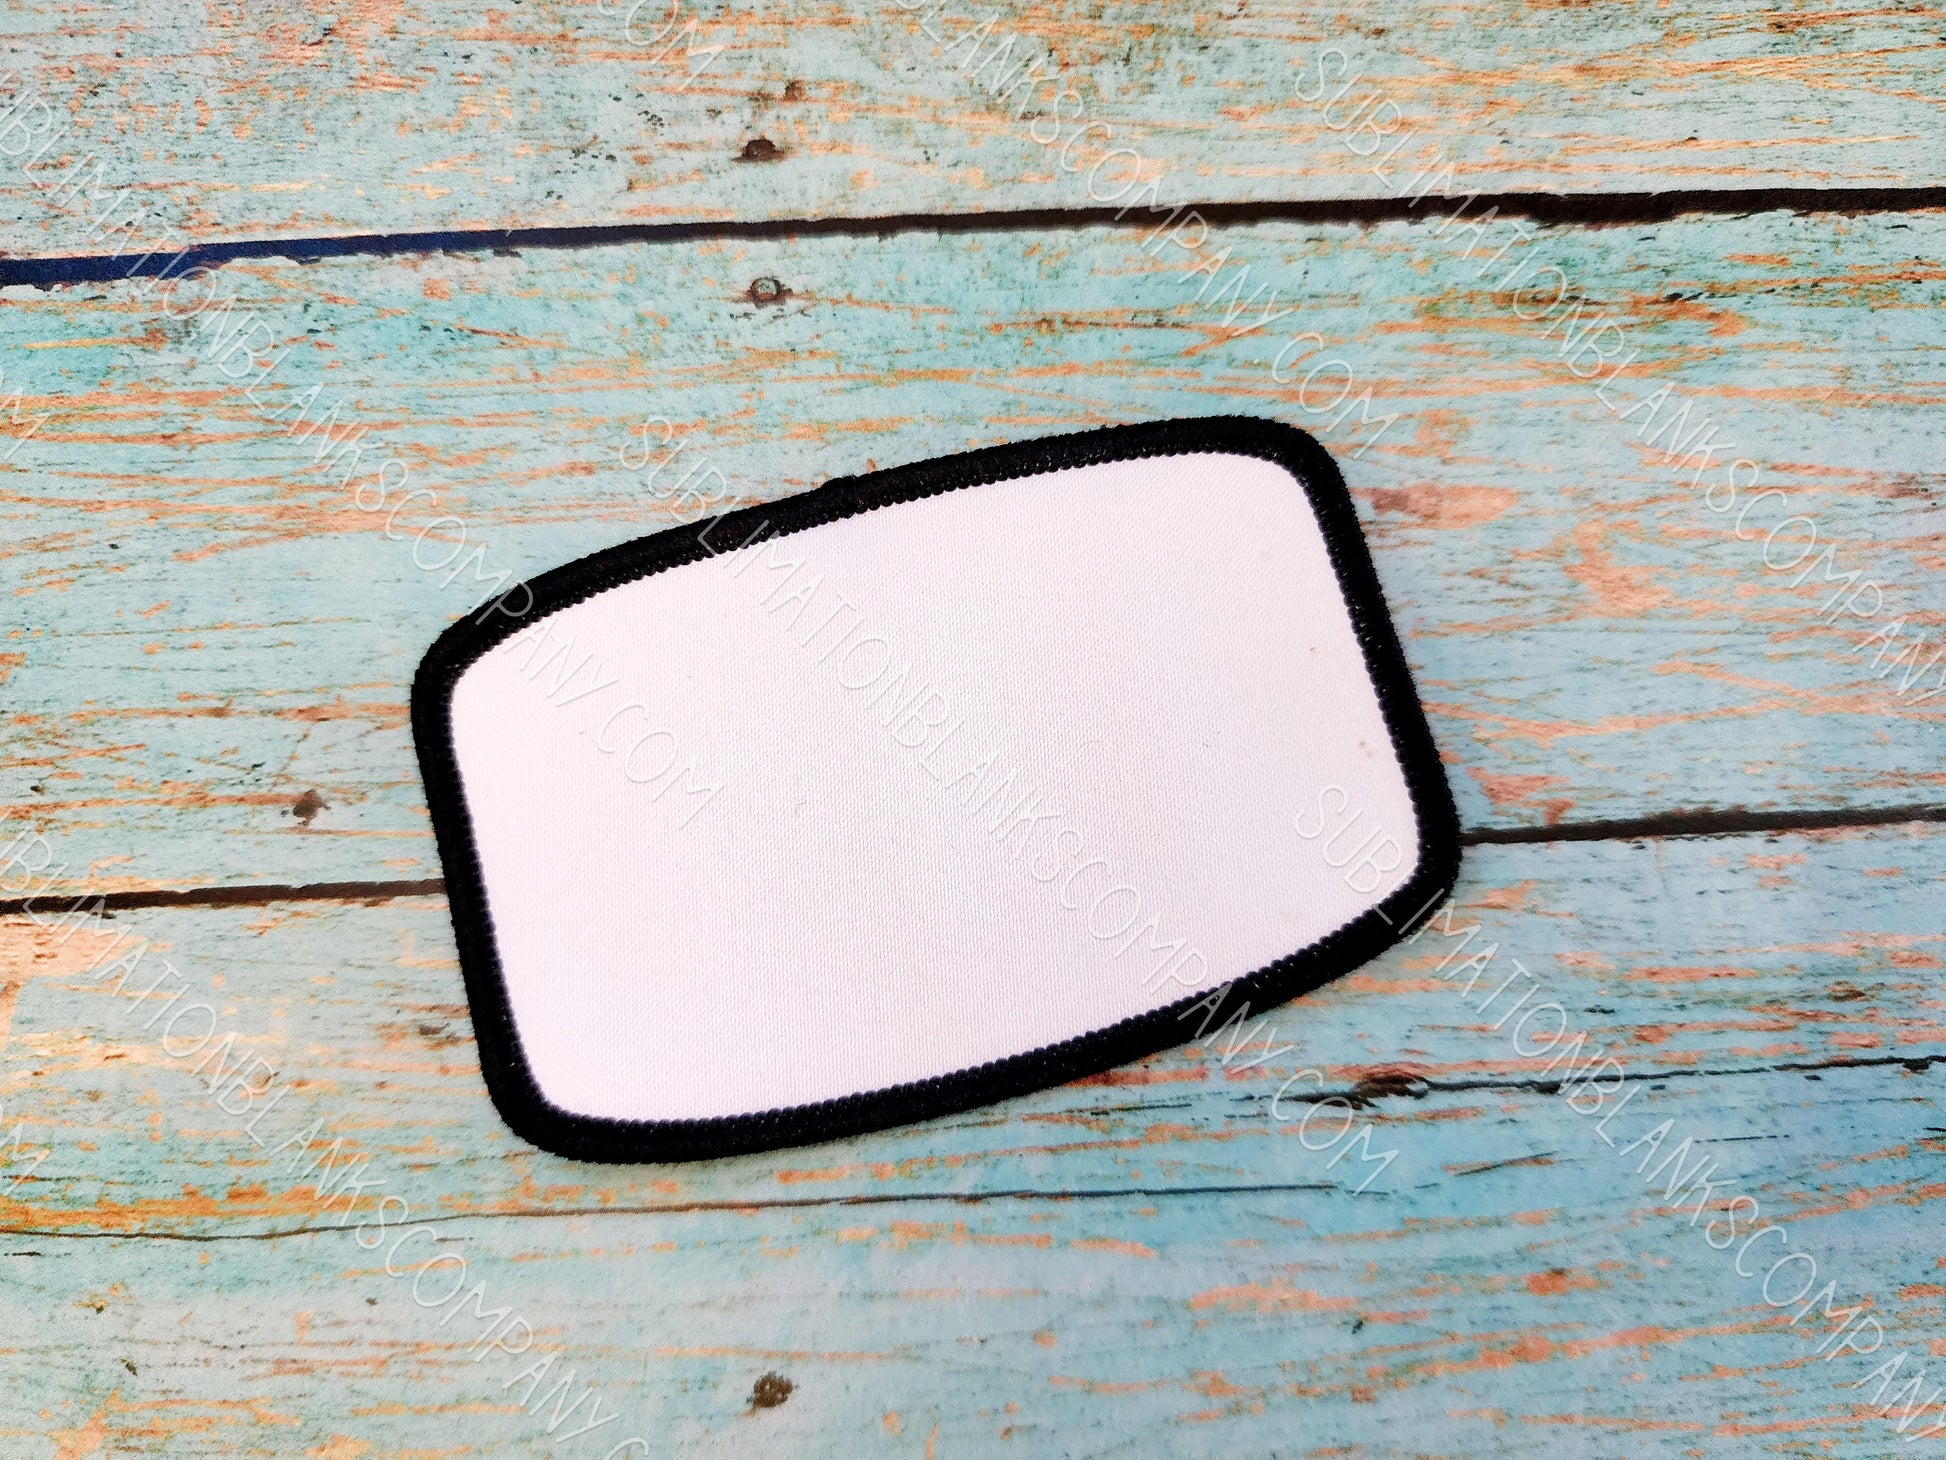
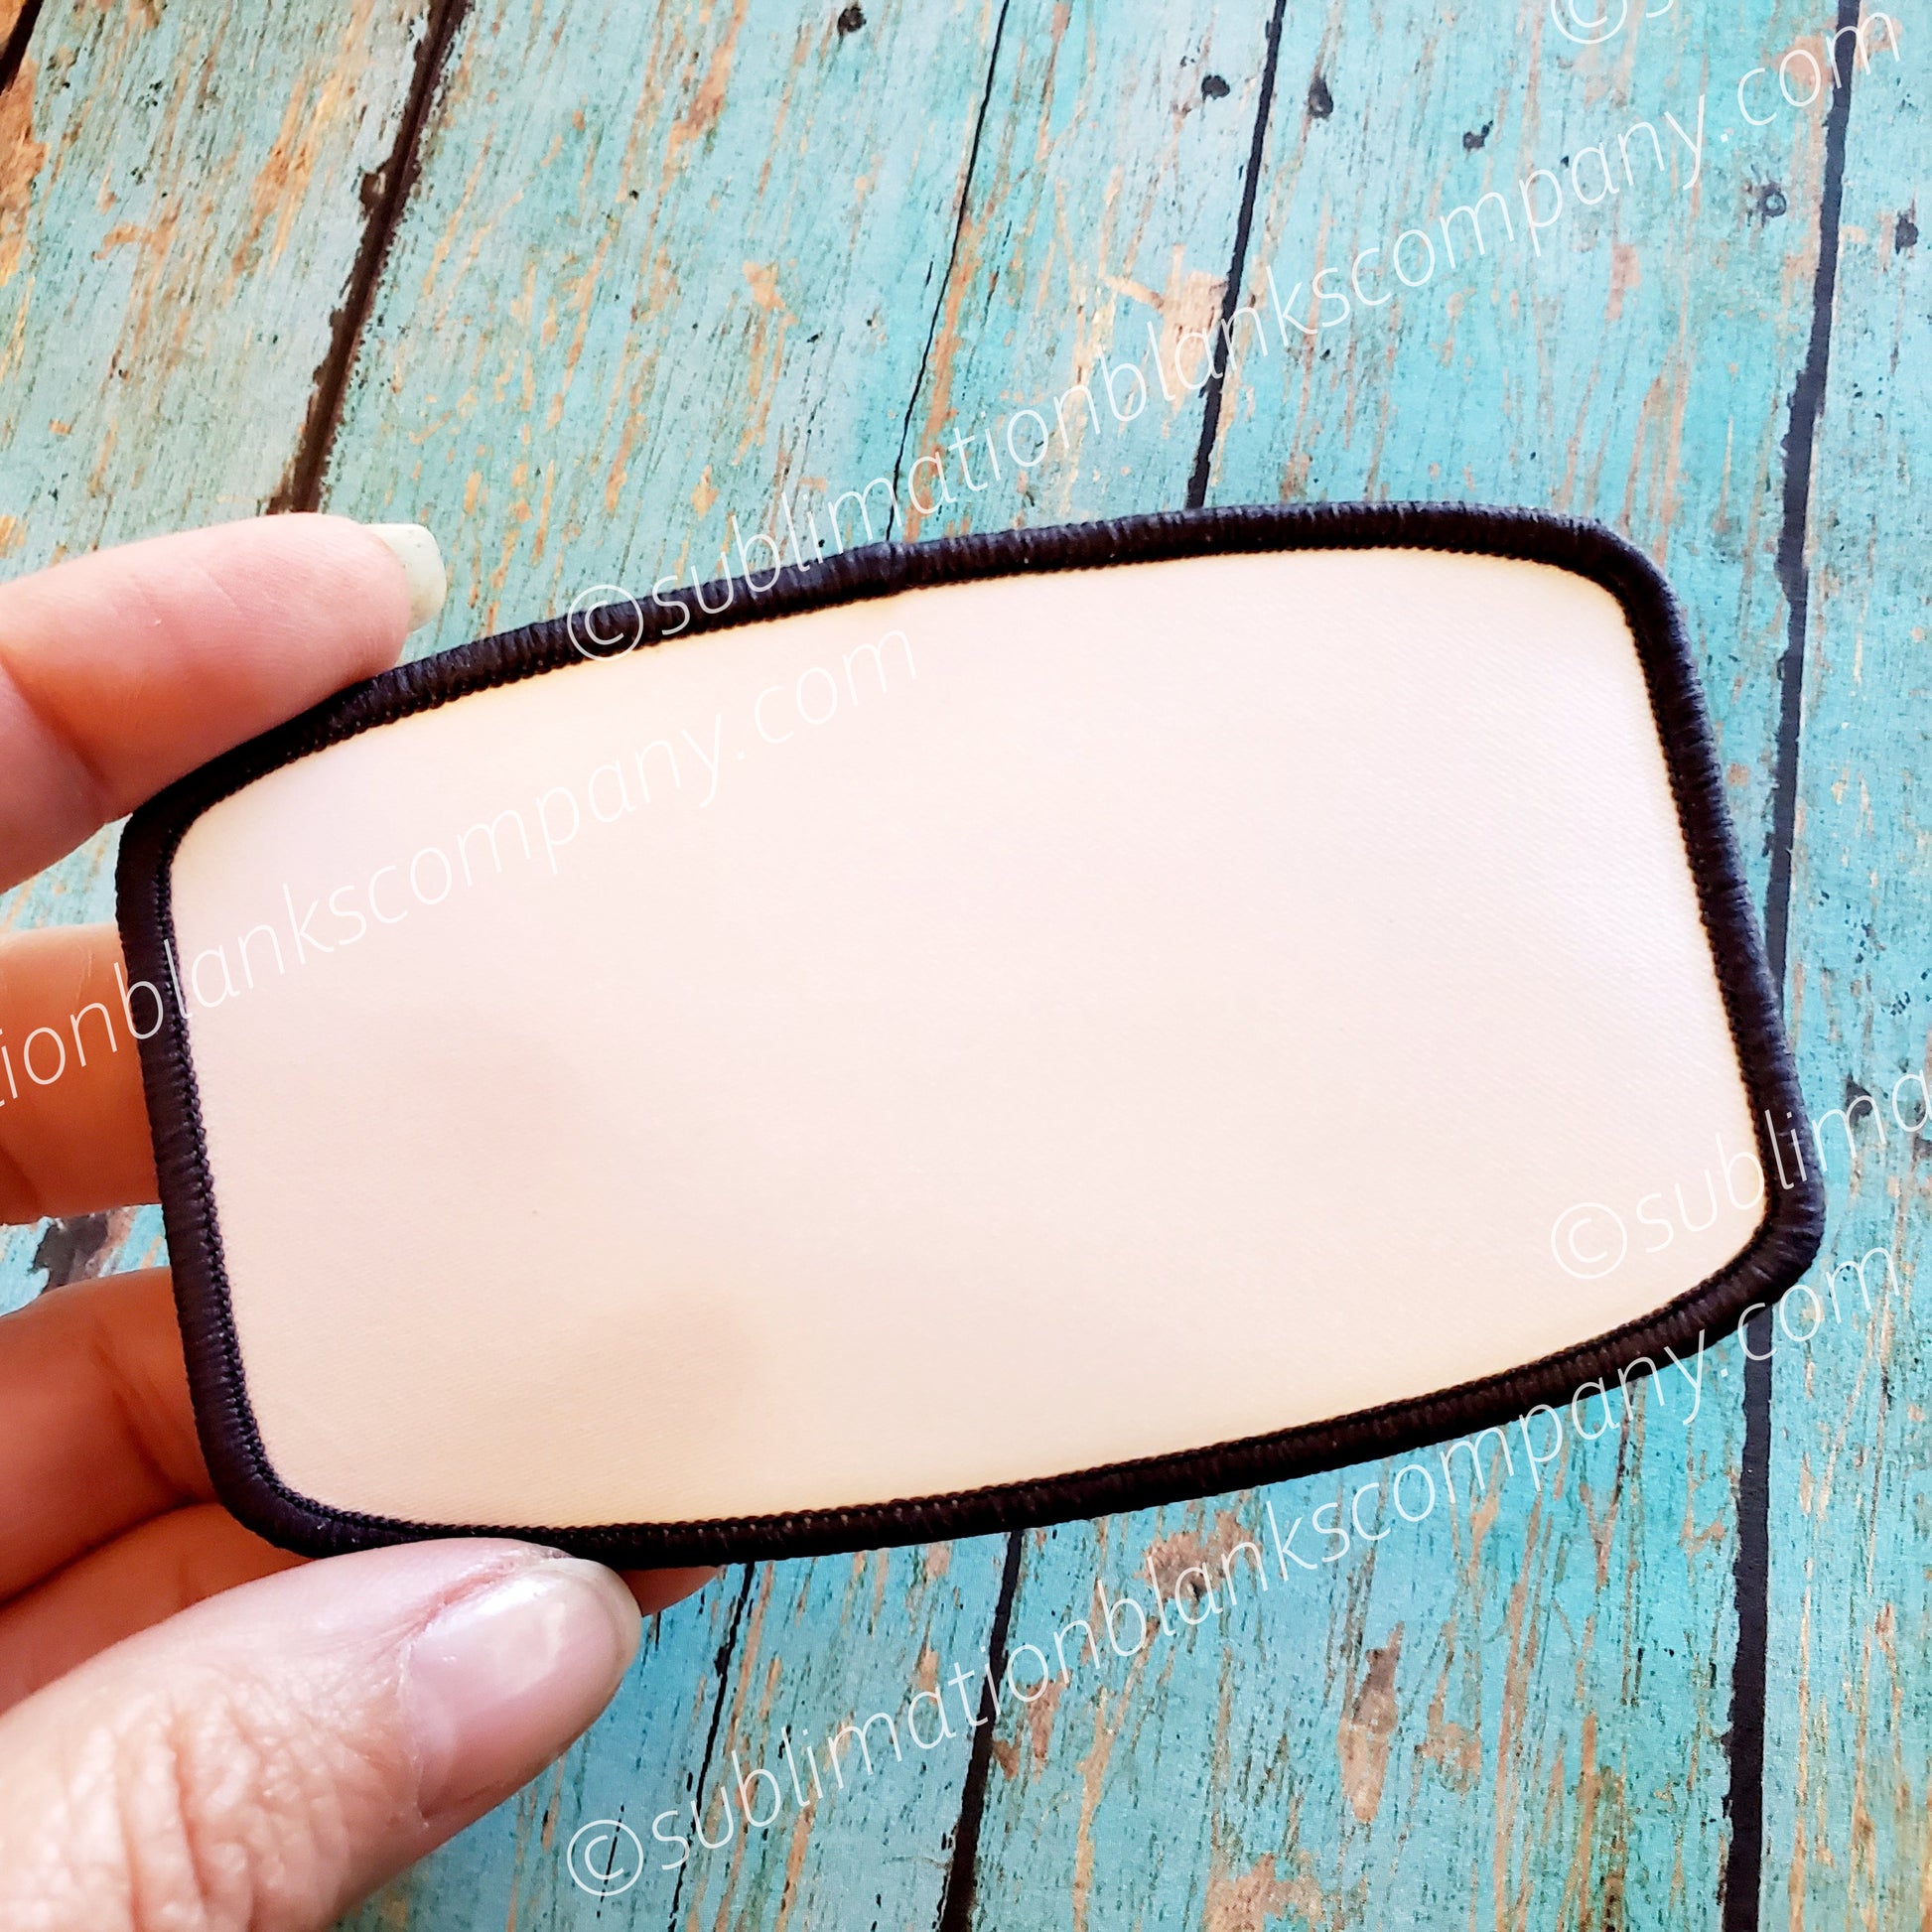
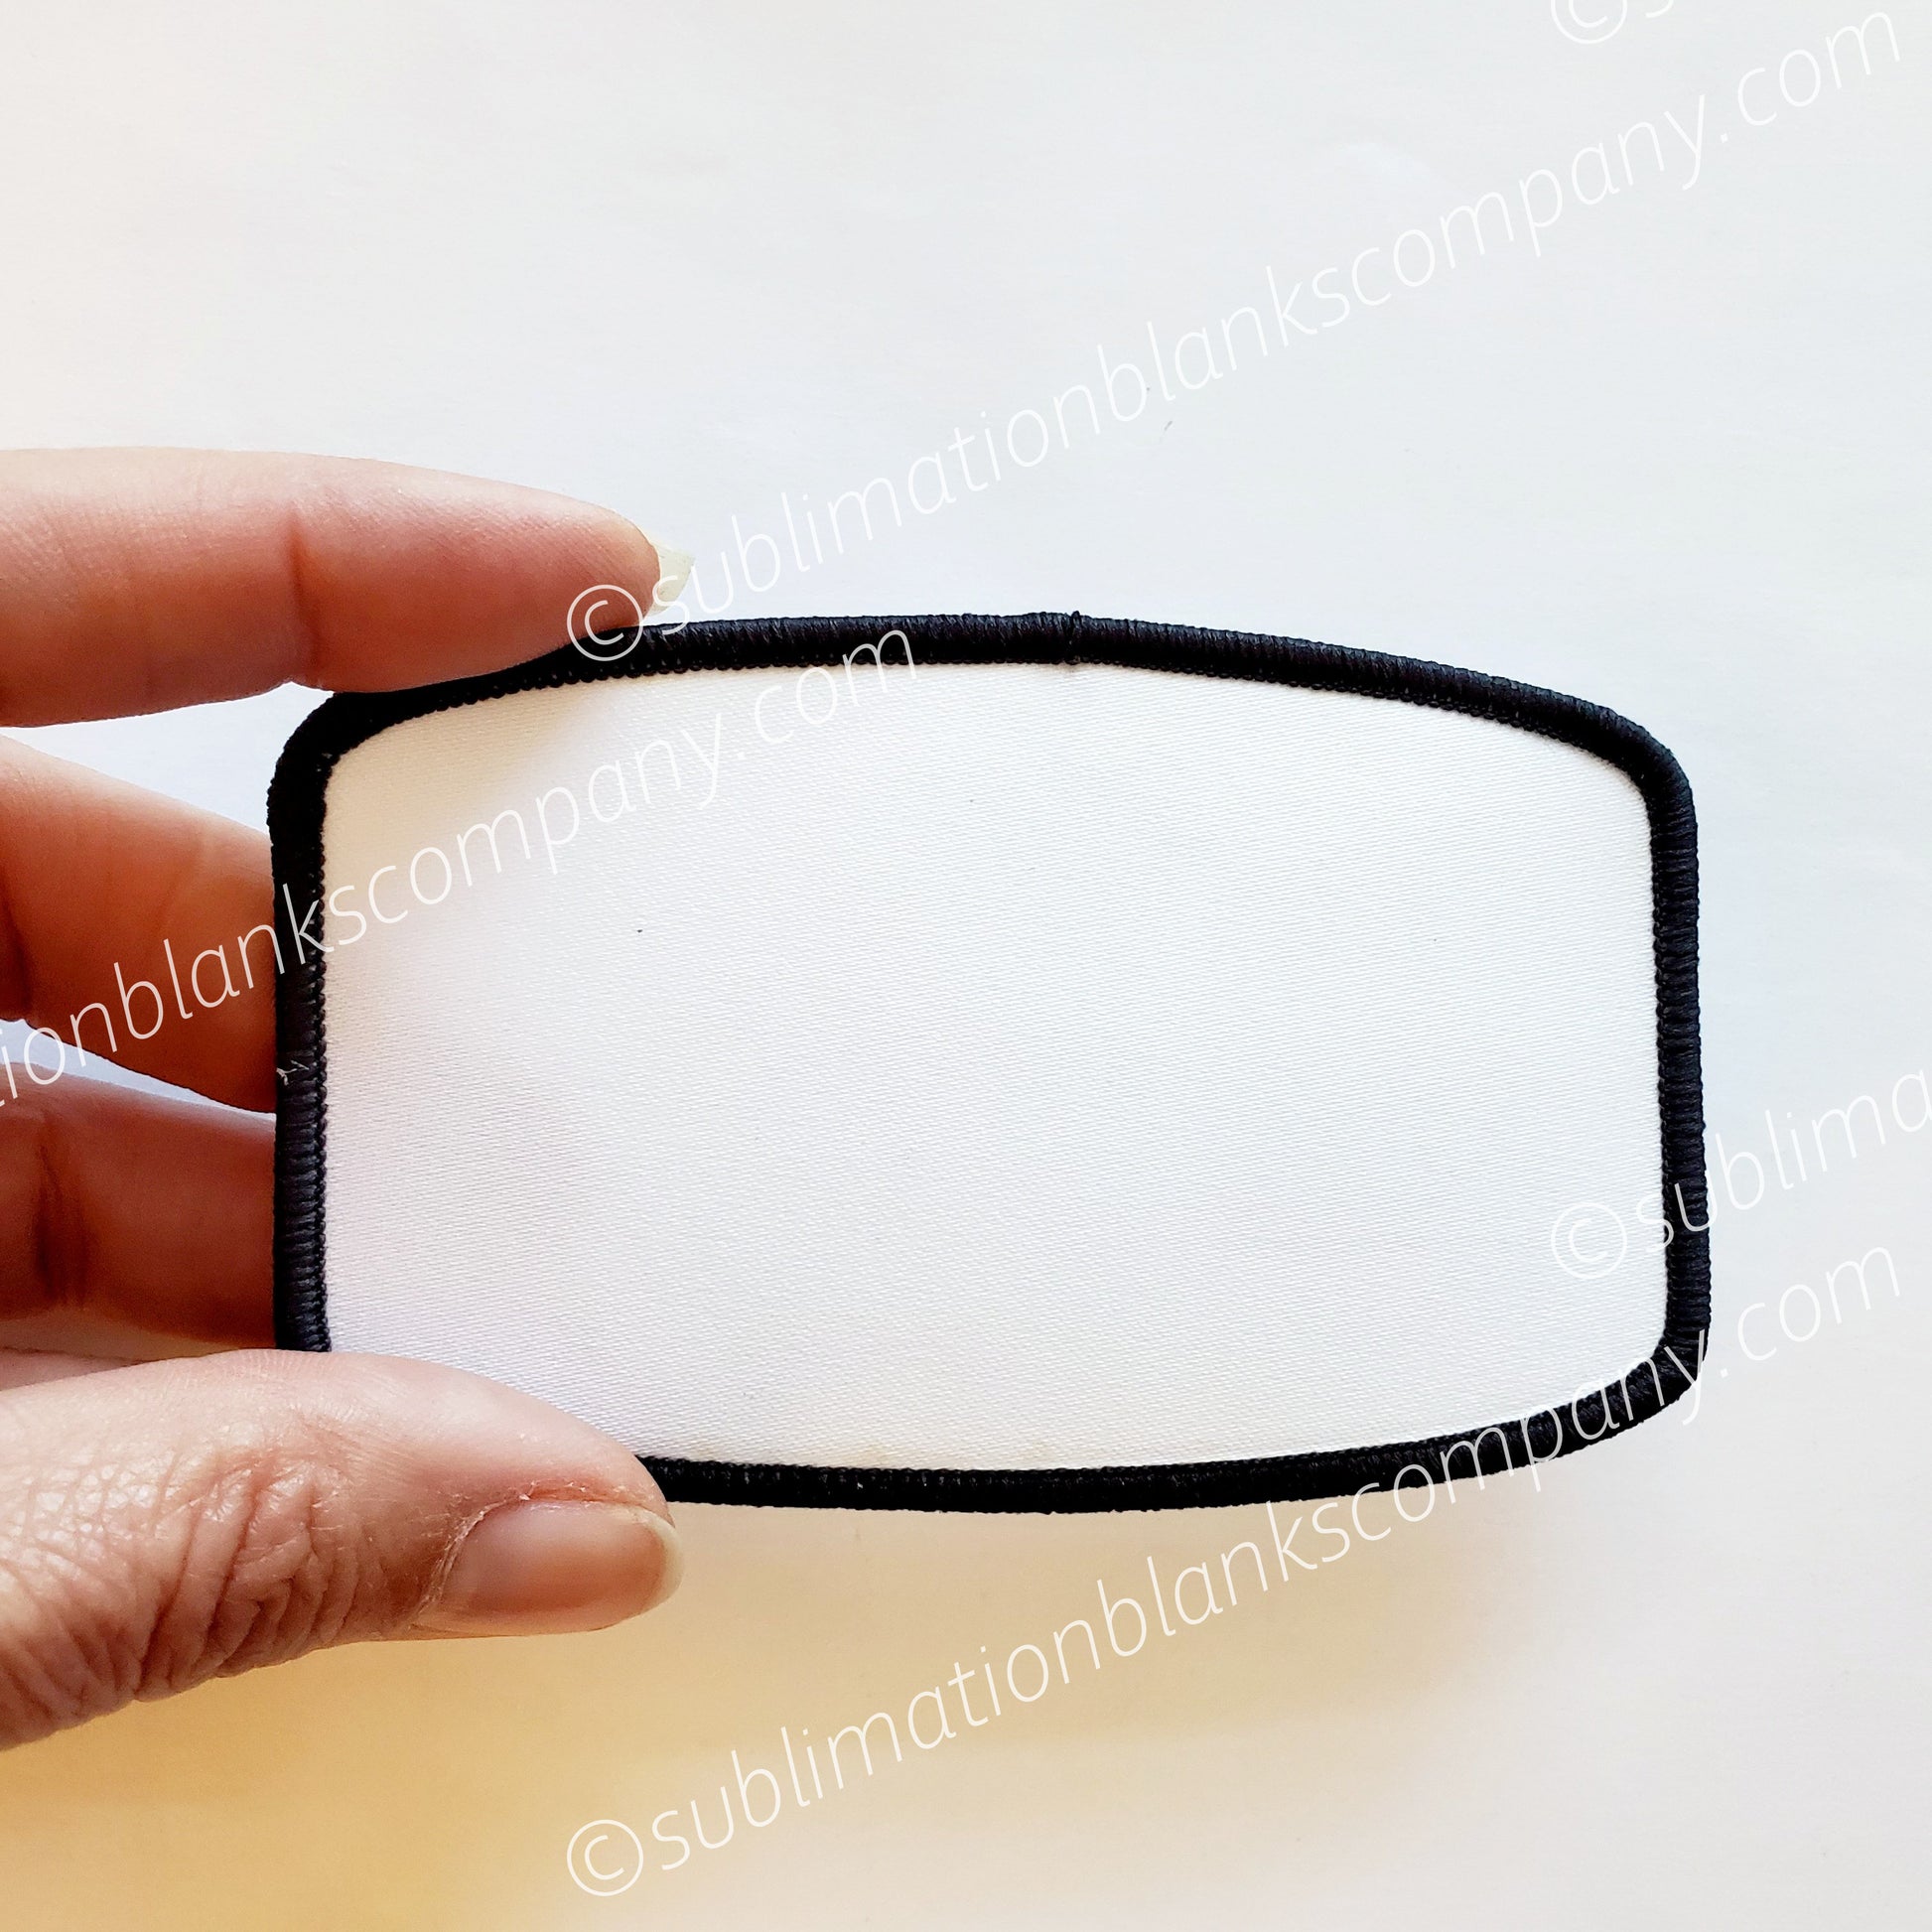
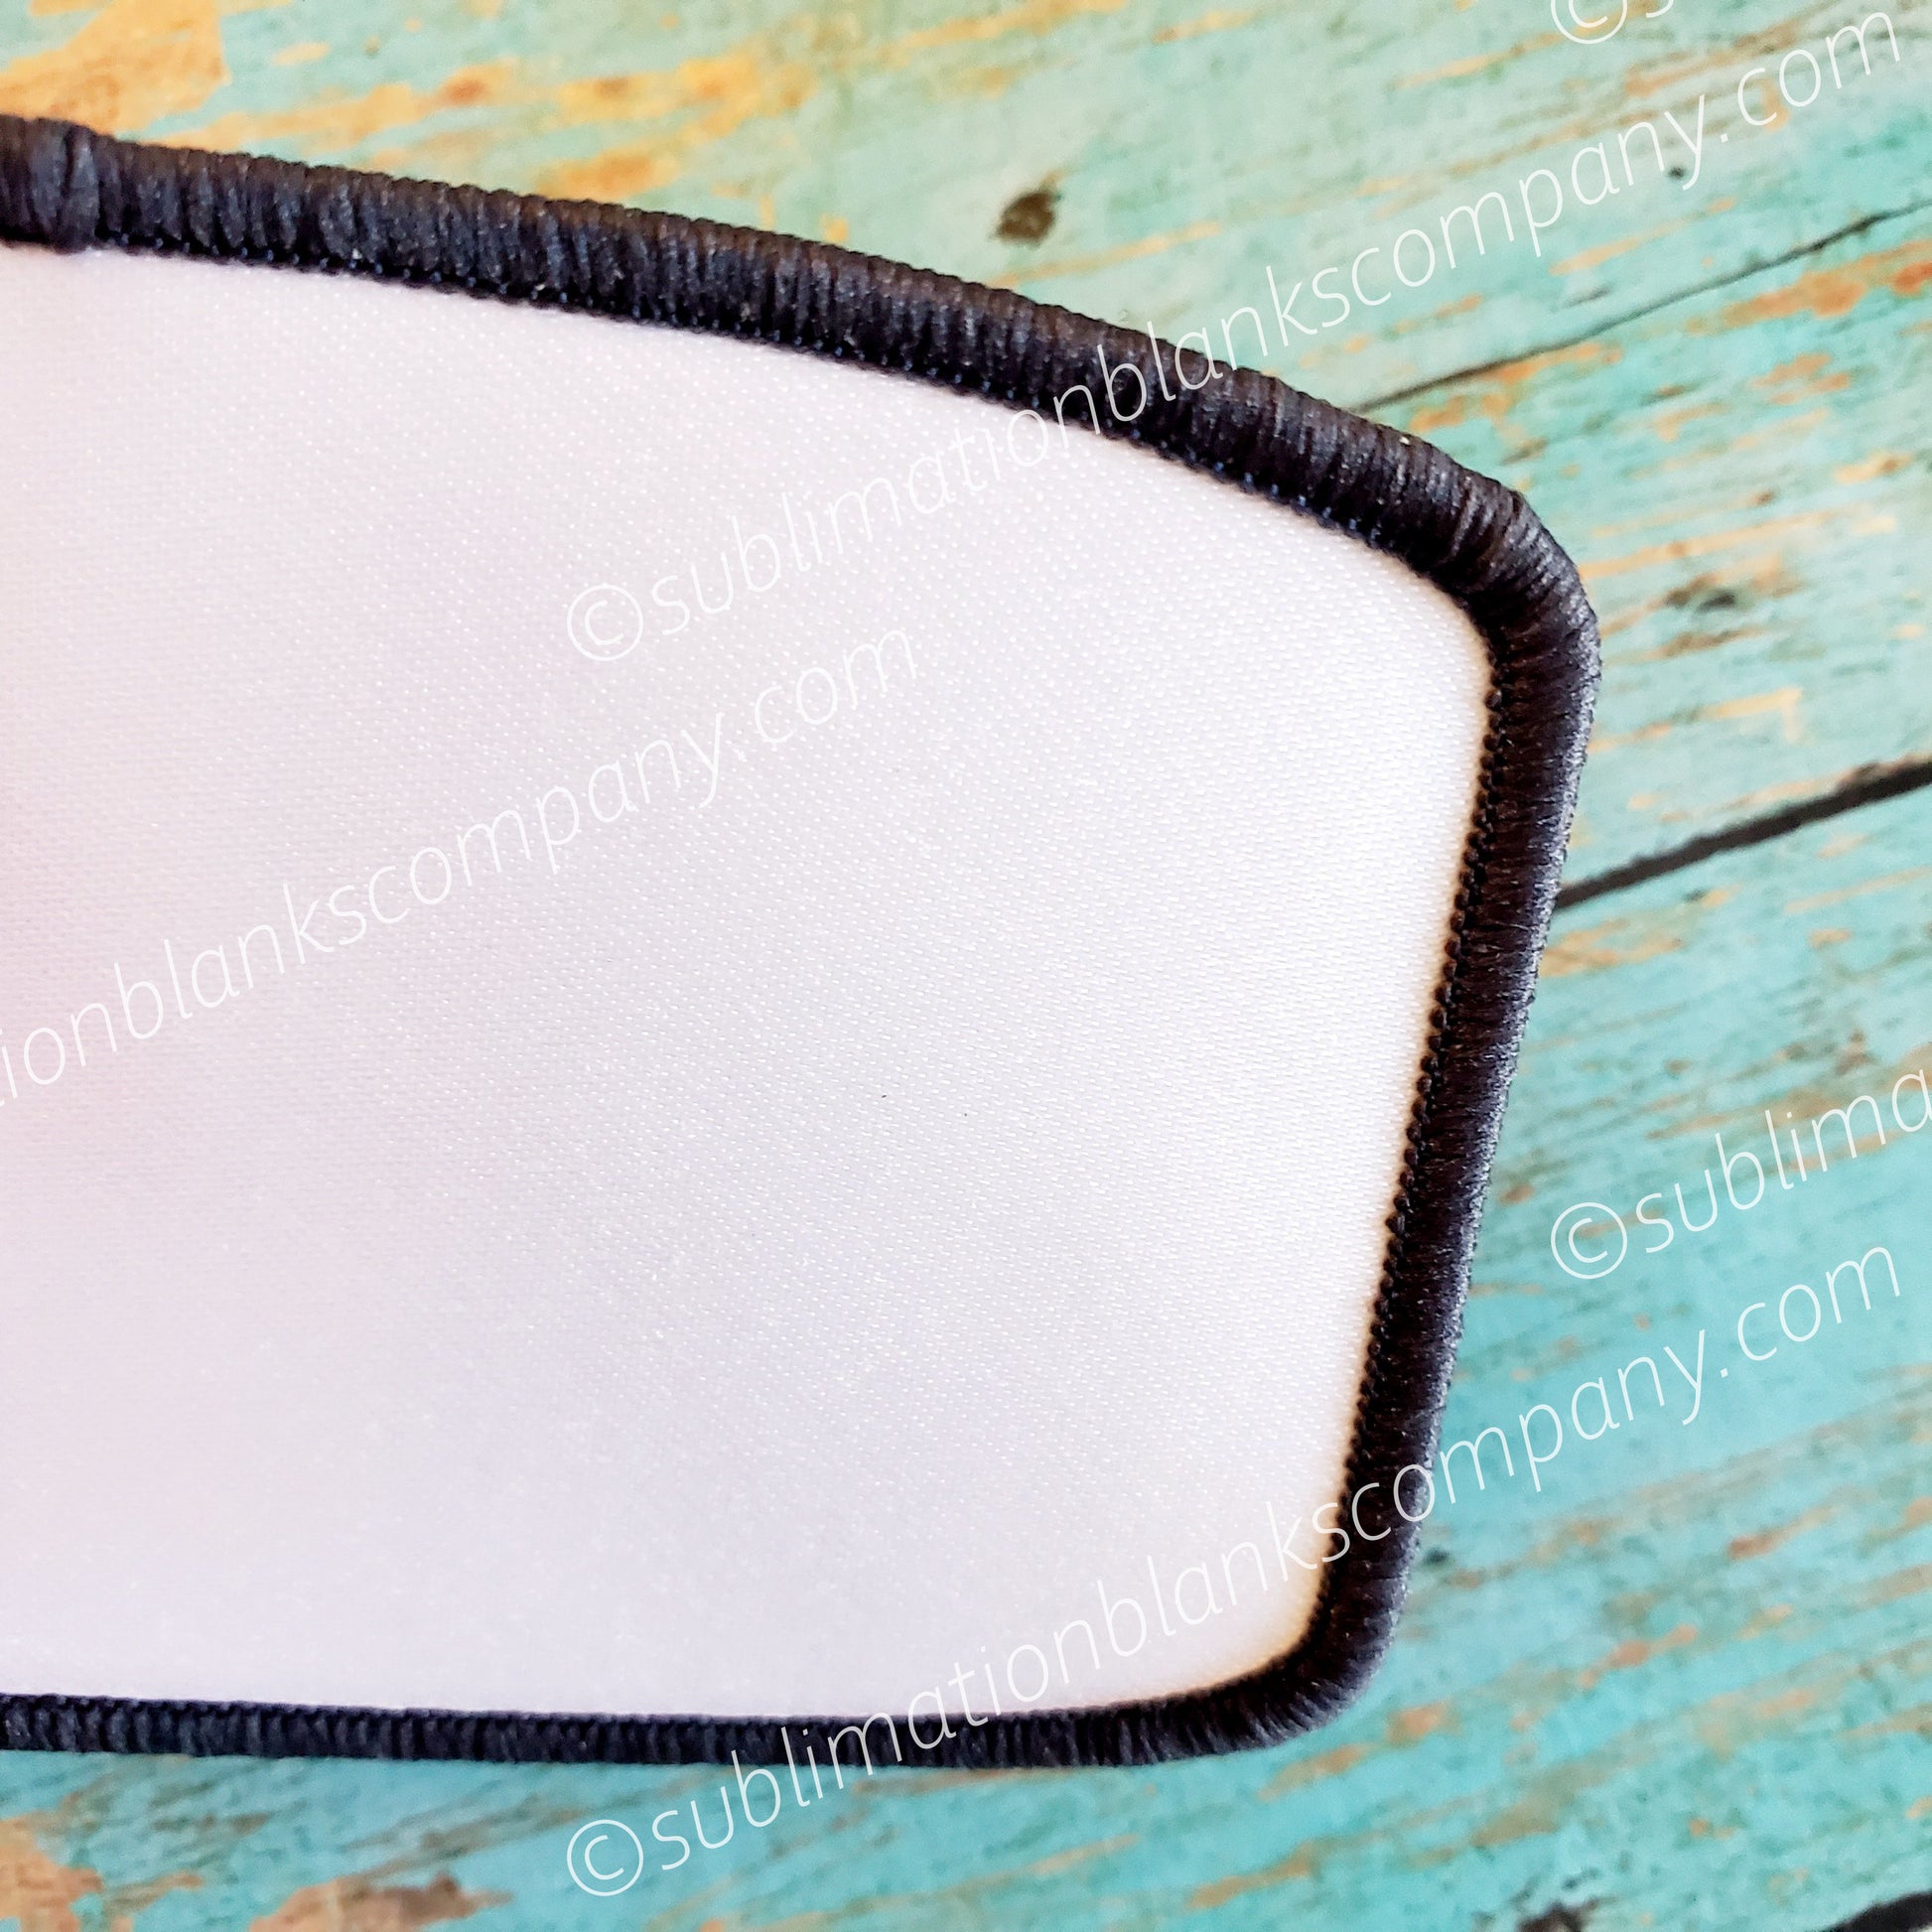
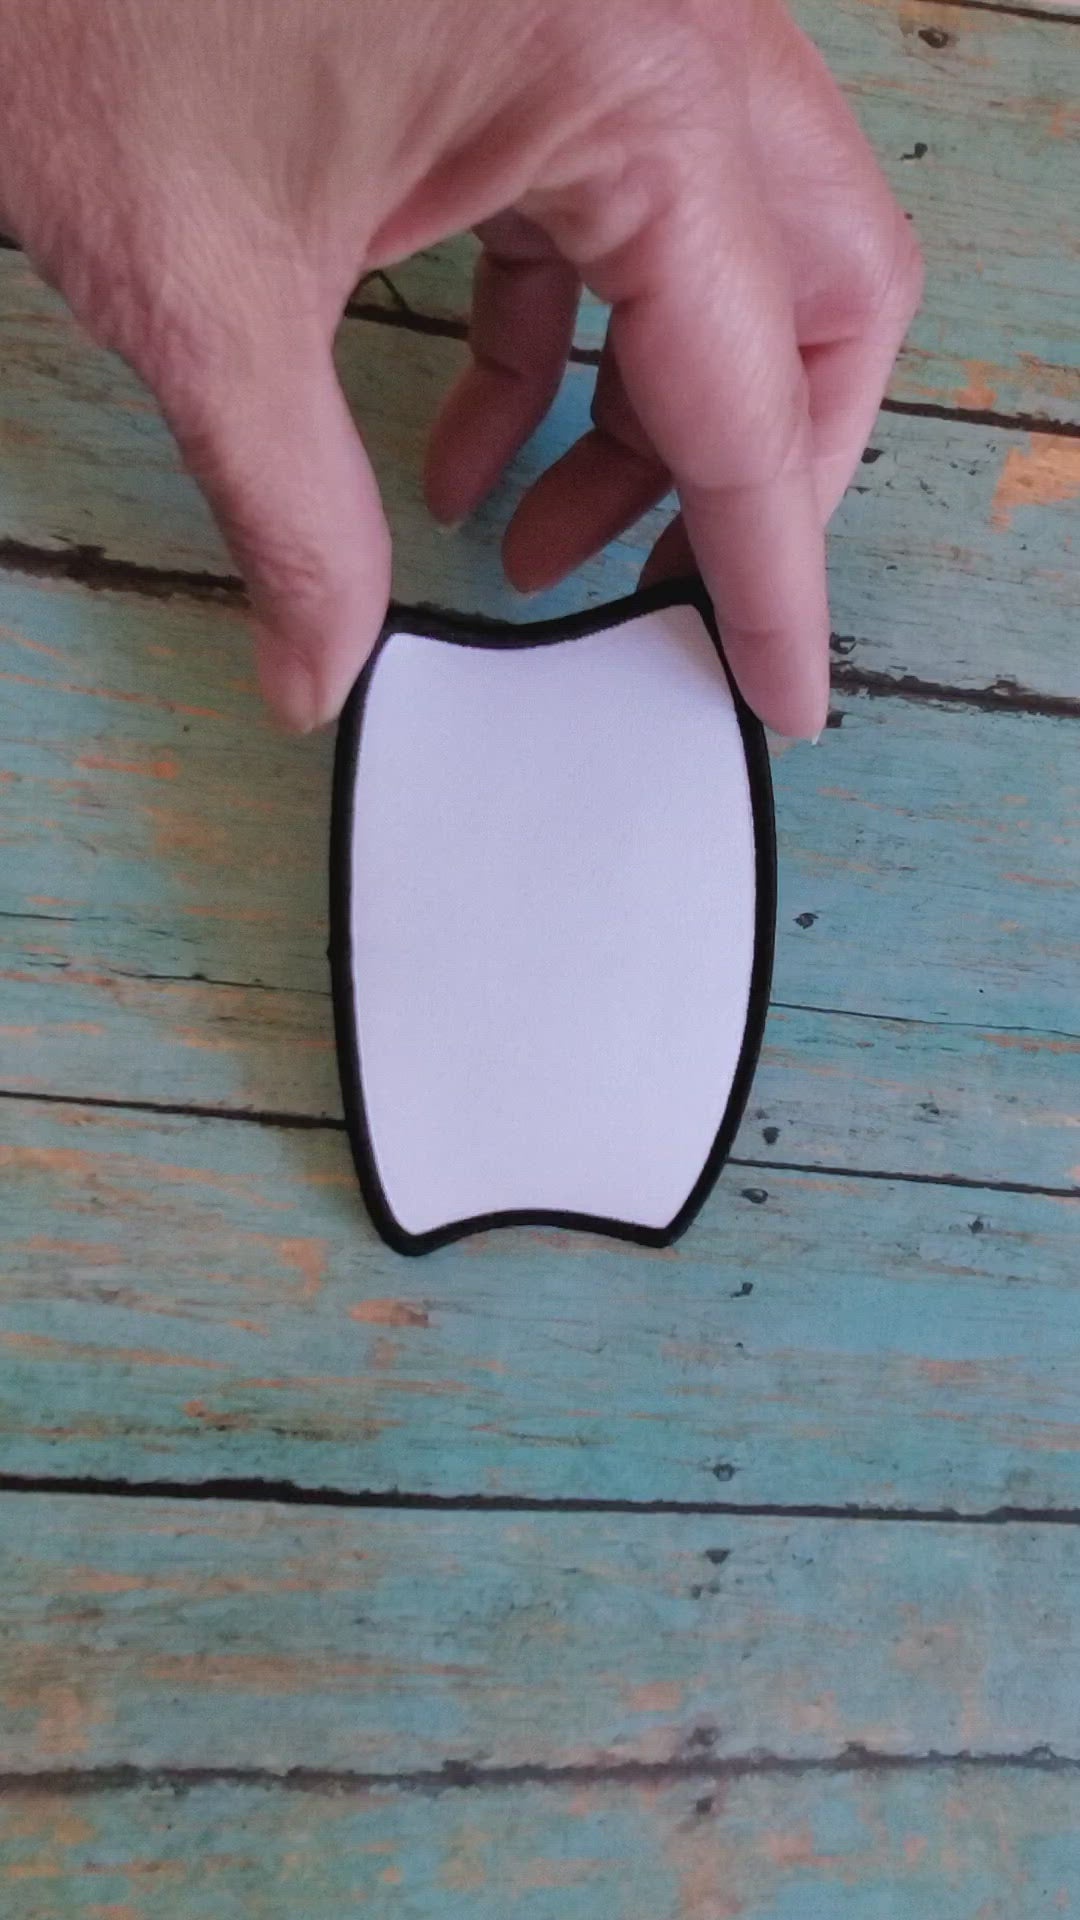
Fantastic Rounded Rectangle Shape Hat Patch Sublimation Blank with black or white stitching all around is a terrific way to kick up any hat or jacket. Ours has glue paper on the back side which heats up for you to attach to your hat or garment. Love this! Our rounded rectangle hat patches are sublimation ready!
- Large: 4" x 2.50". Small: 3" x 2"
- Sublimation ready
- Re-heatable adhesive glue on back for easy attachment.
- Choose White or Black merrow threading trim
- 100% polyester
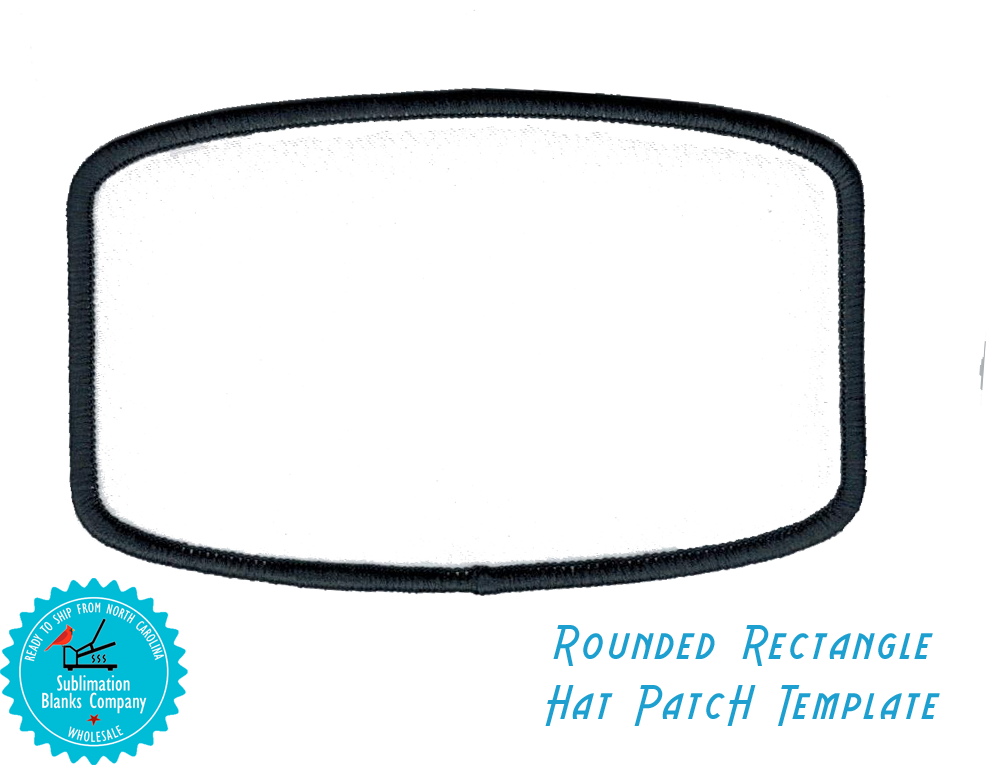
- Free Template .png file available in photos for you to use in your favorite graphic design program
Sublimation Instructions:
Temperature: 400 degrees for 40-50 seconds. Do not use high pressure! Use VERY light pressure.
Print your artwork about 1/2" larger than your patch. Don't forget to reverse!
- LINT ROLL YOUR PATCH! REPEAT! LINT ROLL YOUR PATCH!
- You sublimate on the flat finish side of the patch! The shiny side is the glue. Take note we now have 2 styles: 1 has a shiny glue that you use on a piece of thick wax paper; the other already has the wax paper attached.
- Place your patch with the shiny glue side down (and flat side facing up) on a piece of thick wax paper so that when the glue warms up it will easily be removed from the shiny side of your wax paper.
- Place your artwork on top of your patch facing downwards. Use heat tape to tape your patch down onto your artwork. (Do not use adhesive spray).
- Cover everything with butcher blow-out paper
- Heat at 400 for 40-50 seconds with light pressure
- Use heat gloves to remove your artwork immediately, but leave your parchment wax paper on the back of your patch on. Let it cool for 5 or 10 minutes so your glue sets up again.
- To attach your patch to your hat or garment, remove the wax paper from behind. Place on your hat and use a hat press at 300 degrees for 30-35 seconds. You can also use an iron at its hottest setting with no steam, too. But be sure to cover your patch with paper first. Additionally, you can stitch/sew your patch on as well.
[Some patches may appear to have folds or wrinkles that are created during the production process. Once they are heat pressed, all these will disappear and your patch will be flat and look great!]
Share
