


1
/
of
9
SublimationBlanksCompany
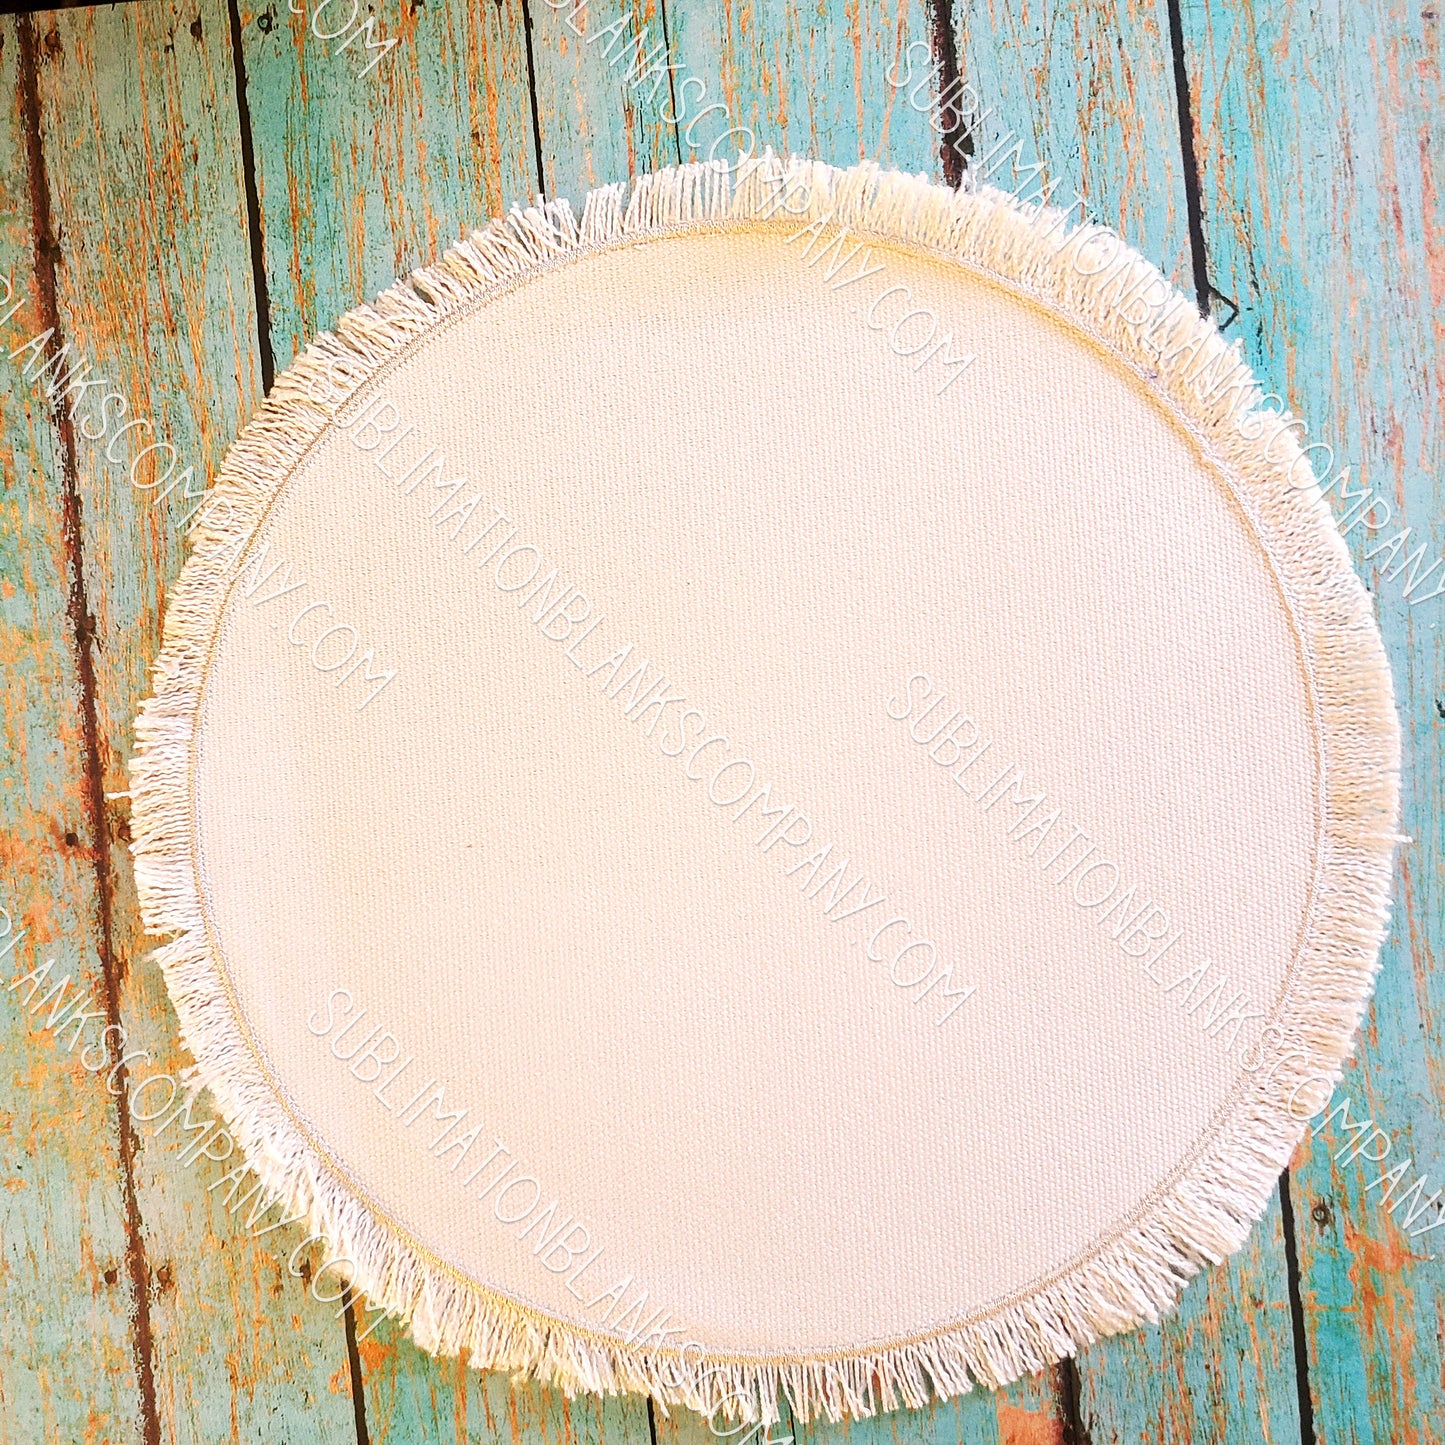
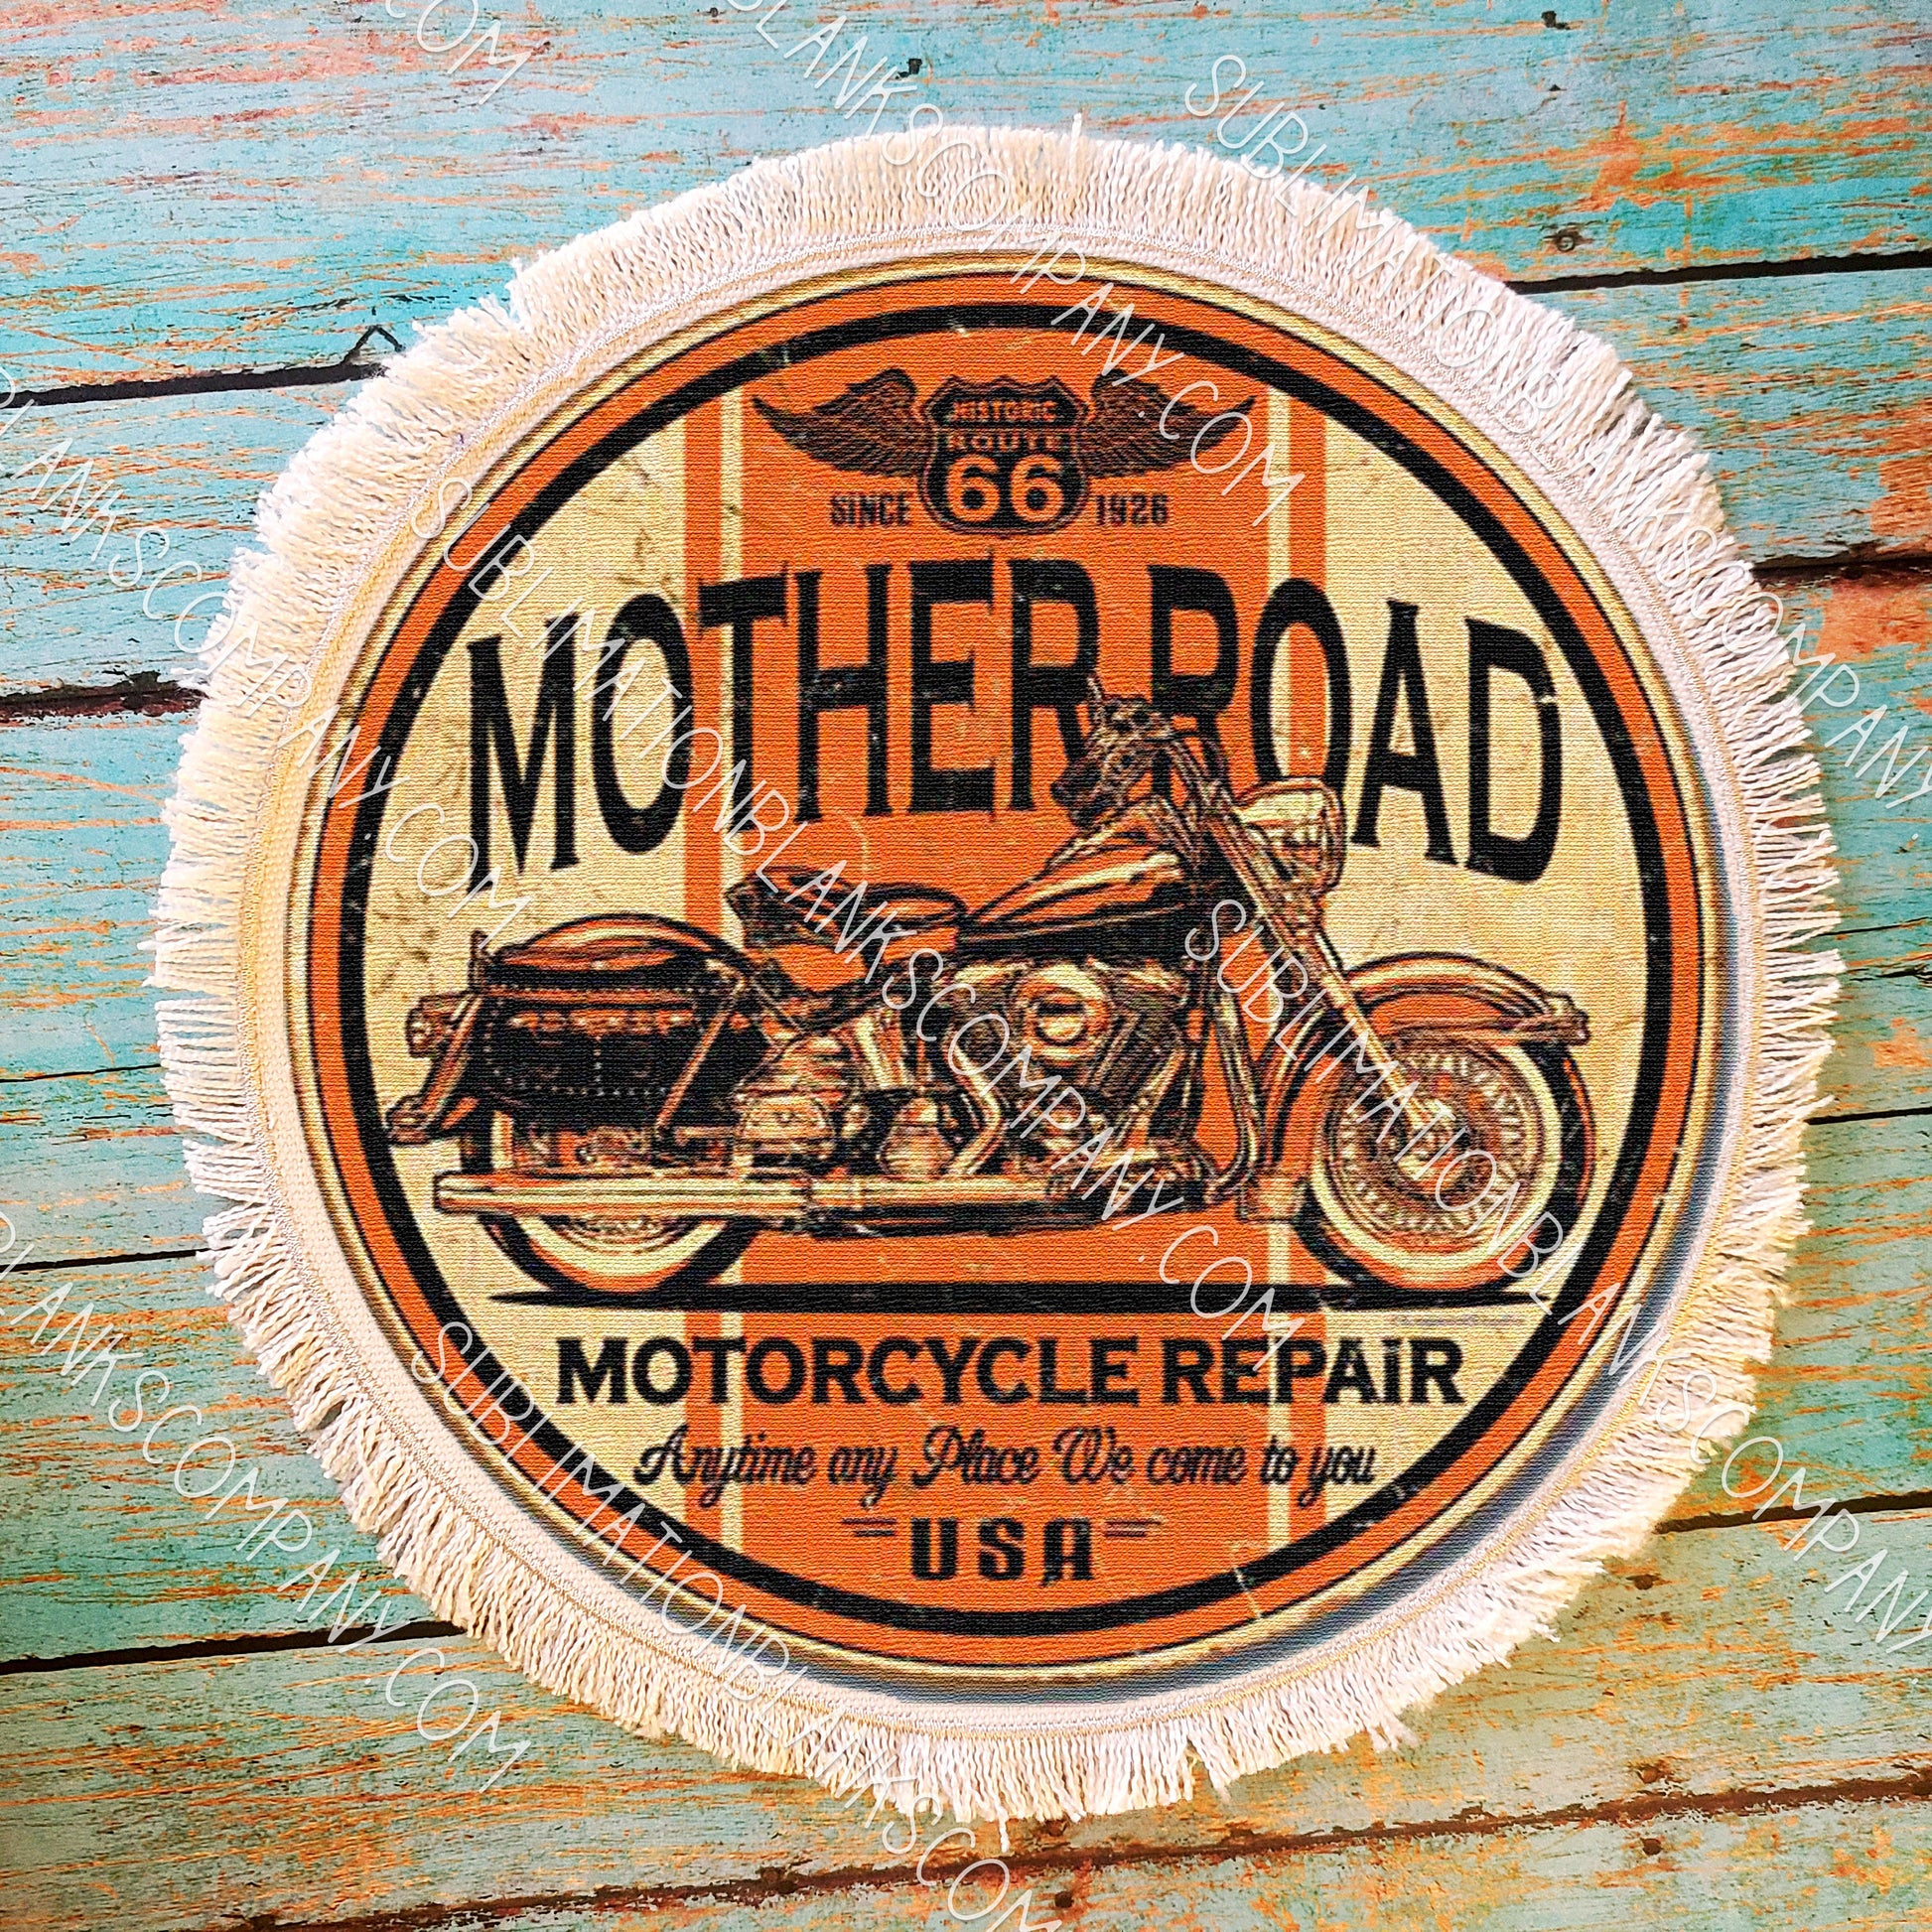
Extra Large Round Circle Raggy Distressed Burlap Center Stitched Back Patch Sublimation Blank with Glue Paper
Extra Large Round Circle Raggy Distressed Burlap Center Stitched Back Patch Sublimation Blank with Glue Paper
Regular price
$6.99
Regular price
Sale price
$6.99
Unit price
/
per
Shipping calculated at checkout.
Couldn't load pickup availability
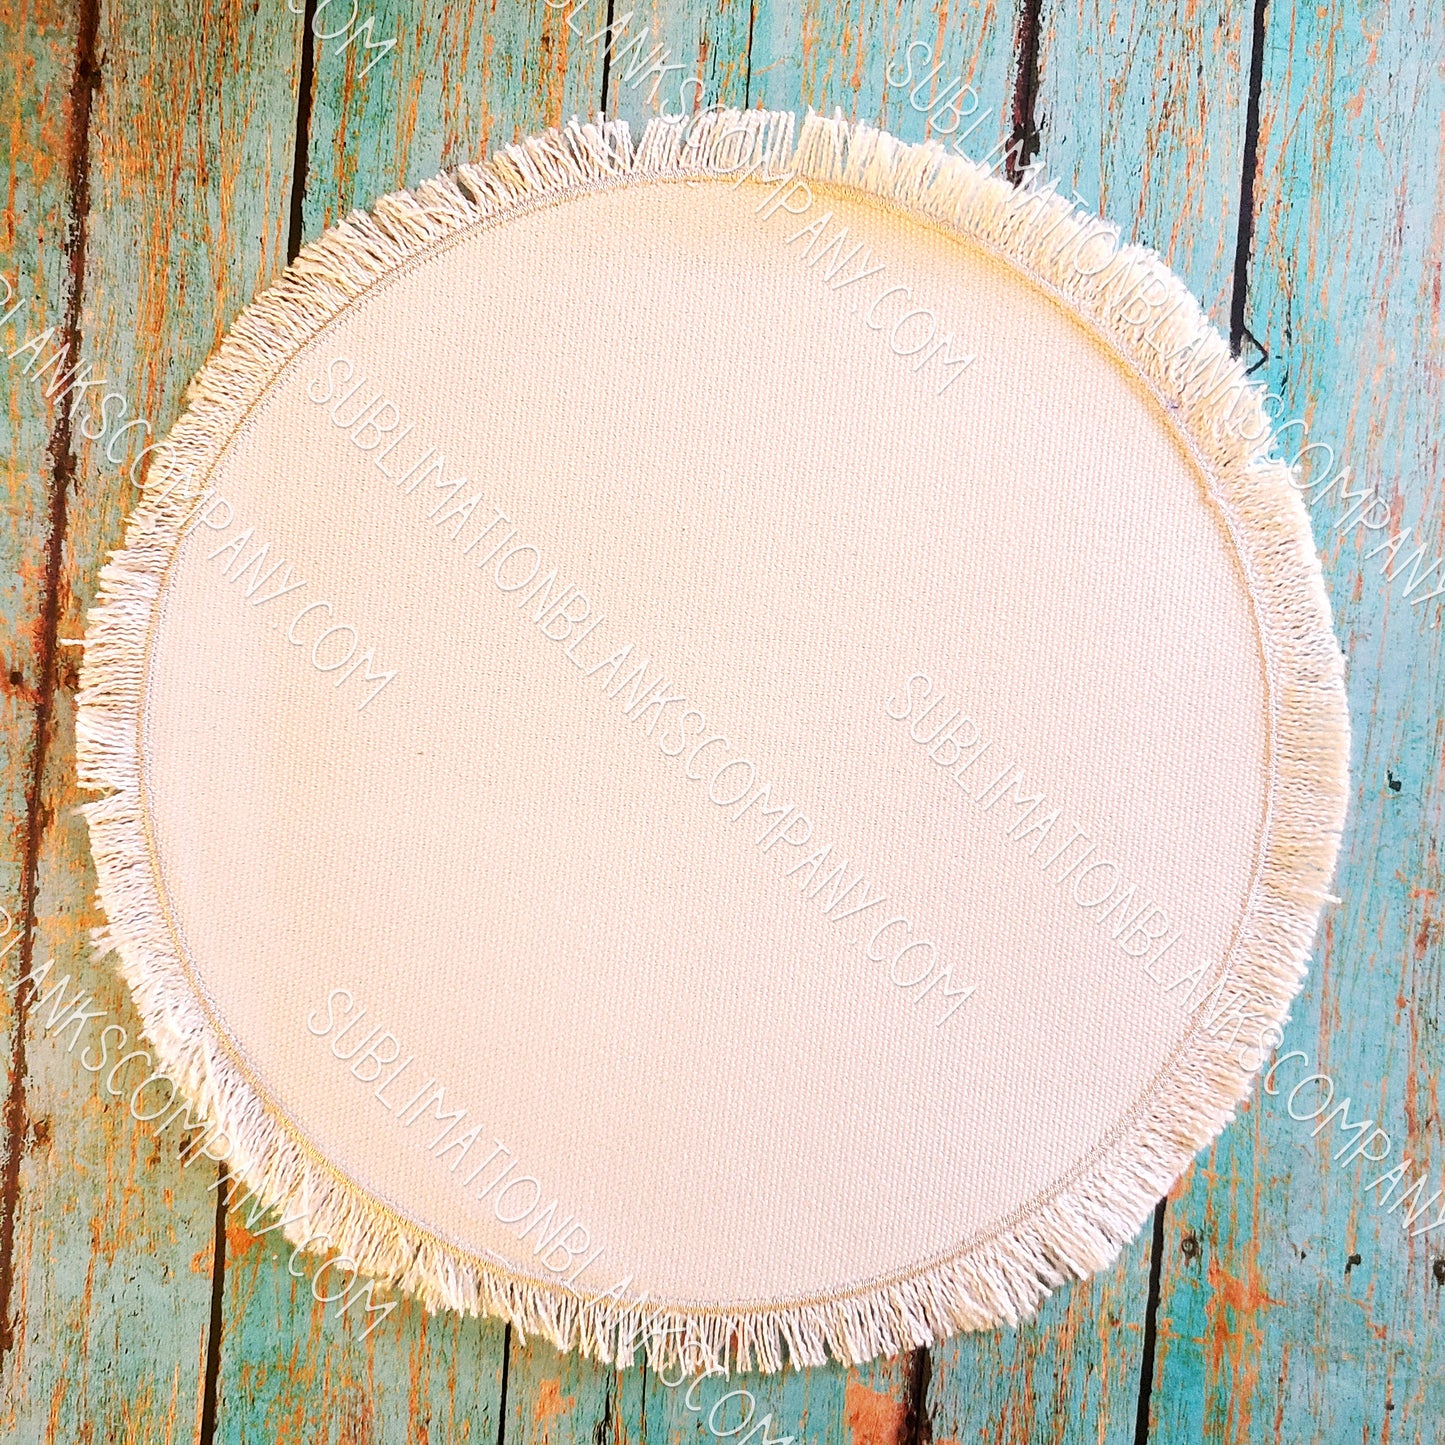
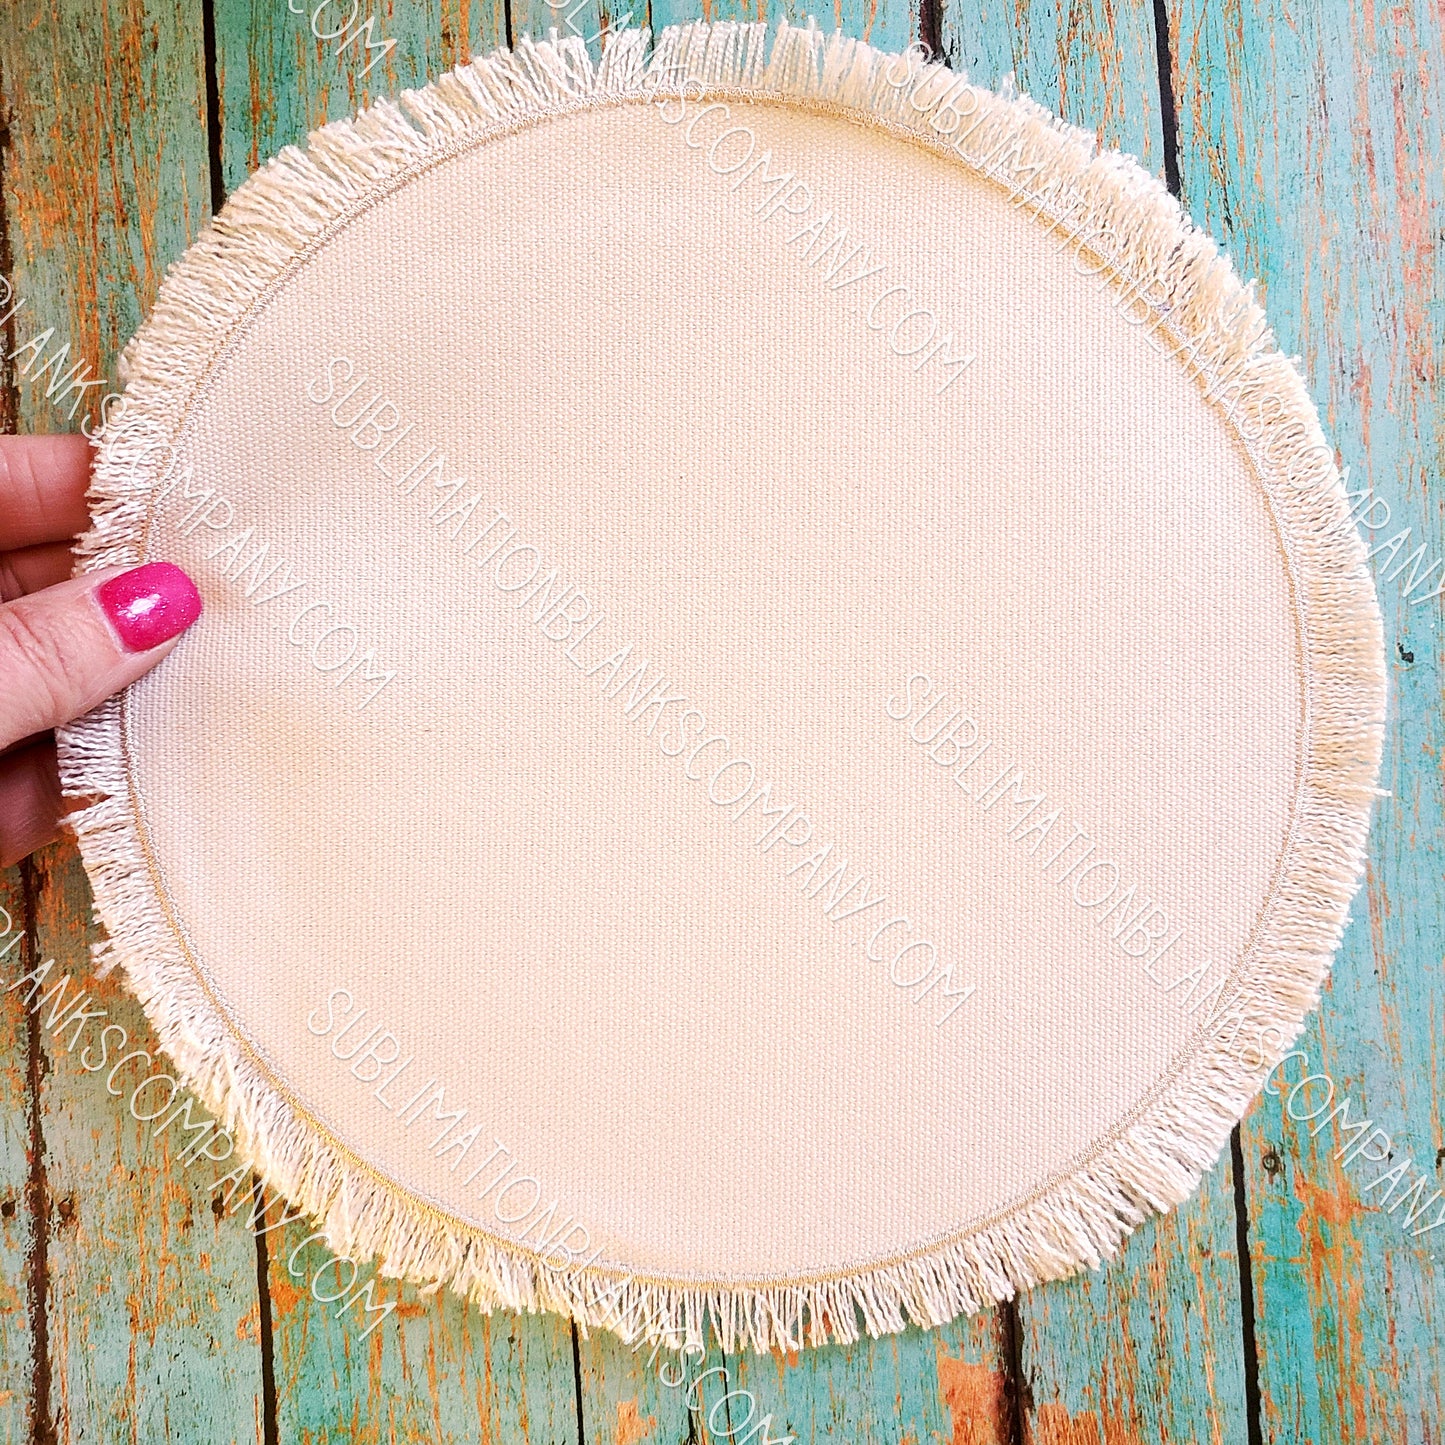
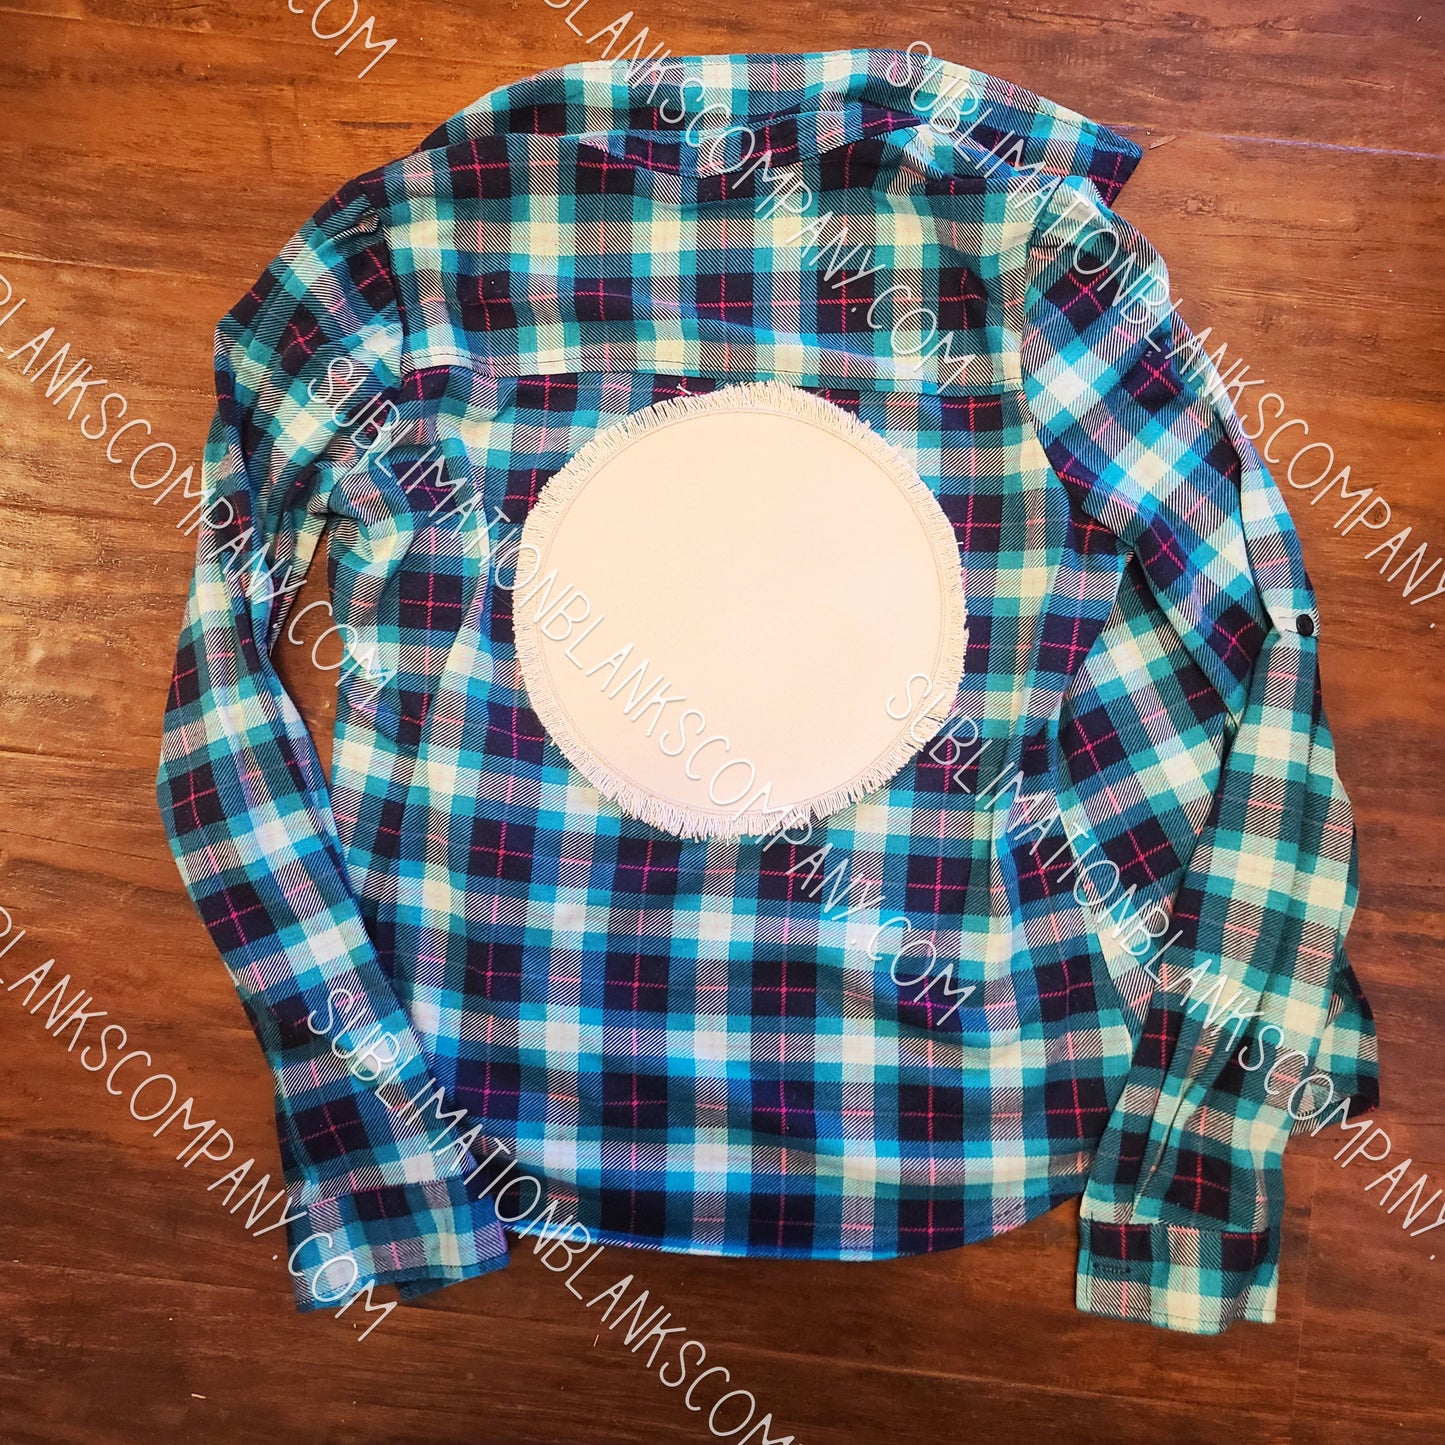
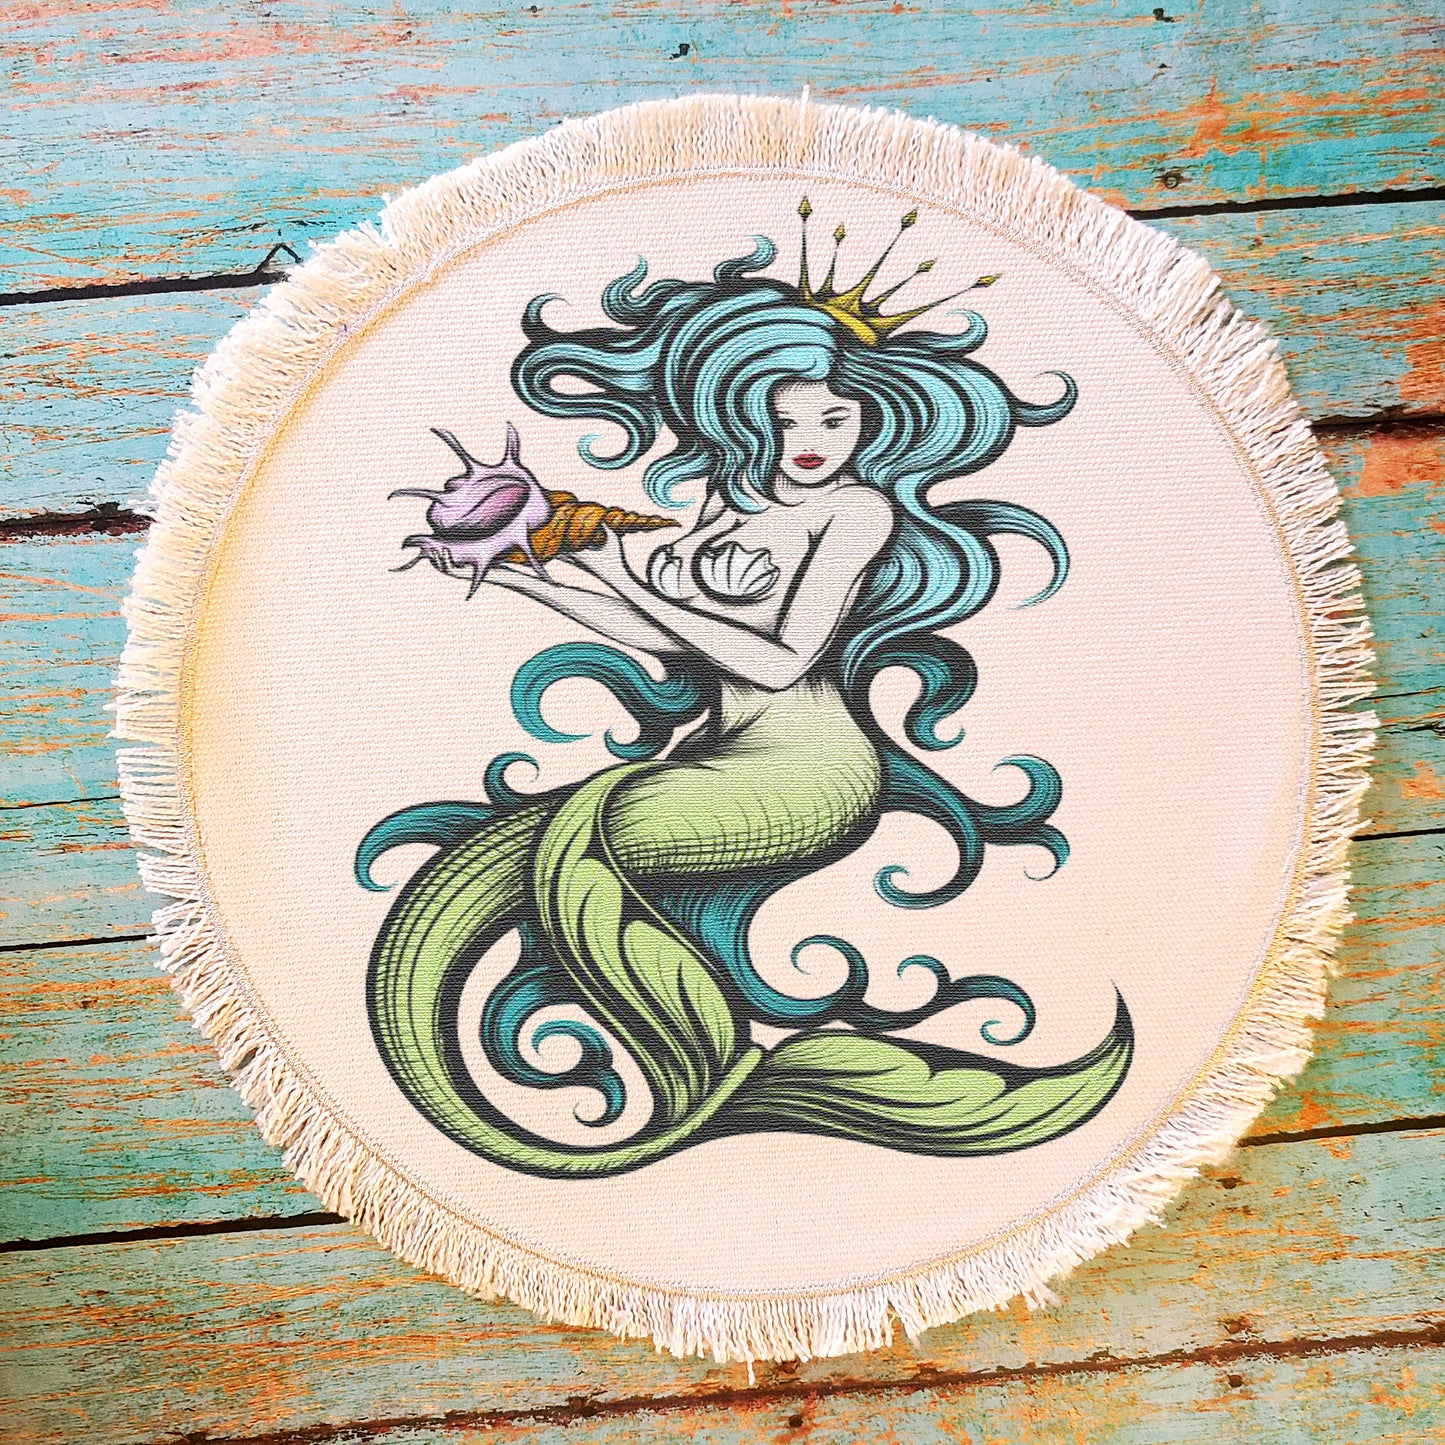
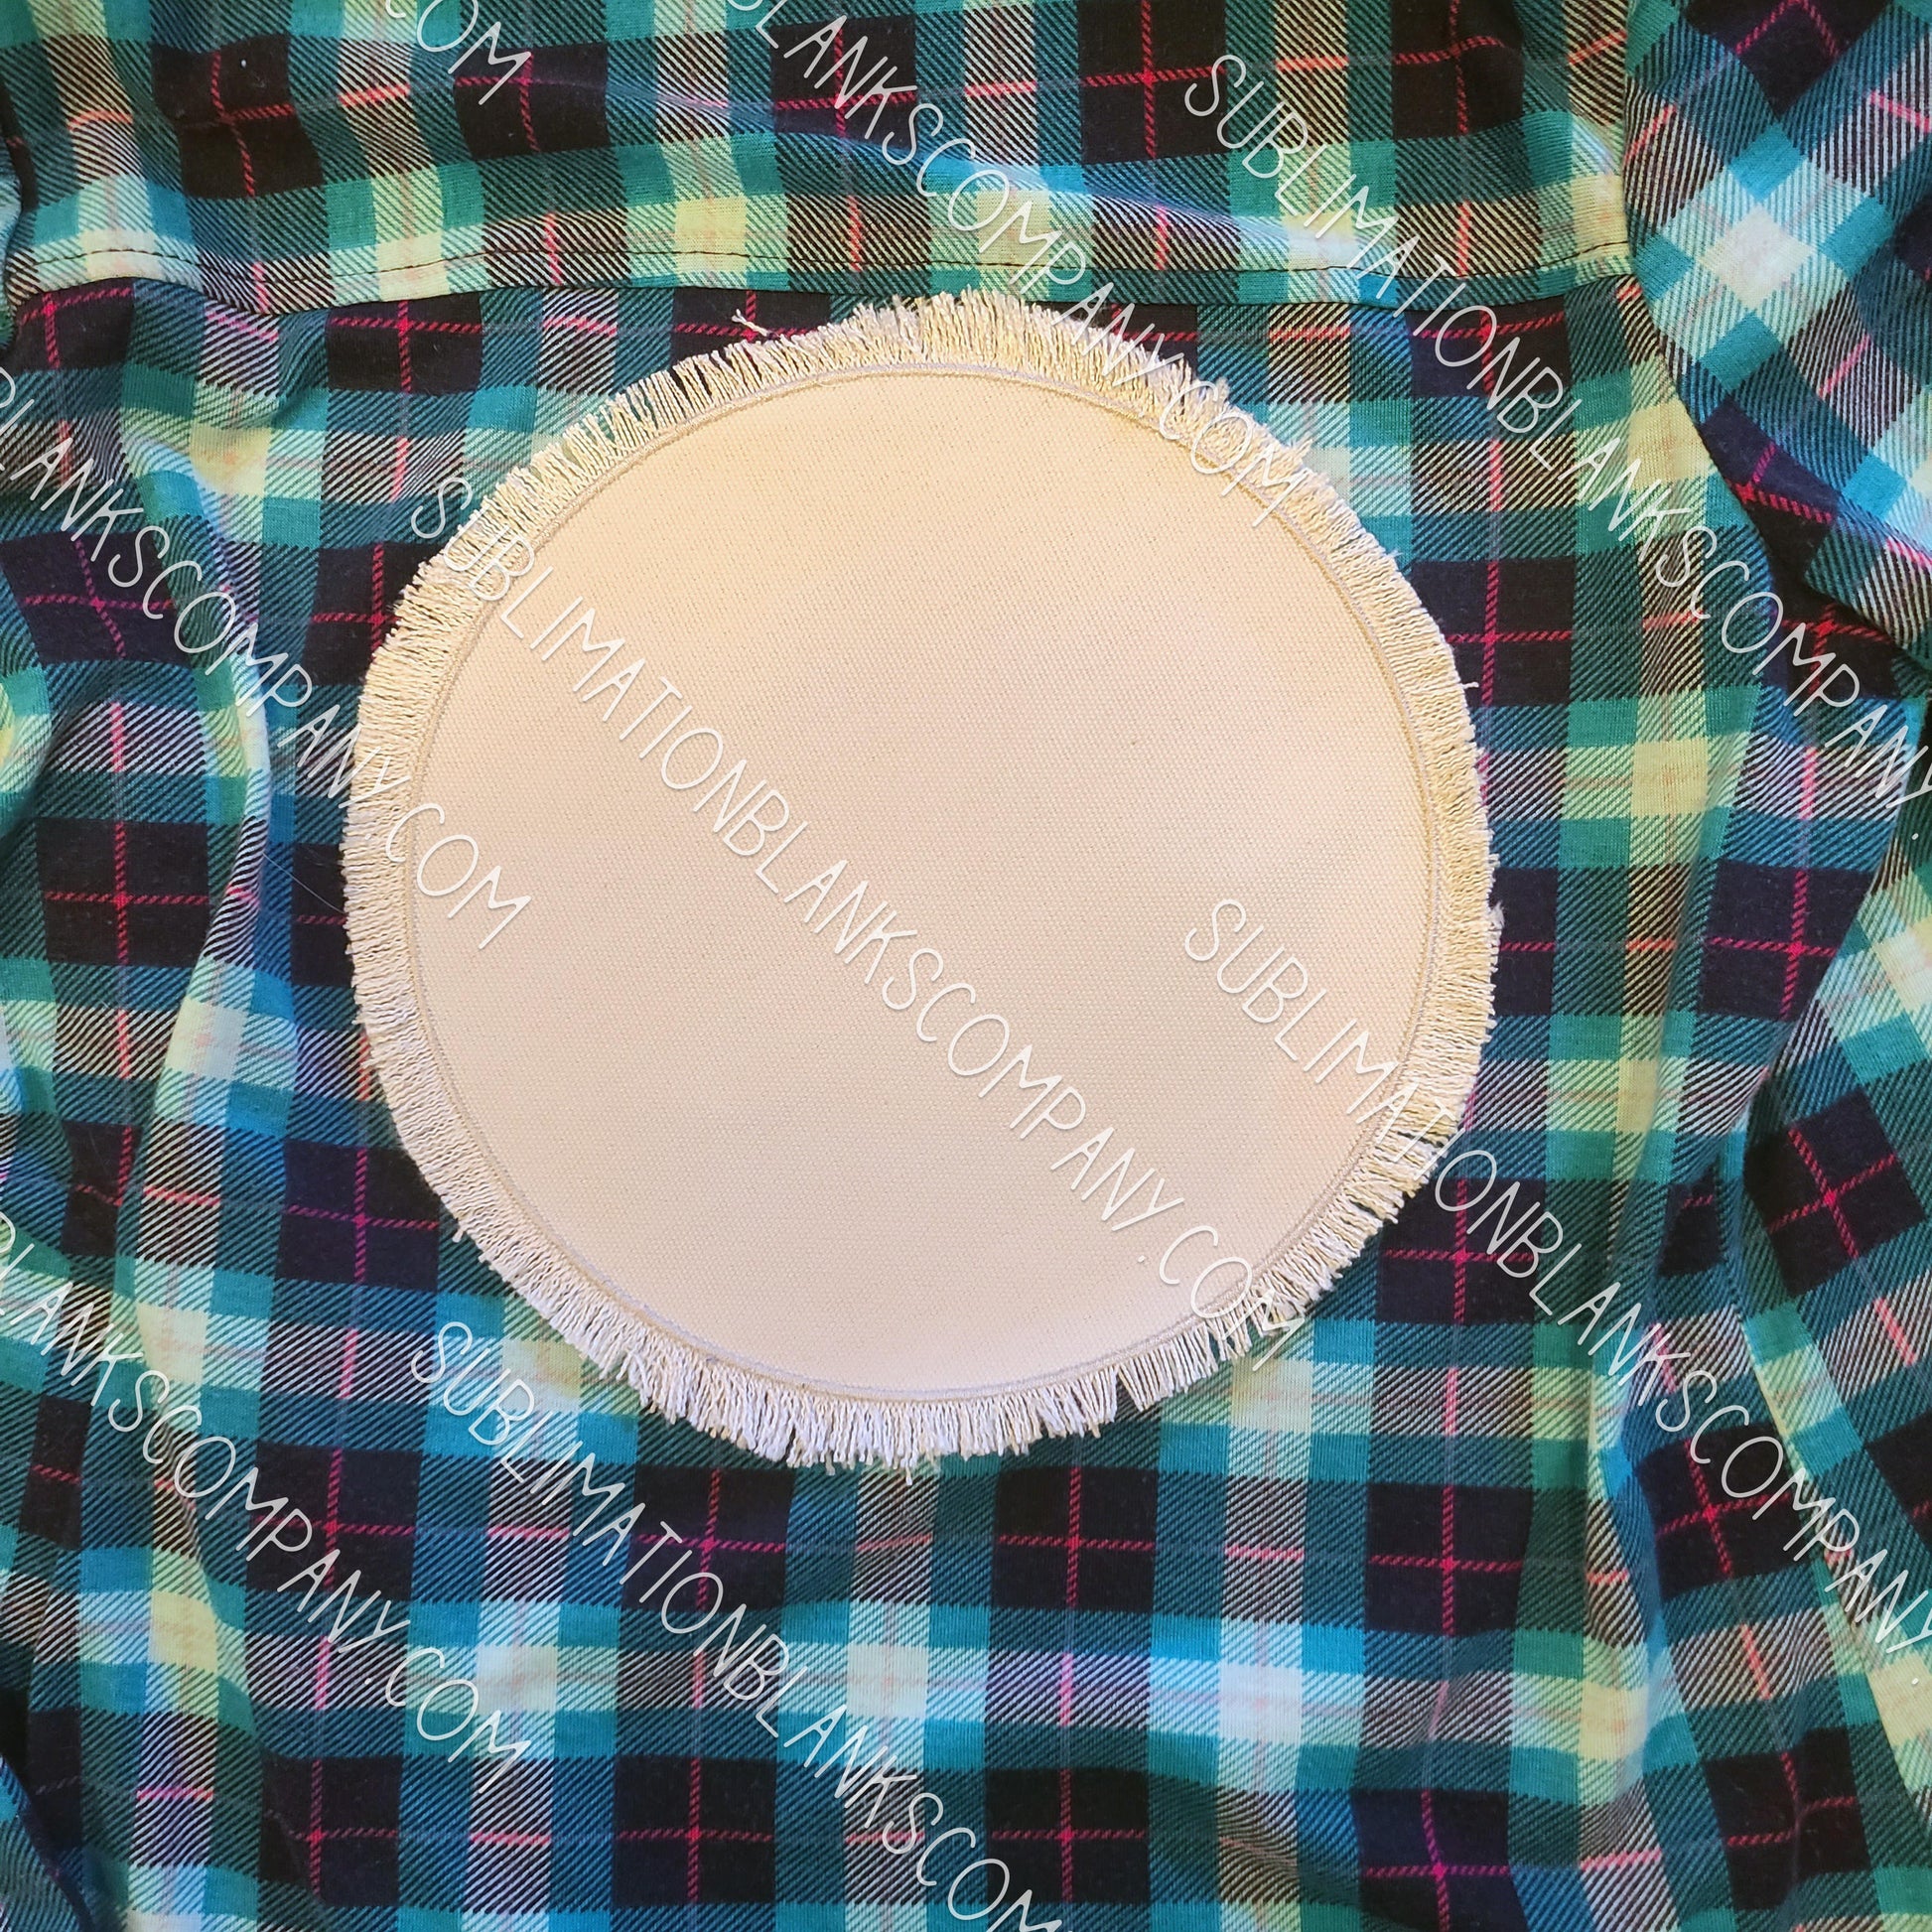
Our large 9" Round Circle Burlap Distressed Back Patches with center stitching are 100% raggy perfection for sublimation! They come in a natural burlap color. These hat patch sublimation blanks feature a ragged distressed edging all around and a nifty center stitch all around. Ideal for the back of flannel shirts, denim jackets and so much more! Each one is uniquely different due to the raggy nature. Use your favorite craft glue, sew on, OR use the provided heat glue paper to adhere!
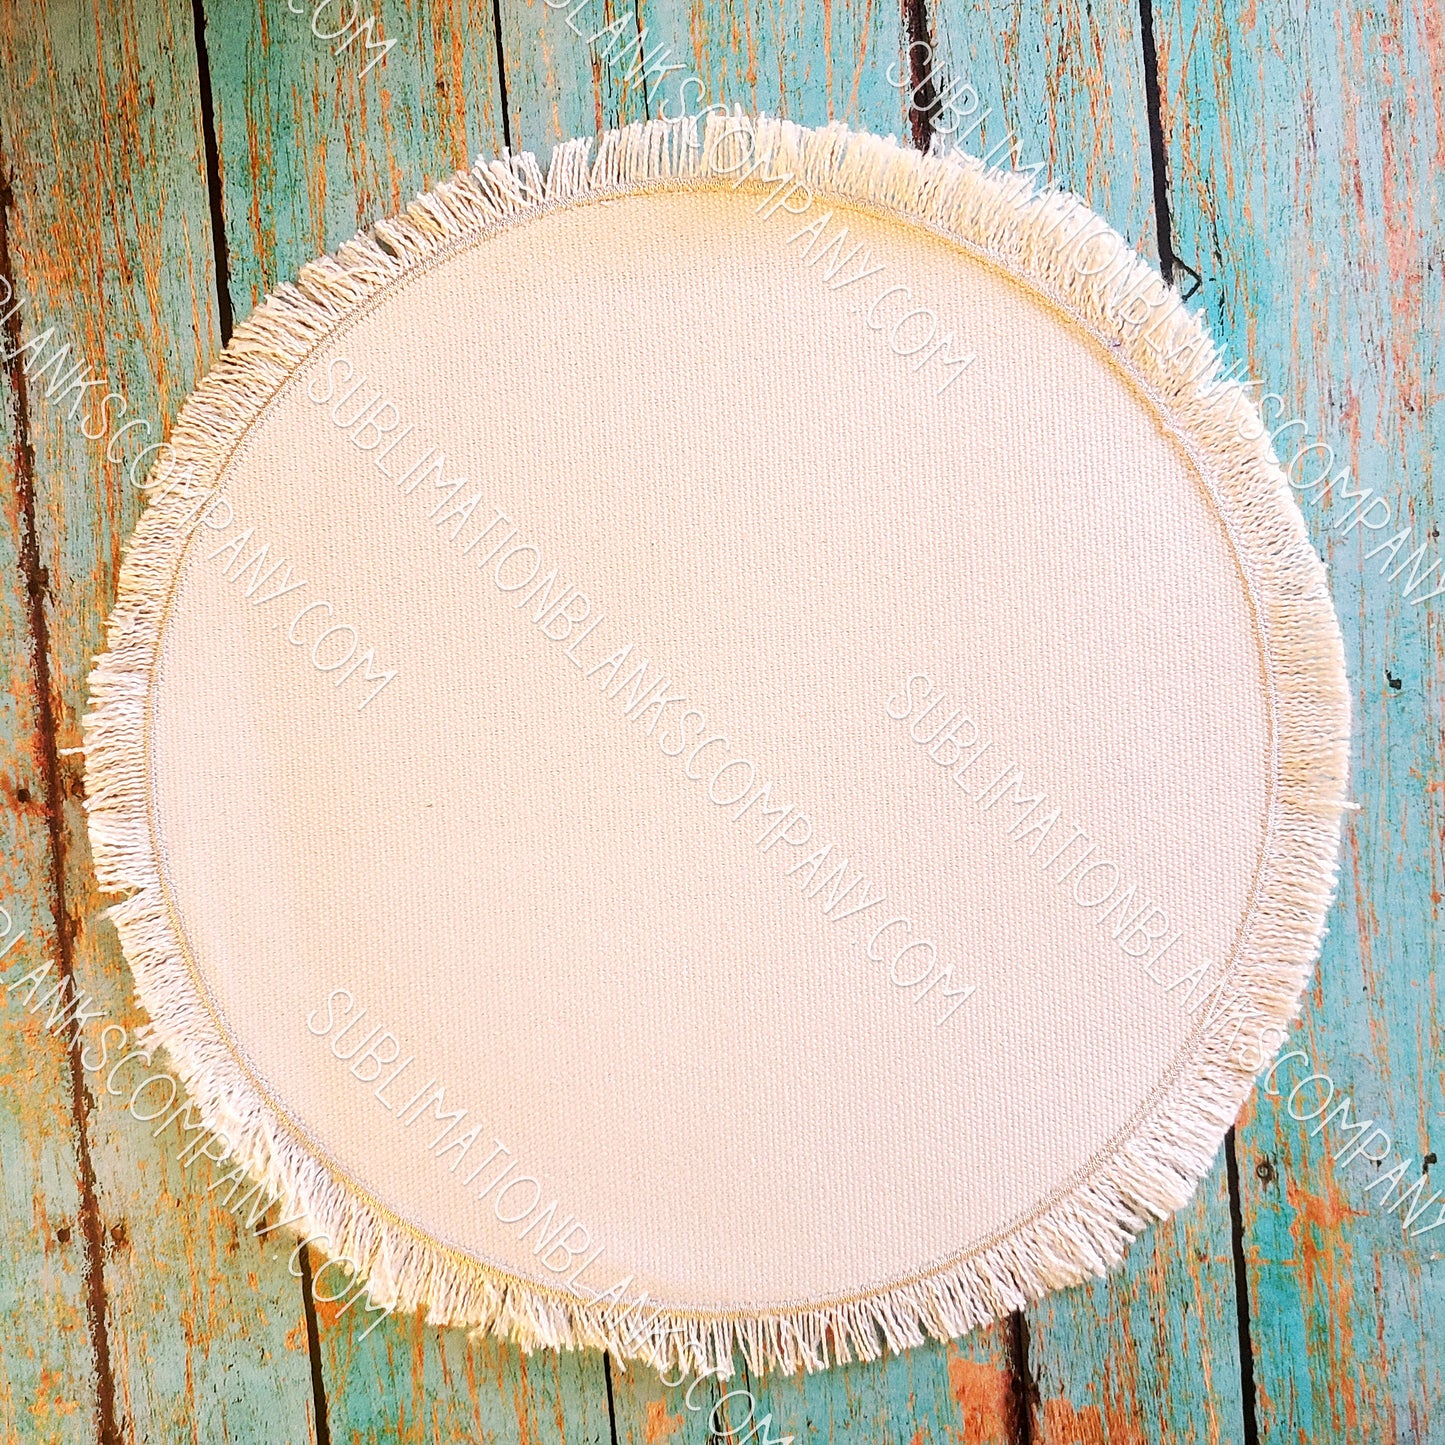
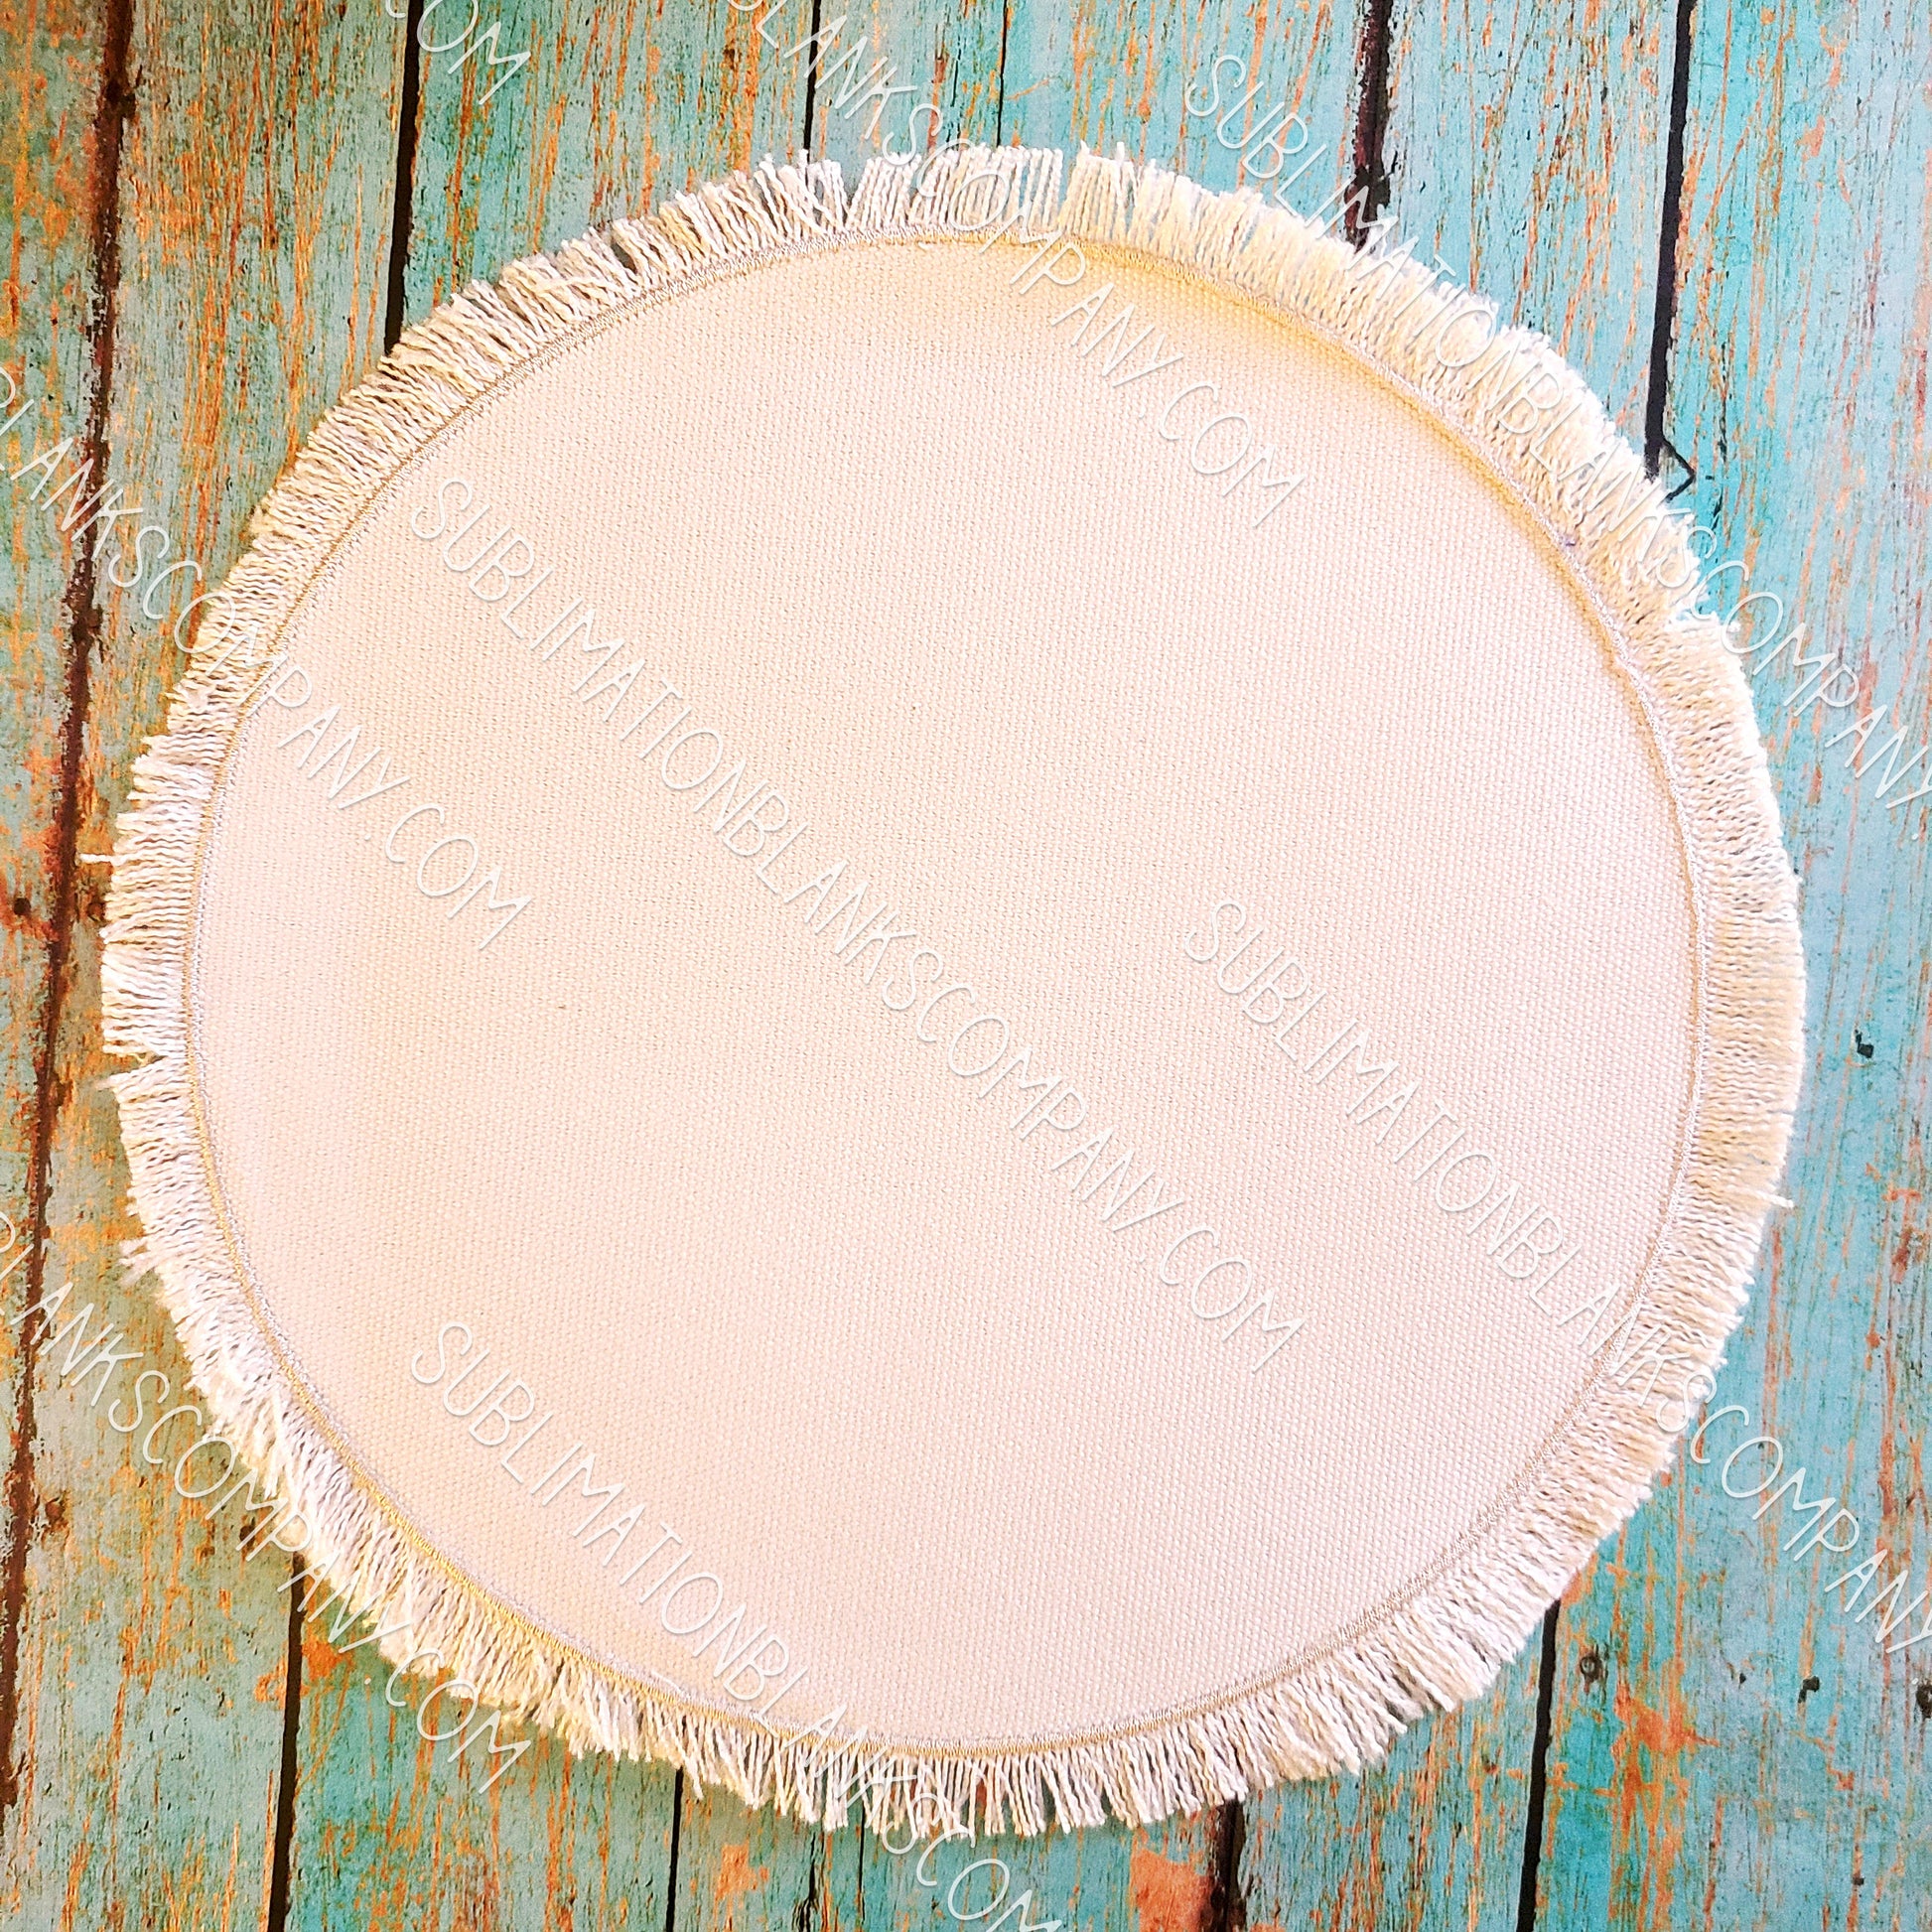
- Approx, size: round 9" overall AND 8" inside the center stitch area
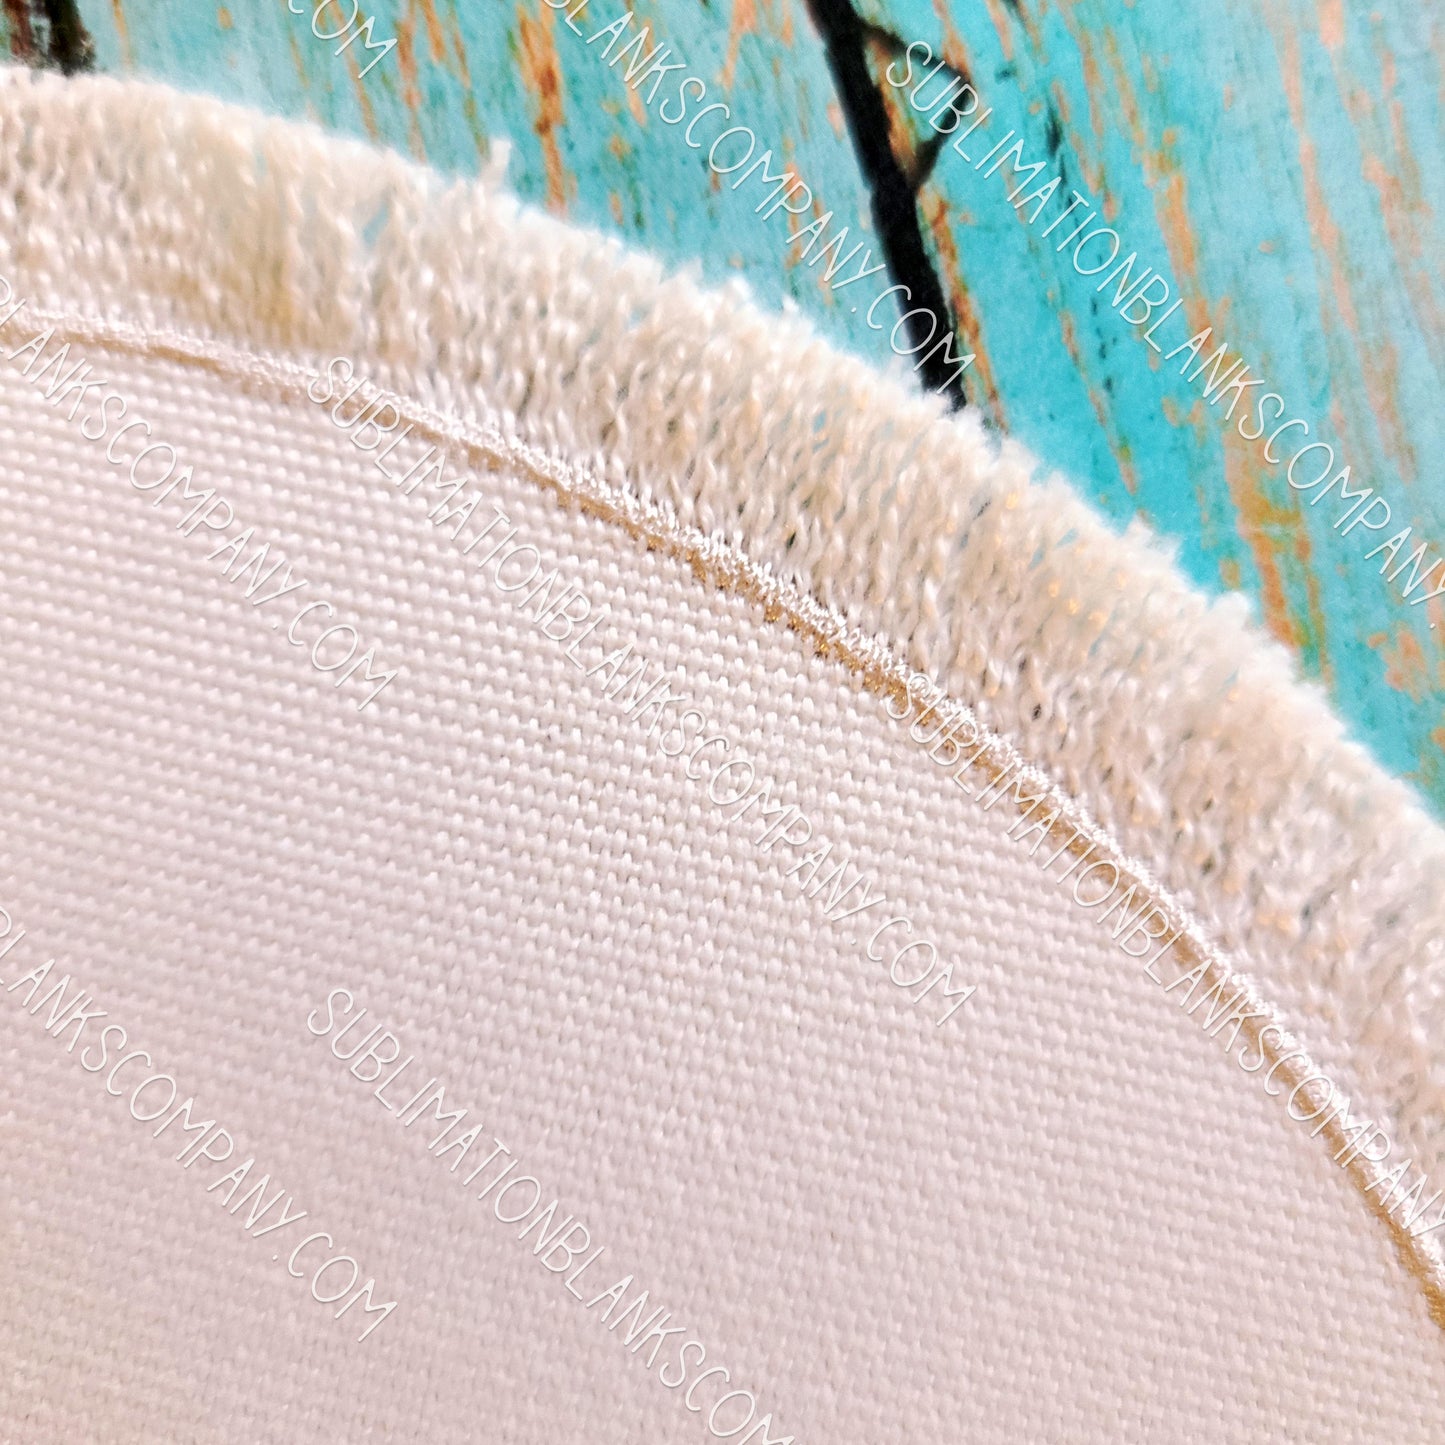
- Professionally frayed
- Burlap linen that is 100% polyester and sublimation ready
- Ragged rustic flair
- Can be used with vinyl and embroidery applications too!
- Includes adhesive glue paper included to heat onto your hat or garment; OR use your favorite fabric glue like E6000.
- Hand stitched outline in center.
- Every single one is handmade and unique. No two are alike!
- Made in USA
- Machine washable
Directions for Sublimation
* 400 degrees for 50-60 seconds, light/medium pressure. [This is a recommended time. Every heat press is different, so you have to find your own sweet spot.]
- Clip the excess strings back if you desire to neaten up your patch or leave as is. Your choice!
- Lint roll your patch!
- Cover your patch with butcher paper. Pre-press your patch for 5 or 6 seconds to remove moisture
- You can use your favorite craft glue such as E600 OR use our heat glue paper!
- Cut/trim the glue paper to fit neatly behind your patch if necessary. Your glue paper has 2 sides--the shiny side is glue and the duller side is the wax paper. Place shiny side up toward your patch and wax paper side down.
- Center your patch on top of your glue paper.
- Place your artwork face down on your patch and use heat tape or spray to keep down. You are forming a layered sandwich of sorts.
- Use protective butcher paper on top of your artwork/patch
- Press per temp/time above
- Remove artwork quickly. Let patch cool.
- The glue paper is now stuck to your patch. Remove the wax paper backing to expose the other glue side.
- Place glue adhesive paper behind patch and use an iron or hat press to attach to your hat or garment.
- Never put heat directly on your patch without protection or it will burn!
Share